What is Atmospheric Perspective?
Go outside and look at the air around you. Can you see it? Most of us grow up thinking that air is invisible, but it isn't. In fact, air is one of the most important cues we use to judge the depth in an image we're looking at.
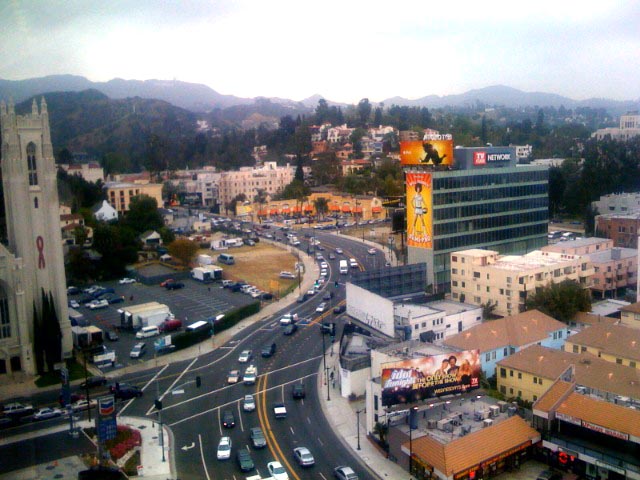
Look at this photo I took from a hotel room window in Los Angeles. The colors of the buildings and cars that are closer to the camera are vivid and high-contrast. However, the buildings, trees, and hills in the background have a smoky appearance, losing their color and definition.
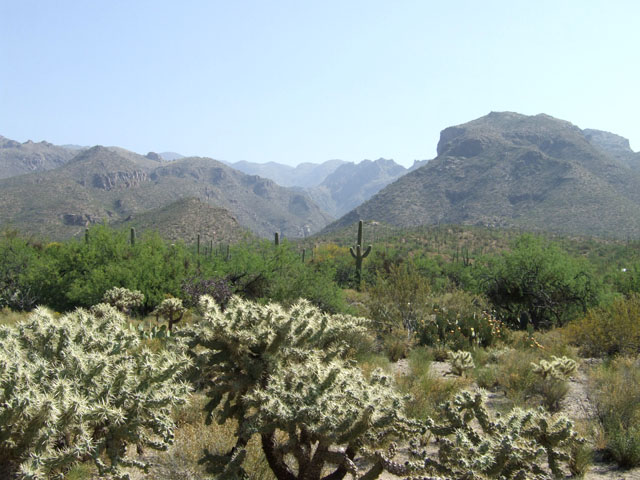
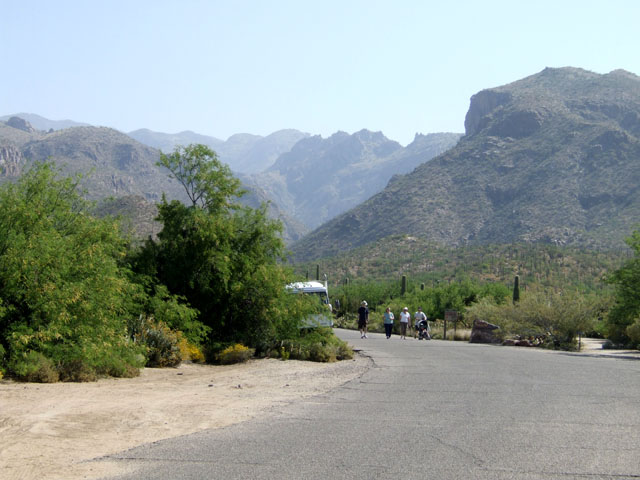
These images of Sabino Canyon in Tucson, AZ, show a similar effect. Objects close to the camera show a full range of colors and light and dark values, while the mountains in the background are hazy with less difference between shadows and highlights. Also notice that the way you can tell which mountains are closer to you and which are further is by noticing how hazy they are.
Atmospheric perspective is caused by the fact that the space surrounding the solid objects that we see isn't empty. Light scatters around between air, water, smoke, dust, and pollution molecules, partially obscuring the objects that they are in front of. The further away an object is from the viewer, the more obscure it becomes. Eventually, especially on foggy days, entire buildings and mountains can become completely invisible!
Visually, there are three primary effects caused by atmospheric perspective:
- The further away an object is, the closer its color will match the color of the sky.
- As an object moves further from the viewer, the contrast between its highlights and shadows will decrease.
- The colors of objects that are closer to the viewer will be more saturated (less gray) than the colors of objects that are far away.
Creating Perspective with Layers
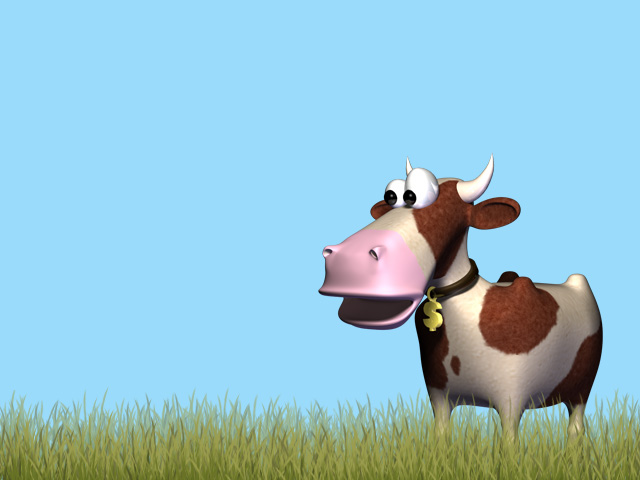
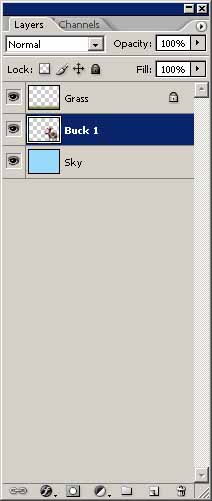
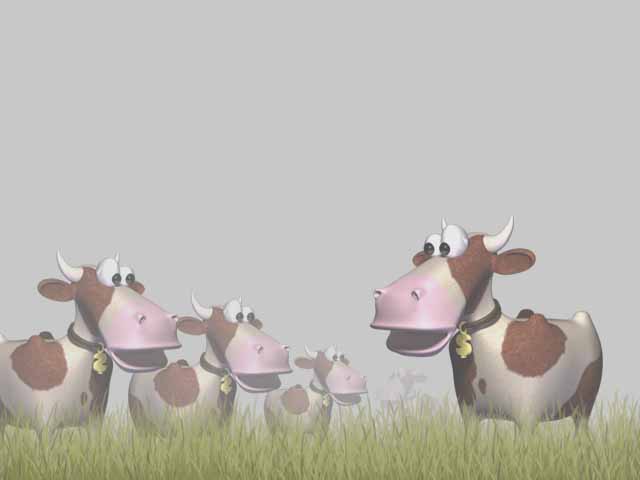
Let's use a scene with Buck from Cash Cow as an example. Right now this document has three layers: A solid sky color, an image of Buck, and some tall grass so that we don't have to worry about the ground.
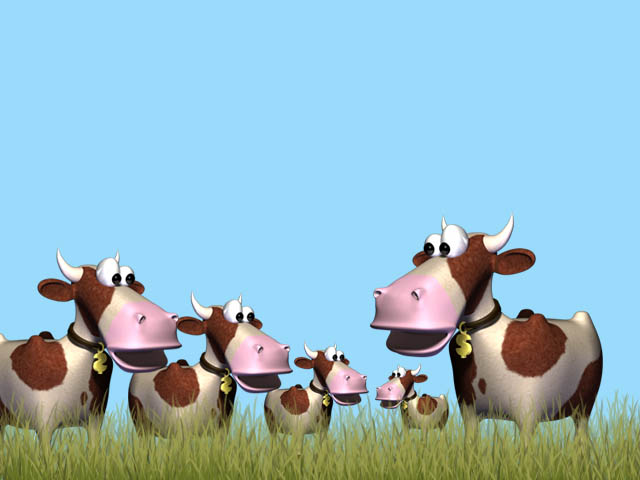
Now let's make few duplicates of Buck, resizing each one so we have a whole field of Bucks. Be sure to keep each copy of Buck on it's own layer.
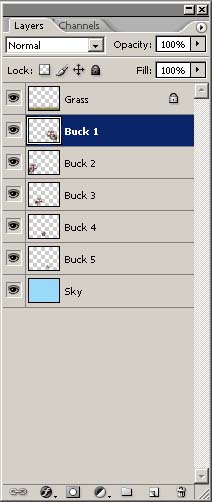
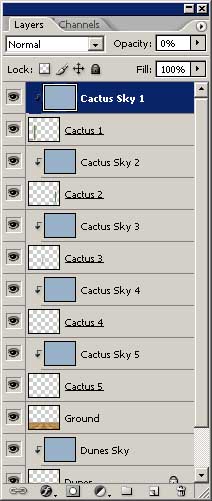
Now comes a slightly tedious part: I'm going to make several copies of the sky layer, one for each copy of Buck. Then I'll arrange each copy of the sky in front of it's corresponding Buck layer.

Next, we'll arrange the layer clipping masks so that each duplicate sky layer affects only its corresponding Buck image. You can do this by clicking on each sky layer, and then choosing Layer->Create Clipping Mask. This will cause the sky layer to be clipped by the image of Buck that it's in front of. You still won't be able to see anything, because each image of Buck is obscured by its clipped sky layer.
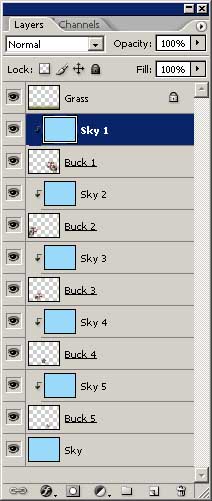
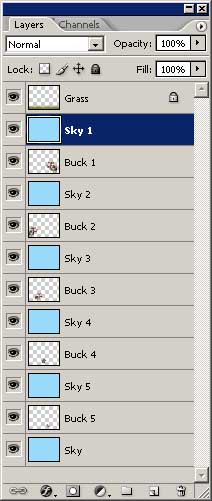
Now comes the fun part. For each copy of the sky, adjust the layer transparency so that the copies corresponding to closer images of Buck are more transparent than the copies that are further away.

And there you have it, totally adjustable atmospheric perspective. Just by changing the sky color, transparency levels, and overall coloration of the scene, you can create limitless atmospheric effects.
Here's the same grassy field in thick fog:
And the scene at sunset:
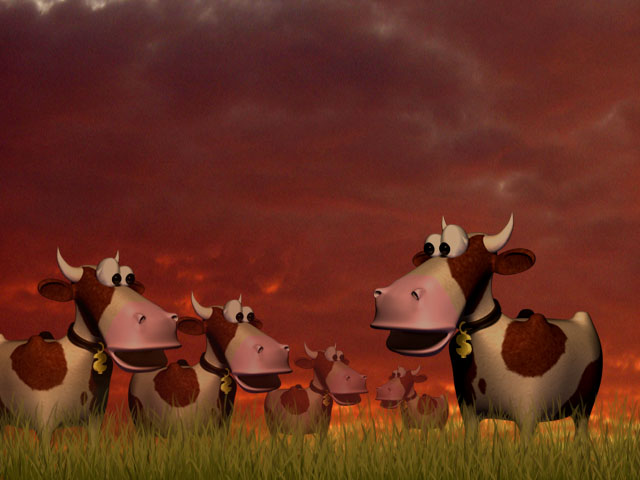
Note that on this one, I had to adjust the color balance of the scene to account for the warmer lighting.
Applying Perspective to the Ground Plane
The last example deliberately left out an important aspect of most images: the ground plane. Since the ground plane recedes into the distance, we cannot simply blend it with a solid color to achieve natural atmospheric perspective.
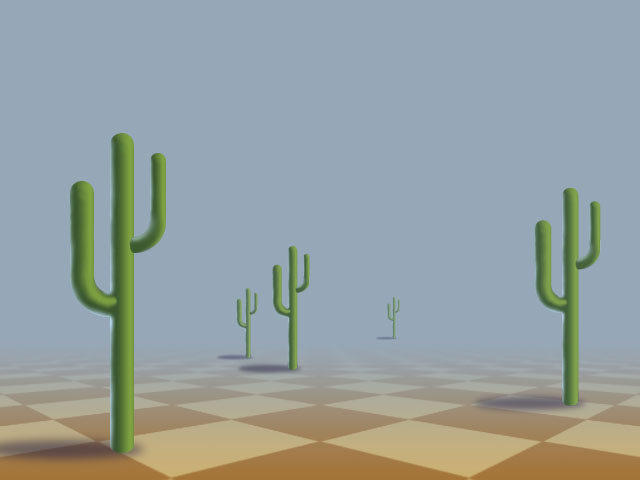
Let's take a look at another example. This time we have a sand-colored checkerboard desert floor, some sand dunes, and some cacti.

First, using the same steps as before, let's use layers of sky color to blend the dunes and cacti:
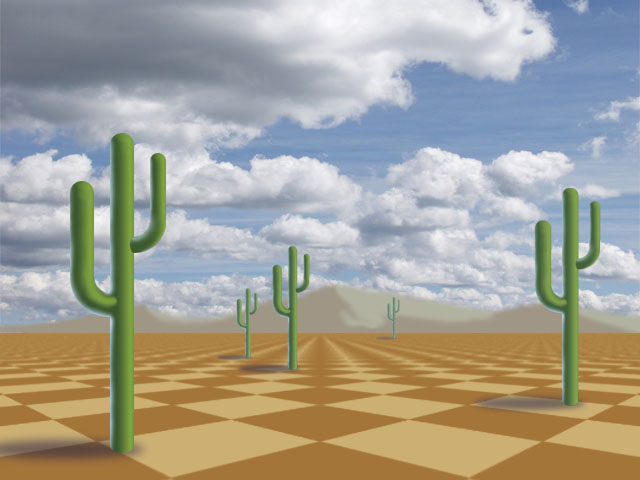
This is already looking much nicer. The dunes are pushed toward the horizon, and the closer cactus is brought forward. However, we still need to bring the ground itself into perspective. We can do this with a simple variation of the same technique.
First, make a new layer in front of the ground layer. Fill this layer with a gradient that starts with a fully opaque sky color on top and ends with a fully transparent sky color on bottom:
NOw use Layer->Create Clipping mask to limit the effects of this layer to the ground plane.

Now the transparency of the gradient needs to be adjusted to be consistent with the thickness of the atmosphere in the rest of the image:
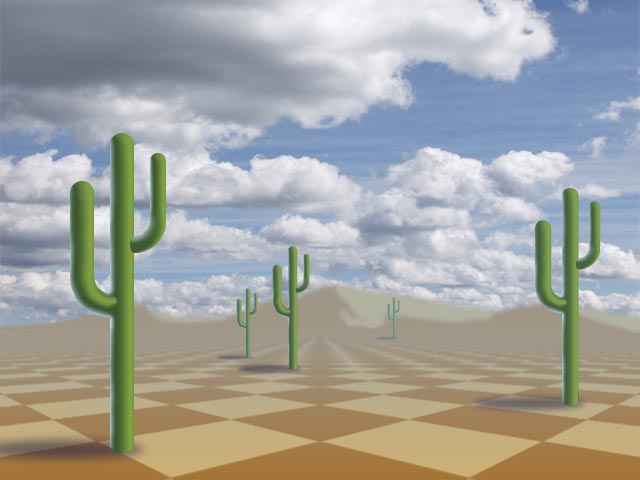
There we go! We've made a nice, dusty, desert scene.
Atmospheric Perspective in Games
The use of atmospheric perspective is absolutely vital in games. Since our eyes are naturally drawn to high-contrast objects with bright colors, game developers can use the desaturating effects of atmospheric perspective to draw the player's attention to vital onscreen elements.
Atmospheric perspective is especially important in 2D games. 2D games can't make use of geometric perspective, and so they rely heavily on the use of color choice to help players interpret the contents of the screen.
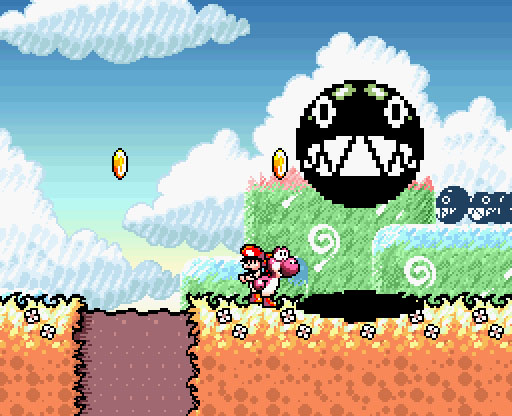
This screenshot of Super Mario World 2: Yoshi's Island is a perfect example. Notice how objects in the foreground have bright colors and black outlines. The hills and clouds in the background are rendered in subdued pastel tones. The falling Chomp in the foreground is made of pure black and pure white, while the Chomps waiting in the background are made of grayed, cool, tones. All these elements help the player quickly assess what's happening in the game.
Conclusion
Atmospheric perspective is an important but often overlooked method of creating depth in images. Virtually any time that objects are placed more than a few meters apart, atmospheric perspective comes into play. Luckily, unlike geometric perspective, atmospheric perspective is relatively easy to implement, especially with digital tools like Photoshop.
So next time you're making a picture, don't forget the air!

