The UFO
Updated for 2021 and to support version 1.12 of Orx.
This is part 2 of a series on creating a game with the Orx Portable Game Engine. Part 1 is here.
We have a playfield, and now we need a UFO character for the player to control.
The first step is the create the configuration for the ufo object in ufo.ini:
[UfoObject]
Graphic  = UfoGraphic
Position = (0, 0, -0.1)
This indicates that the UfoObject should use a graphic called UfoGraphic. Secondly, its position will be centered in the playfield with (x,y) = (0,0). The -0.1 is the Z-axis, and this will be placed above the BackgroundObject whose Z-axis is set to 0.
Then the UfoGraphic which the UfoObject needs:
[UfoGraphic]
Texture = ufo.png
Pivot   = center
Unlike the background object, our ufo object will need to be assigned to a variable. This will make it possible to affect the ufo using code:
Create the variable for our ufo object just under the orx.h include line:
#include "orx.h"
orxOBJECT *ufo;
And in the Init() function, create an instance of the ufo object with:
ufo = orxObject_CreateFromConfig("UfoObject");
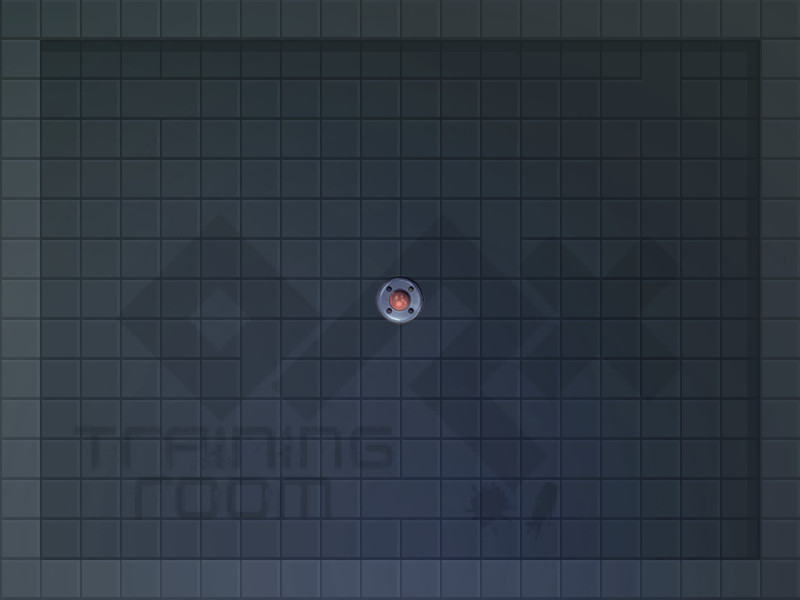
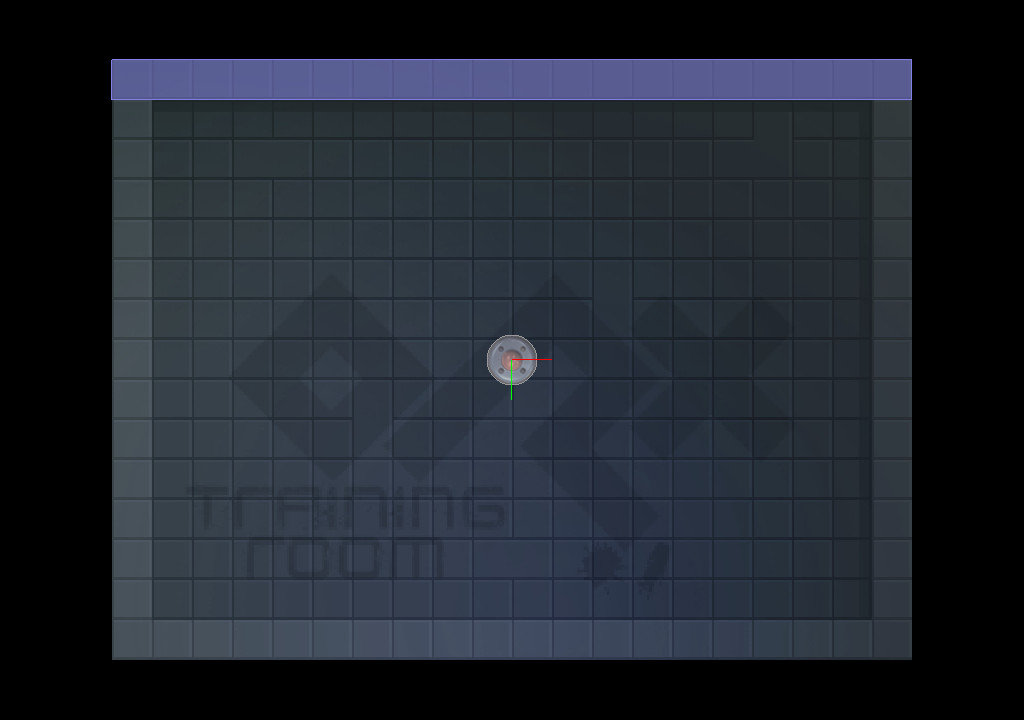
Compile and run. You'll see a ufo object in front of the background. Excellent.
Time to move to something a little more fun, moving the ufo.
Controlling the UFO
The ufo is going to be controlled using the cursor arrow keys on the keyboard.
The ufo will be moved by applying forces. Physics will be set up in the project in order to do this.
We will use the update function to read and respond to key presses.
Defining Direction Keys
Defining the keys is very straight forward. In the config file, expand the Input section in the ufo.ini by adding the four cursor keys:
[Input]
KEY_ESCAPE = Quit
KEY_UP     = GoUp
KEY_DOWN   = GoDown
KEY_LEFT   = GoLeft
KEY_RIGHT  = GoRight
Each key is being given a label name, like: GoUp or GoDown. These label names are available in our code to test against.
Let's test a key to ensure that our event is working well. Add the following code at the top of the Update function:
void orxFASTCALL Update(const orxCLOCK_INFO *_pstClockInfo, void *_pContext)
{
    if (ufo) {

        if (orxInput_IsActive("GoLeft")) {
            orxLOG("LEFT PRESSED!");
        }
    }
...
...
Every time Update is run, ufo is tested to ensure it exists, and then moves to check the input system for the label “GoLeft” (if it is active or pressed). Remember how GoLeft is bound to KEY_LEFT in the Input config section?
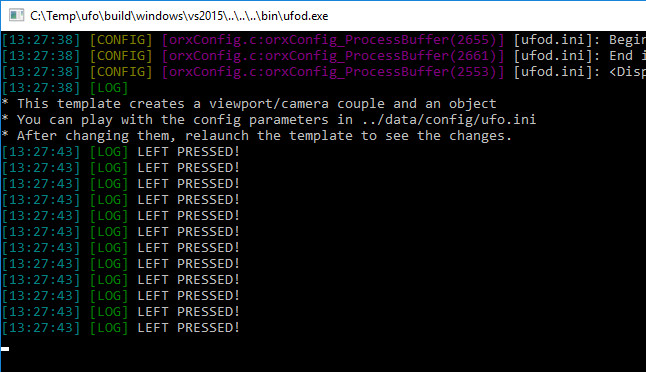
If that condition is true, send “LEFT PRESSED!” to the console output window while the key is pressed or held down. If you are running in fullscreen mode, you probably won't be able to see the console output. You can switch to window mode using:
Decoration = trueUnder the [Display] section. Alternatively, you can quit the game and check the contents of your ufod.log file which lives in the bin folder. orxLOG will write to this file as well as the console screen.
Soon we'll replace the orxLOG line with a function that places force on the ufo. But before that, we need to add physics to the ufo.
Compile and run.
Press the left arrow key and take note of the console window. Every time you press or hold the key, the message is printed. Good, so key presses are working.
Physics
In order to affect the ufo using forces, physics need to be enabled.
Begin by adding a Physics config section and setting Gravity with:
[Physics]
Gravity = (0, 980, 0)
In order for an object in Orx to be affected by physics, it needs both a dynamic body, and at least one bodypart. Give the ufo a body with the Body property:
[UfoObject]
Graphic  = UfoGraphic
Position = (0, 0, -0.1)
Body     = UfoBody
Next, create the UfoBody section and define the UfoBodyPart property:
[UfoBody]
Dynamic  = true
PartList = UfoBodyPart
The body part is set to Dynamic which means that it is affected by gravity and collisions. A body needs at least one part, and so we need to define the UfoBodyPart:
[UfoBodyPart]
Type  = sphere
Solid = true
The body part Type is set to be a sphere which will automatically size itself around the object's size, and the body is to be solid so that if it should collide with anything, it will not pass through it.
Compile and Run.
The ufo falls through the floor. This is because of the gravity setting of 980 in the y axis which simulates world gravity.
Our game is a top down game. So change the Gravity property to:
[Physics]
Gravity = (0, 0, 0)
Re-run (no compile needed) and the ufo should remain in the centre of the screen.
The Physics section has another handy property available to visually test physics bodies on objects: ShowDebug. Add this property with true:
[Physics]
Gravity   = (0, 0, 0)
ShowDebug = true
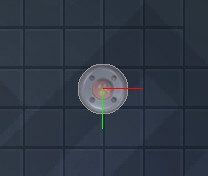
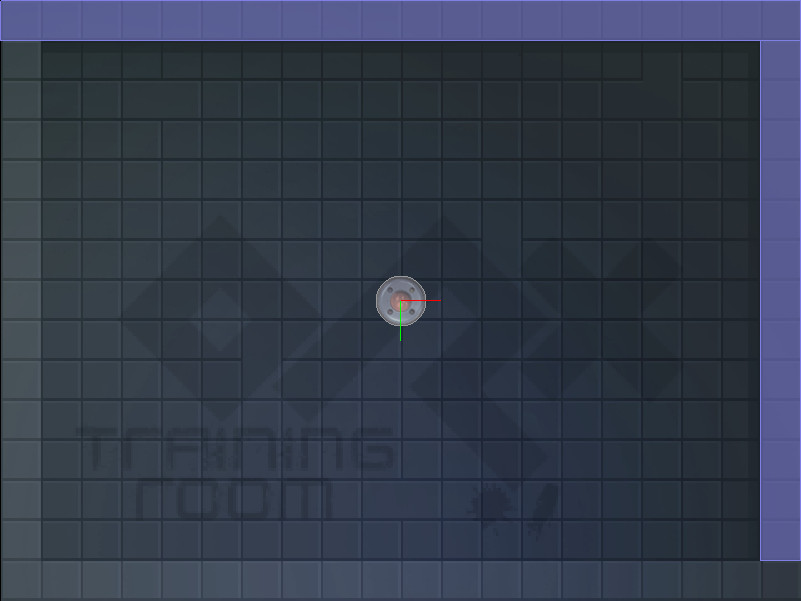
Re-run, and you will see a pinkish sphere outline automatically sized around the ufo object.
For now we'll turn that off again. You can do this by changing the ShowDebug value to false, adding a ; comment in front of the line or simply just deleting the line. We'll set our ShowDebug to false:
[Physics]
Gravity   = (0, 0, 0)
ShowDebug = false
Let's add some force to the ufo if the left cursor key is pressed. Change the code in the Update function to be:
void orxFASTCALL Update(const orxCLOCK_INFO *_pstClockInfo, void *_pContext)
{
  if (ufo) {

    const orxFLOAT FORCE = 80;
    orxVECTOR leftForce= { -FORCE, 0, 0 };

    if (orxInput_IsActive("GoLeft")) {
        orxObject_ApplyForce(ufo, &leftForce, orxNULL);
    }
  }
}
The orxObject_ApplyForce function takes an orxVECTOR facing left and applies it to the ufo object.
Compile and re-run.
If you press and release the left arrow key, the ufo will move to the left. If you hold the left key down, the ufo will increase its speed and move out the left hand side of the screen.

Even if you tap the left key once quickly, the ufo will still eventually travel out of the left of the screen. There is no friction yet to slow it down, or any barriers to stop it going out of the screen.
Barrier Around The Border
Even though the background looks it has a border, it is really only a picture. In order to create a barrier for the ufo, we will need to wrap the edges using some body parts.
This means, the background object will also be given a body, and four body parts, one for each wall. Start with adding a body to the object:
[BackgroundObject]
Graphic  = BackgroundGraphic
Position = (0, 0, 0)
Body     = WallBody
And then the body itself:
[WallBody]
Dynamic  = false
PartList = WallTopPart # WallRightPart # WallBottomPart # WallLeftPart
This is different from the ufo body. This body is not dynamic. This means that it is a static body, one that cannot be affected by gravity. But dynamic objects can still collide with it. Also, there are four parts to this body, unlike the ufo which only had one.
Start with the WallTopPart first:
[WallTopPart]
Type        = box
Solid       = true
TopLeft     = (-400, -300, 0)
BottomRight = (400, -260, 0)
In this part, the type is a box body part. It is set to solid for collisions, ie so that a dynamic object can collide with it but not pass though it.
Stretch the box to cover the region from (-400,-300) to (400, -260).
At this point, it might be a good idea to turn on the physics debugging to check our work:
[Physics]
Gravity   = (0, 0, 0)
ShowDebug = true
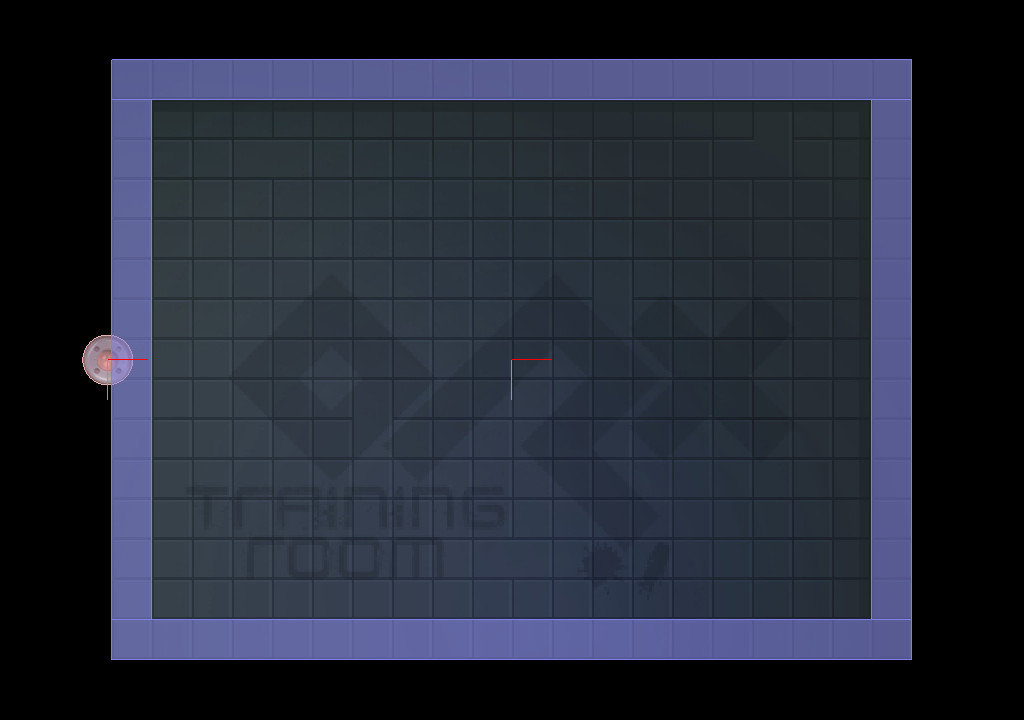
Re-run the project.
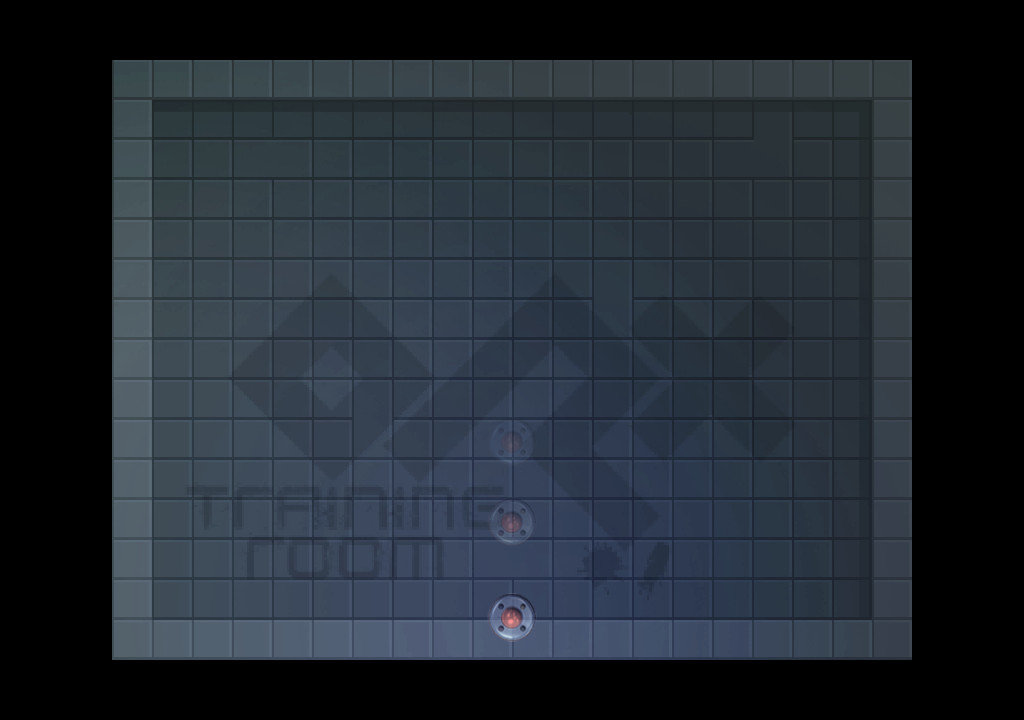
The top wall region should cover the top barrier squares:
Great. Next, we'll do the right hand side. But rather than copy all the same values, we'll reuse some from the top wall:
[WallRightPart@WallTopPart]
TopLeft     = (360, -260,0)
BottomRight = (400, 260, 0)
Notice the @WallTopPart in the section name? This means: copy all the values from WallTopPart, but any properties in WallRightPart will take priority.
Therefore, use the Type, and Solid properties from WallTopPart, but use our own values for TopLeft and BottomRight for the WallRightPart section.
This is called “Section Inheritance”. This will come in very handy soon when we tweak values or add new properties to all four wall parts.
Re-run the project, and there will now be two walls.
Define the last two walls using the same technique:
[WallBottomPart@WallTopPart]
TopLeft     = (-400,260,0)
BottomRight = (400, 300, 0)

[WallLeftPart@WallTopPart]
TopLeft     = (-400,-260,0)
BottomRight = (-360, 260, 0)
Now there are four walls for the ufo to collide with.
Re-run and try moving the ufo left into the wall.
Oops, it doesn't work. It still passes straight though. There is one last requirement for the collision to occur: we need to tell the physics system, who can collide with who.
We'll cover that in Part 3.


Thank you! I really love to code, but it takes a very long time. Now I want to focus on my studies at the institute and improve my grades. My friend advises to contact this service - https://supremedissertations.com/ so that they write some student papers for me.