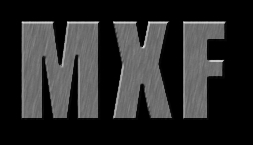
First, make a [color="#8B0000"]new image [/color]and type the text you want with the [color="#8B0000"]text tool[/color]. Make the text [color="#8B0000"]grey [/color](168, 168, 168).

Right click on the text layer, [color="#8B0000"]render it[/color], and add the [color="#8B0000"]Bevel and Emboss [/color]effect.
Use these settings:
Highlight and Shadow Opacity: 80%
Style: Inner Bevel
Angle: 120
Depth: 10
Blur: 1
Not much yet...

Now is the important part: make a [color="#8B0000"]new black layer[/color], go to the [color="#8B0000"]Filters [/color]menu, and add a [color="#8B0000"]Noise->Add Noise [/color]filter.
Use these settings:
Amount: 55
Distribution: Uniform
Monochromatic: checked
Click [color="#8B0000"]Ctrl-F [/color]to add it again. Next, add the [color="#8B0000"]Blur->Motion Blur [/color]filter.
Angle: 80
Distance: 10
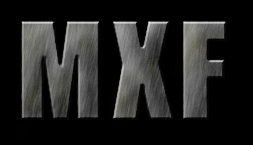
Now change the layer [color="#8B0000"]Mode [/color]to [color="#8B0000"]Overlay[/color].
Next, have at it with the [color="#8B0000"]Dodge [/color]and [color="#8B0000"]Burn [/color]tools with a [color="#8B0000"]medium sized brush [/color]with [color="#8B0000"]opacity [/color]at [color="#8B0000"]10-15%. [/color]

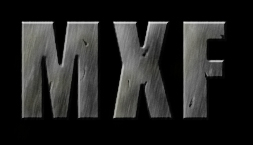
Add a little brownish looking rusty stuff with the [color="#8B0000"]Airbrush [/color]at [color="#8B0000"]8% [/color]opacity and a [color="#8B0000"]medium brush[/color]. If you do too much, just use the [color="#8B0000"]Sponge [/color]tool set on [color="#8B0000"]Desaturate [/color]at about [color="#8B0000"]20% [/color]opacity. I also [color="#8B0000"]Blurred [/color]it twice and [color="#8B0000"]Sharpened [/color]it once to antialias it.
Now, add some dents. Make the dark part with the [color="#8B0000"]Burn [/color]tool with a [color="#8B0000"]1 pixel brush [/color]and [color="#8B0000"]30% [/color]opacity and the light parts with a [color="#8B0000"]Dodge [/color]tool and the same settings.
I added the bottom part as an afterthought. I just made a selection with the [color="#8B0000"]Marquee [/color]tool and [color="#8B0000"]filled it [/color]with [color="#8B0000"]grey[/color]. The I made some [color="#8B0000"]text[/color], [color="#8B0000"]rendered [/color]the layer, did an [color="#8B0000"]Inner Bevel[/color], and [color="#8B0000"]Merged [/color]it with the MXF layer. Then I [color="#8B0000"]Dodged[/color], [color="#8B0000"]Burned[/color], and [color="#8B0000"]Airbrushed [/color]it to make look like the MXF. I also did a lot of [color="#8B0000"]Desaturating[/color].
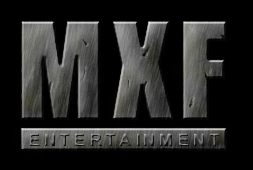
This image was done using the same technique as the one above. I just spent a little more time on it. I would have used it, but I didn't have each of the steps as a separate image.