
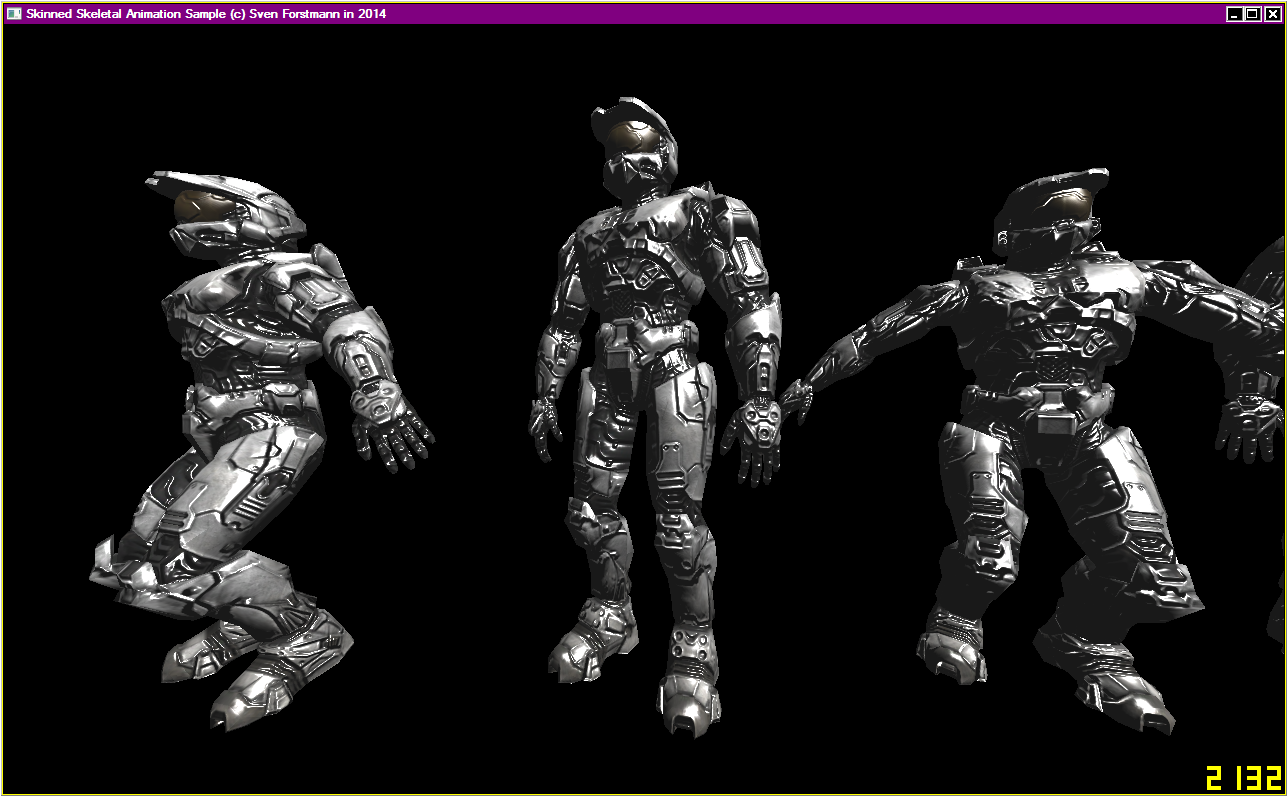
Today I completed a skinned skeletal animation tutorial, which is very helpful if you are just about to start with game development.
Different from the other tutorials I found in the web, this one is very light weight ( < 800 lines for the main mesh & animation code ) and works well with most modeling environments.
Summary
It has the following properties / features:
- GPU Skinning / Matrix Palette Skinning
- Bump Mapping (automatic normal map generation)
- Spheric environment mapping
- Ogre XML Based
- Shaders in GLSL
- Visual Studio 2010
- Select LOD level with F1..F5
It is ready to use, which means you can load and display the animated models in a few lines of code:
static Mesh halo("halo.material",//	 required material file)
		 "halo.mesh.xml",//	 required mesh file
		 "halo.skeleton.xml");// optional skeleton file

int idle = halo.animation.GetAnimationIndexOf("idle");

halo.animation.SetPose(idle,	   // animation id (2 animations, 0 and 1, are available)
  		    time_elapsed); // time in seconds. animation loops if greater than animation time

halo.Draw( vec3f(0,0,0),	// position
	   vec3f(0,0,0),	// rotation
	    0);			// LOD level
.
Also getting a bone matrix to put a weapon in the hand of the player e.g. is very simple:
int index  = halo.animation.GetBoneIndexOf("joint1");
matrix44 m = halo.animation.bones[ index ].matrix;
.
Setting the arm joint individually for shooting a weapon e.g. works as follows:( press F6 in the demo ):
// get the index
int index  = halo.animation.GetBoneIndexOf("joint2");

// get / modify / set the matrix
matrix44 m = halo.animation.bones[ index ].matrix;
m.x_component()=vec3f(1,0,0);
m.y_component()=vec3f(0,1,0); // set the rotation to identity
m.z_component()=vec3f(0,0,1);
halo.animation.bones[ index ].matrix=m;

// re-evaluate the child bones
loopi(0,halo.animation.bones[ index ].childs.size())
{
    halo.animation.EvalSubtree(
        halo.animation.bones[ index ].childs[i], // bone id
        halo.animation.animations[0],            // animation
        -1);                                     // key frame -1 means not use the animation
}
.
Workflow:
- Design the Model in Maya/MAX/Blender/etc.
- Export the model using the OgreExporter
- Convert the model from Ogre binary to Ogre XML (batch file is included)
- Load the model in the tutorial code
Main Skinning in GLSL:
The main skinning is done in the vertex shader and only requires a few lines.
For the shader, the skinning weights are stored in the color information as 3 floats.
The bone IDs are unpacked from the w coordinate of the position information.
The bone matrixes are stored as simple matrix array.
uniform mat4 bones[100];
uniform int  use_skinning;

void main(void)
{
    mat4 mfinal = gl_ModelViewMatrix ;

    // skinning
    if(use_skinning==1)
    {
    	vec3 weights= gl_Color.xyz;
    	vec3 boneid = gl_Vertex.w * vec3( 1.0/128.0 , 1.0 , 128.0 );
    	boneid = (boneid - floor(boneid))*128.0;

    	mat4 mskin  =	bones[int(boneid.x)]*weights.x+
	    		bones[int(boneid.y)]*weights.y+
			bones[int(boneid.z)]*weights.z;
    	mfinal = mfinal * mskin;
    }

    gl_Position	= gl_ProjectionMatrix * mfinal * vec4(gl_Vertex.xyz,1.0);
}

")
 . I just want to point out some stuff, you could consider if you want to update your tutorial in the future.


