Hey,
I'm an amateur game designer. For the test level of my game, I decided to create a carbon copy of a crossroads from Google Maps (due to a complete lack of imagination, obv.). The problem was - I had zero modeling or texturing experience. But that did not stop me, I picked Blender as the modeling software and Substance Painter as the texturing one and learning-while-creating in 8 months I ended up here:
The crossroads:
https://www.google.com.ua/maps/@38.9163424,-77.0220187,3a,75y,348.12h,88.25t/data=!3m6!1e1!3m4!1s1R-P0RhbdBywAMboPkAszQ!2e0!7i13312!8i6656
Make sure you are watching 2016's pictures, cuz those were the ones I used.
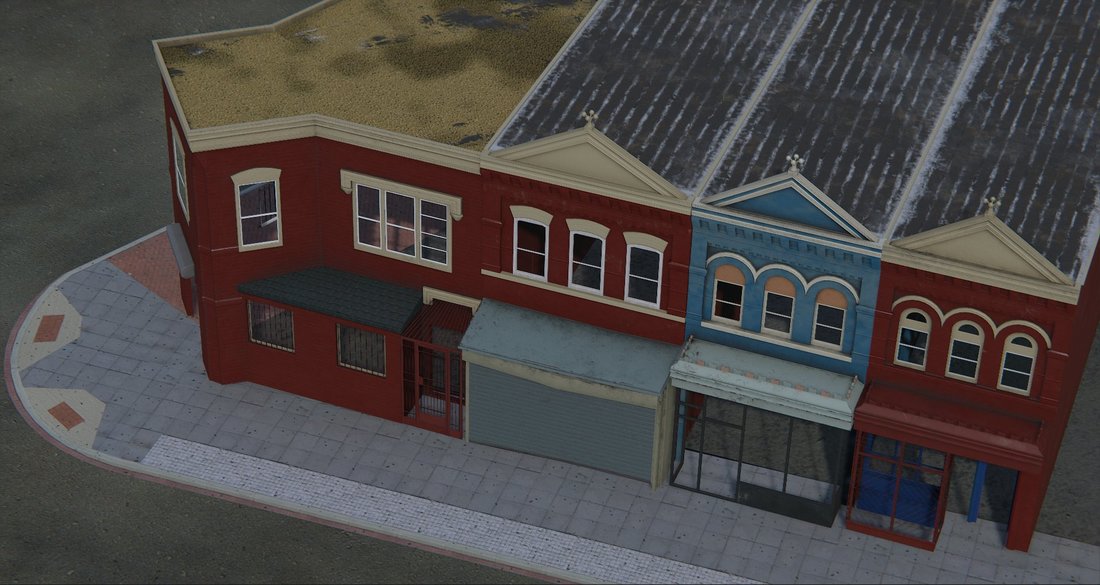
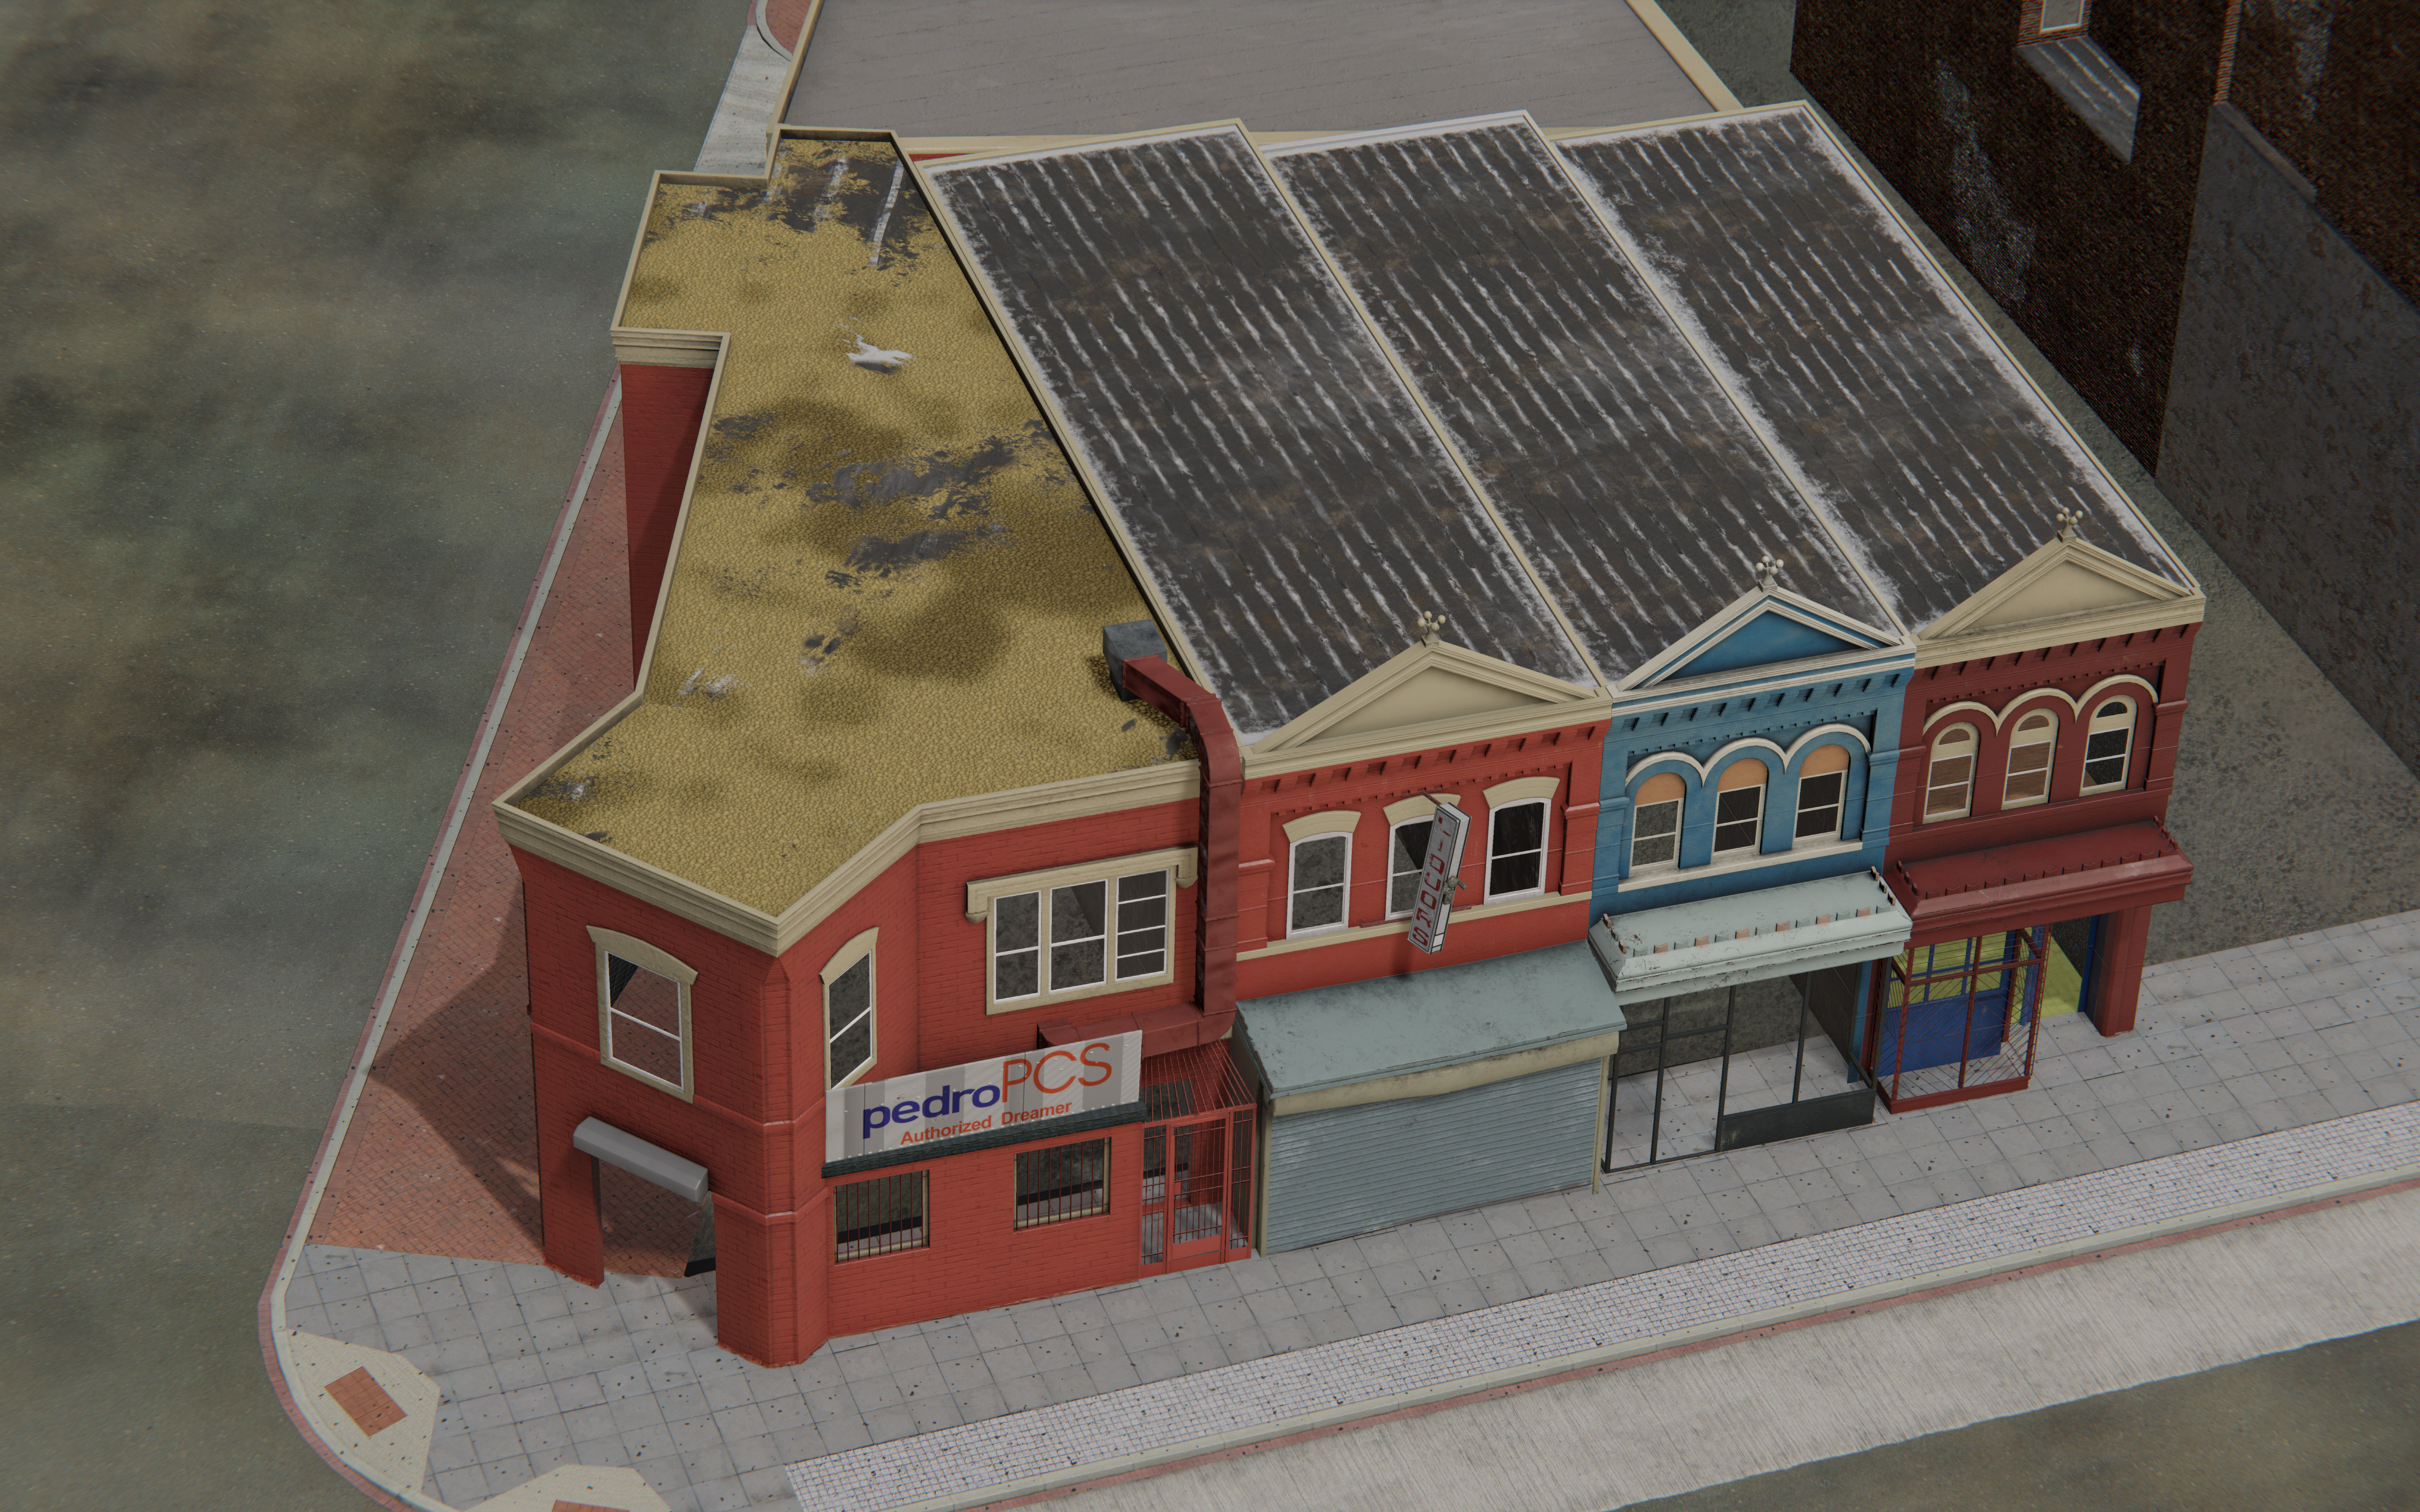
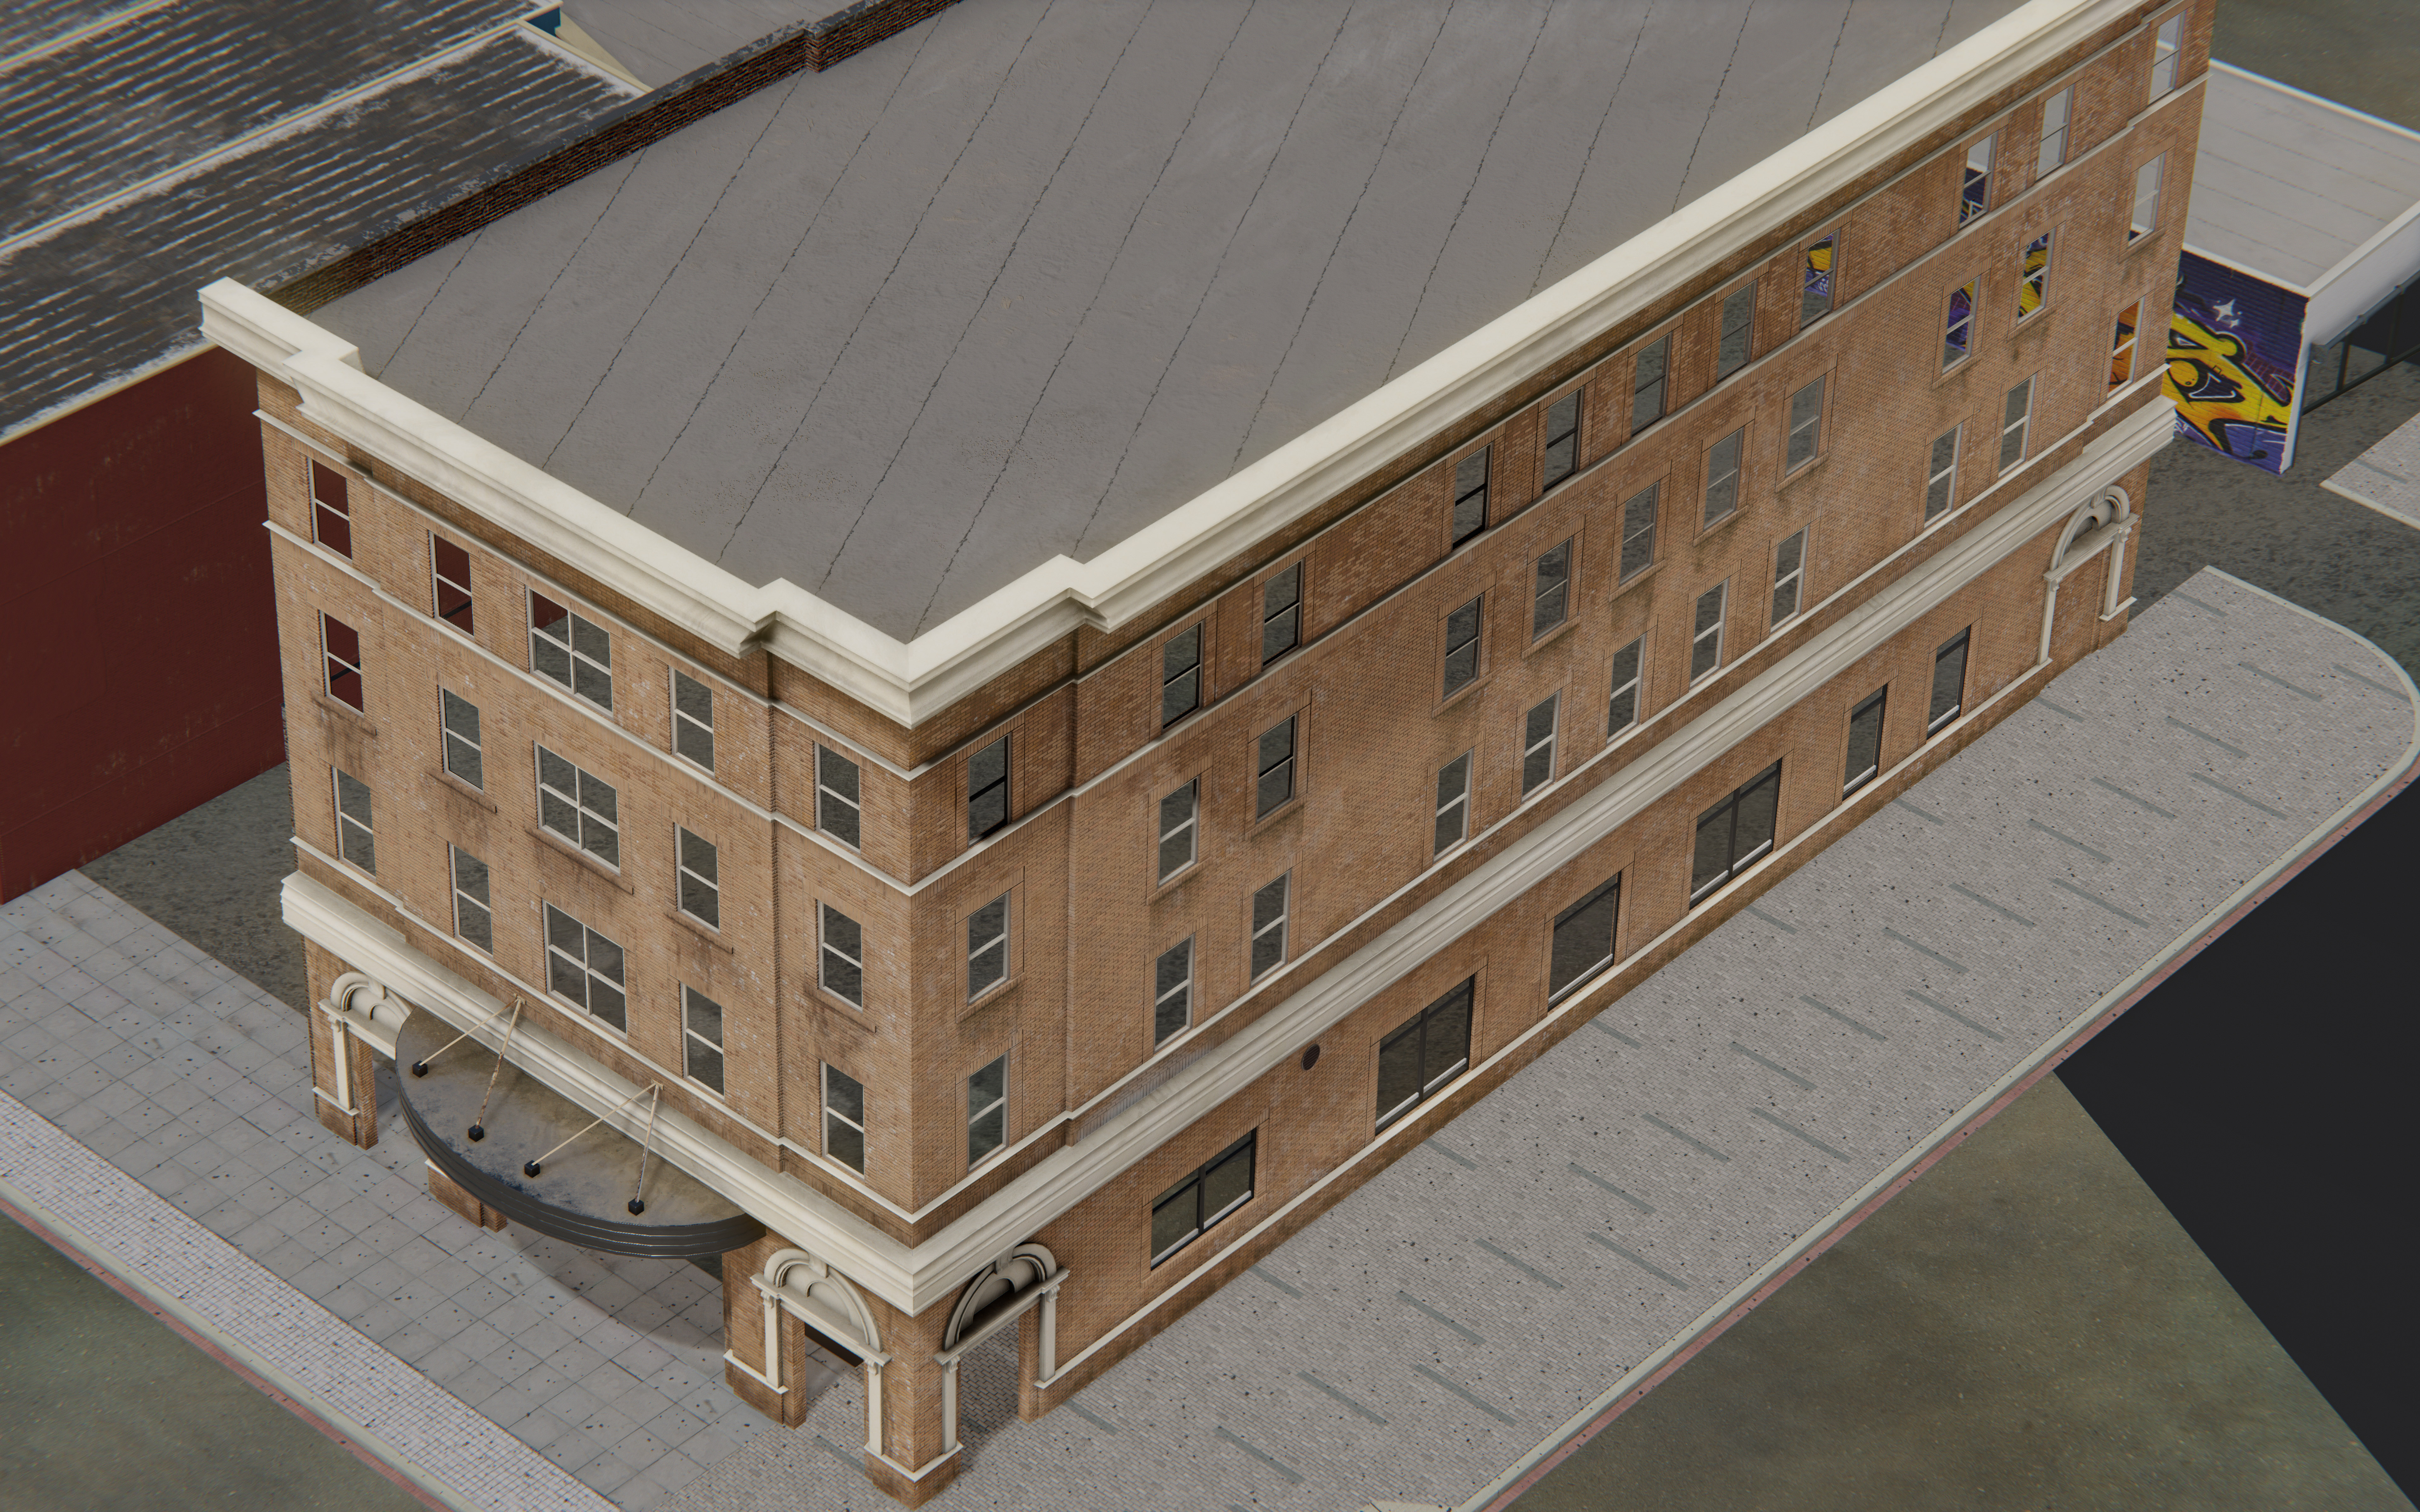
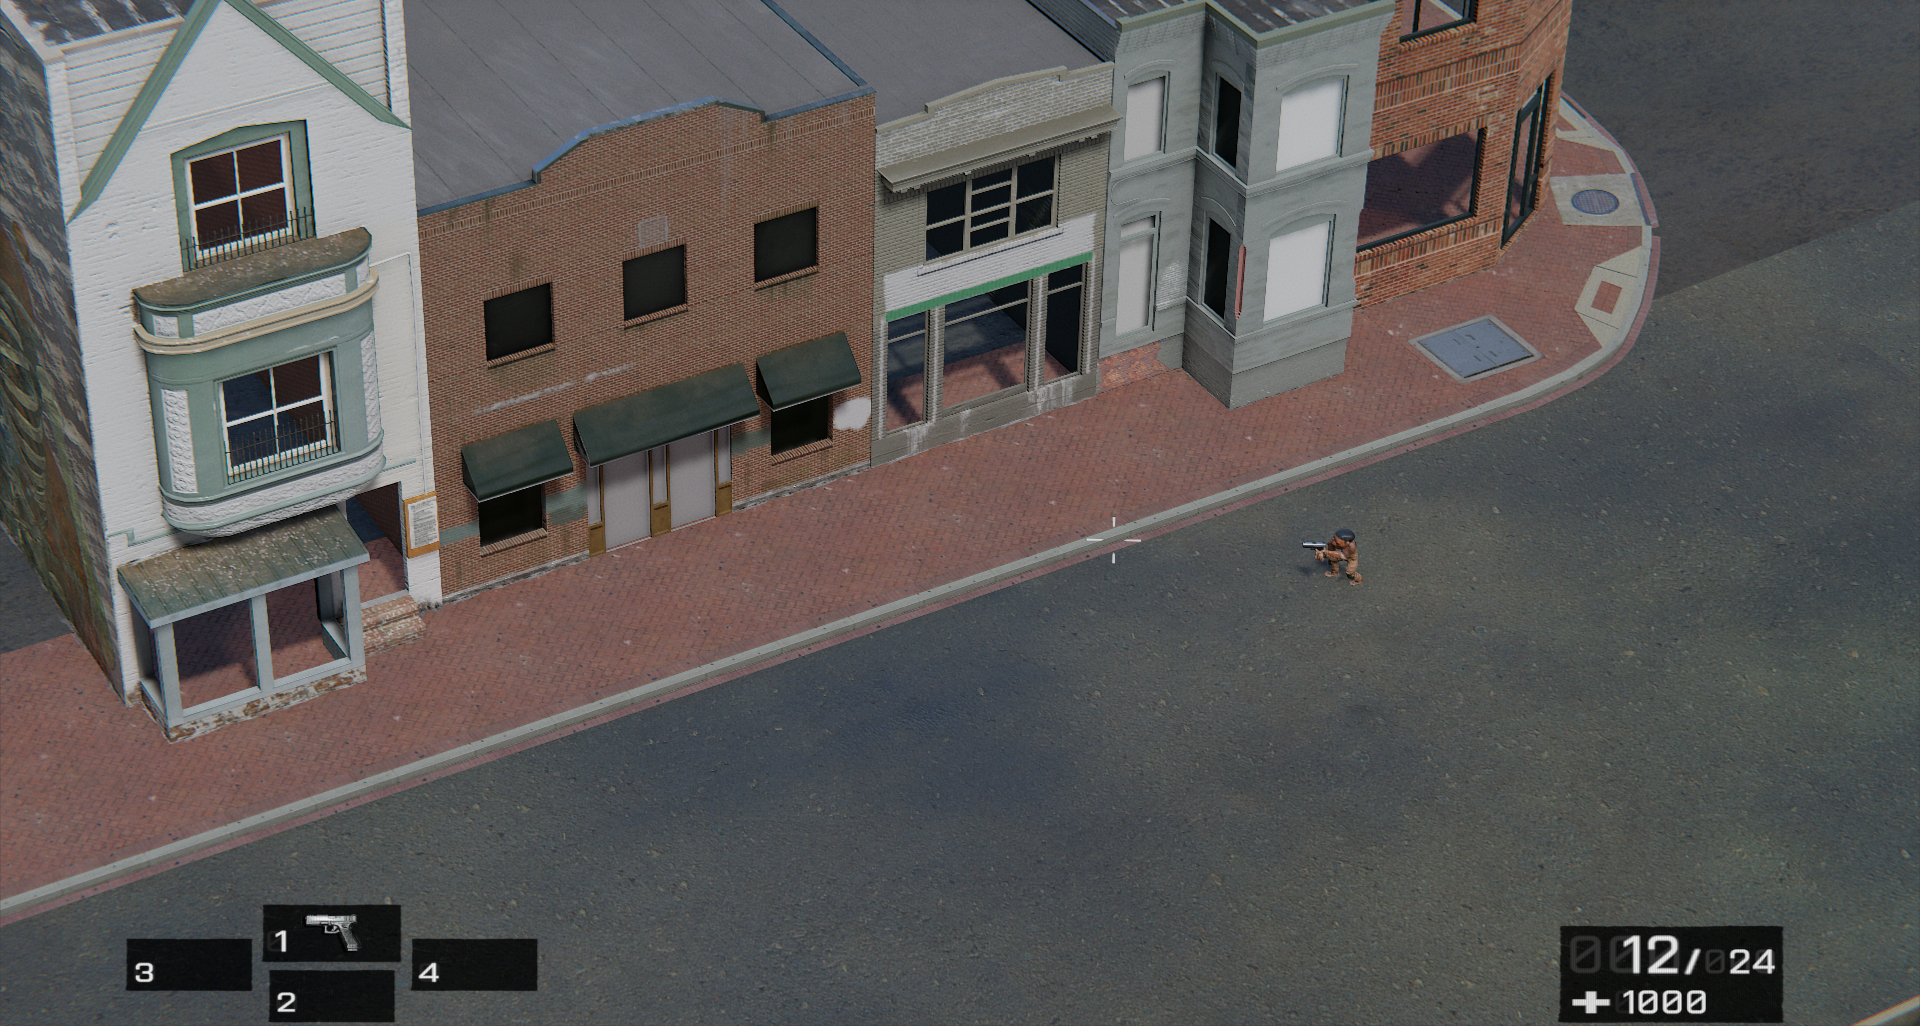
The copy:
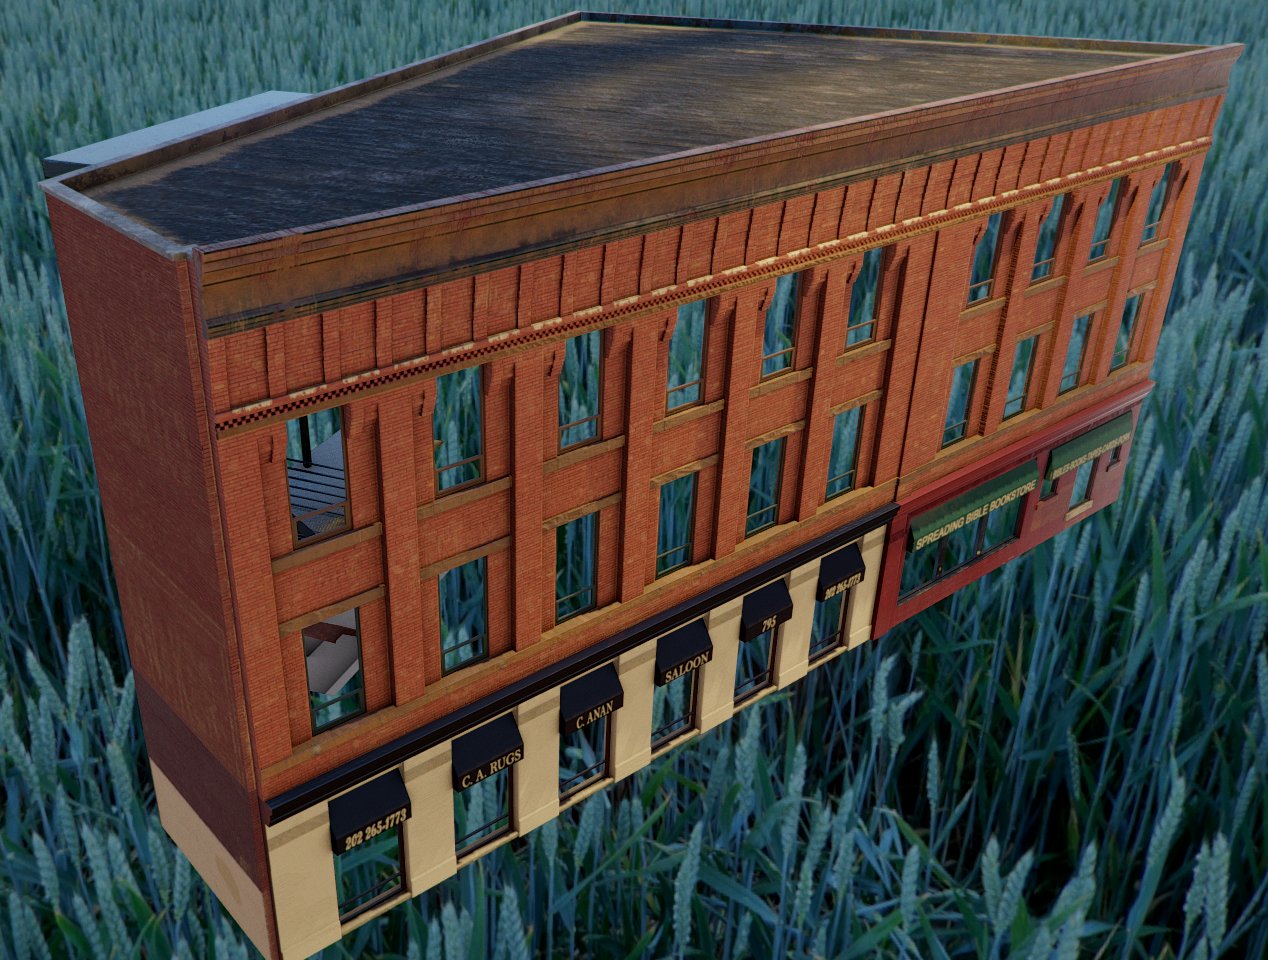
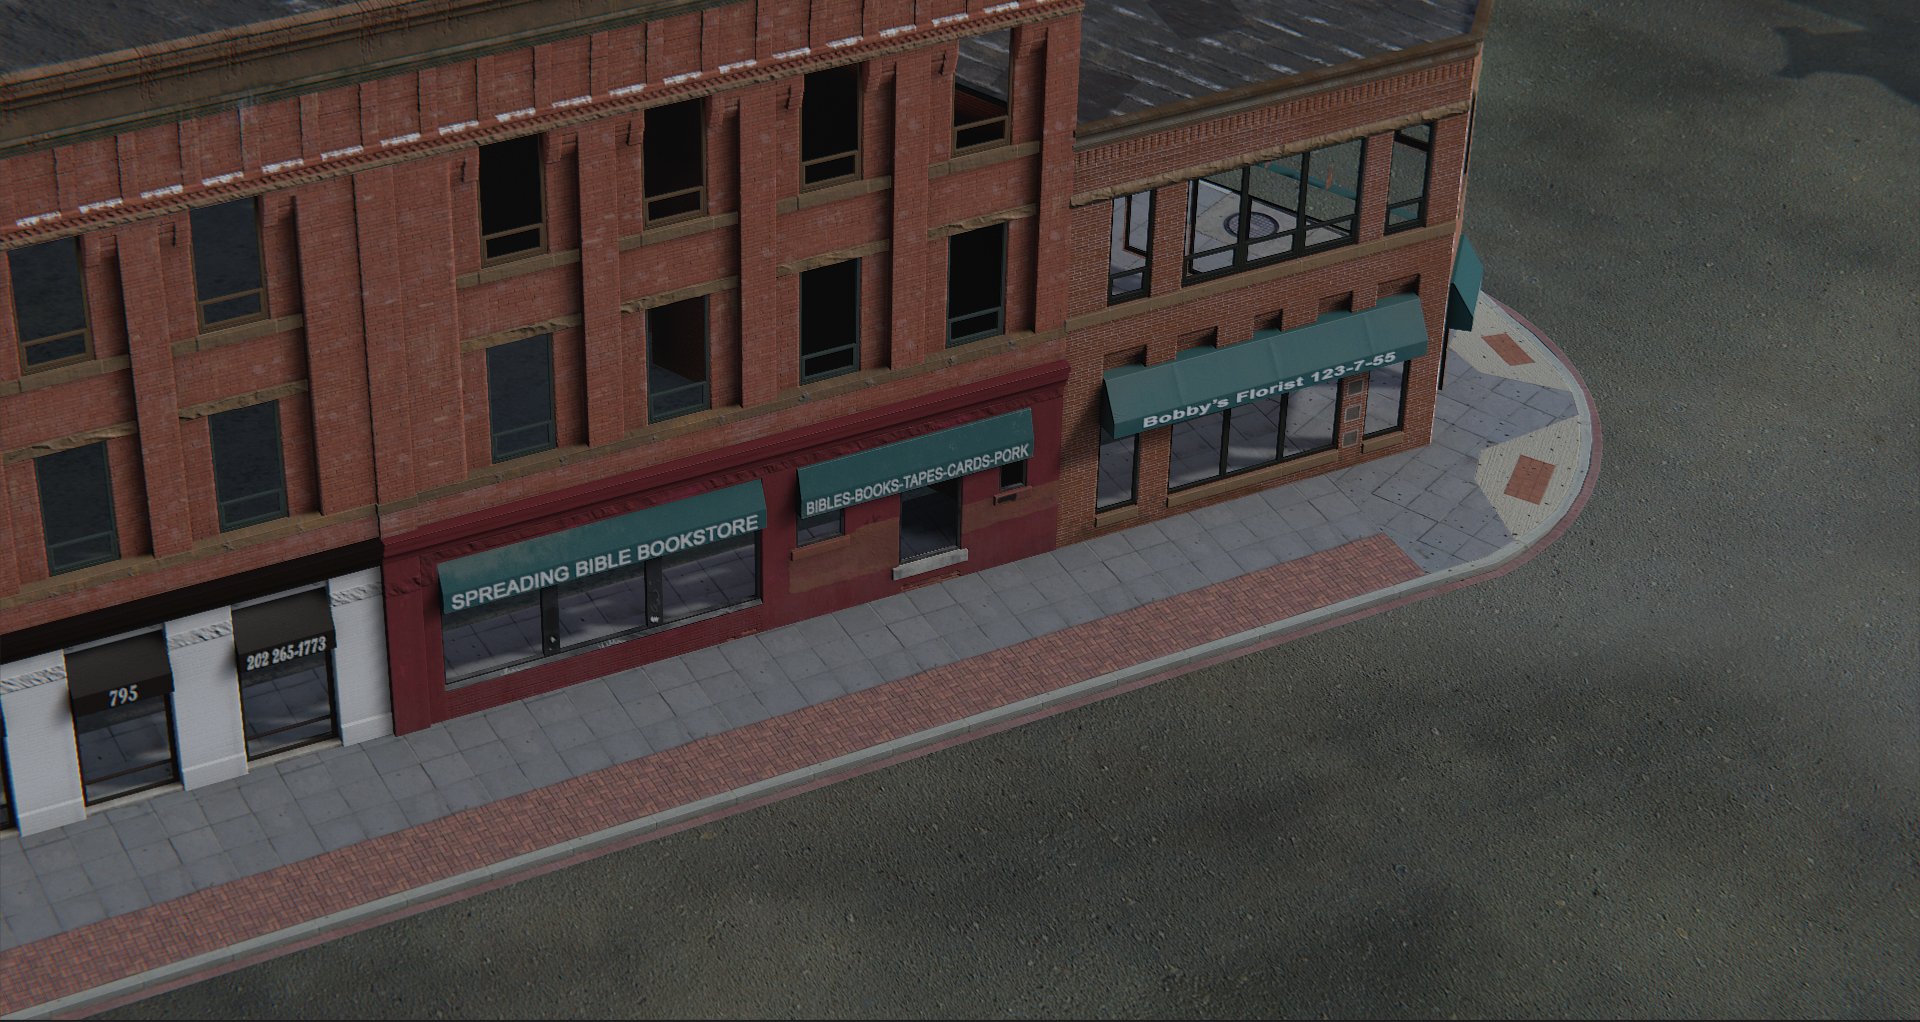
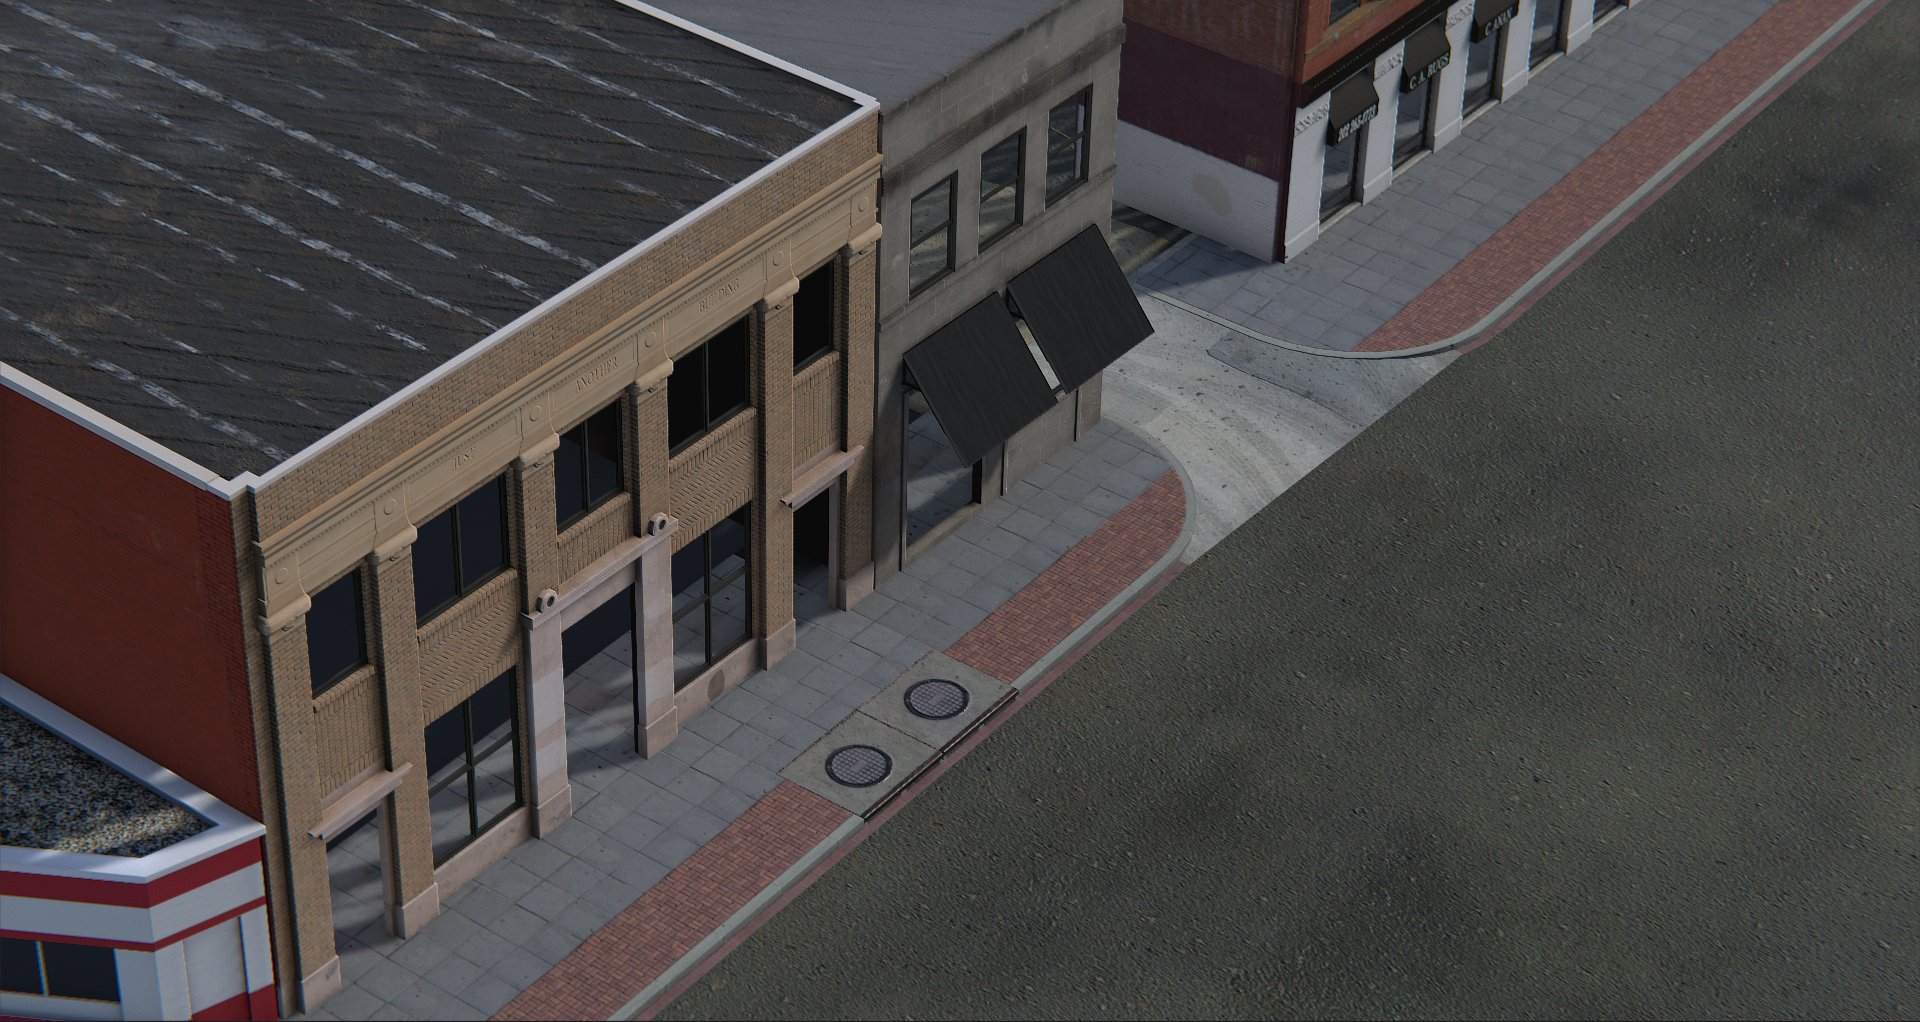
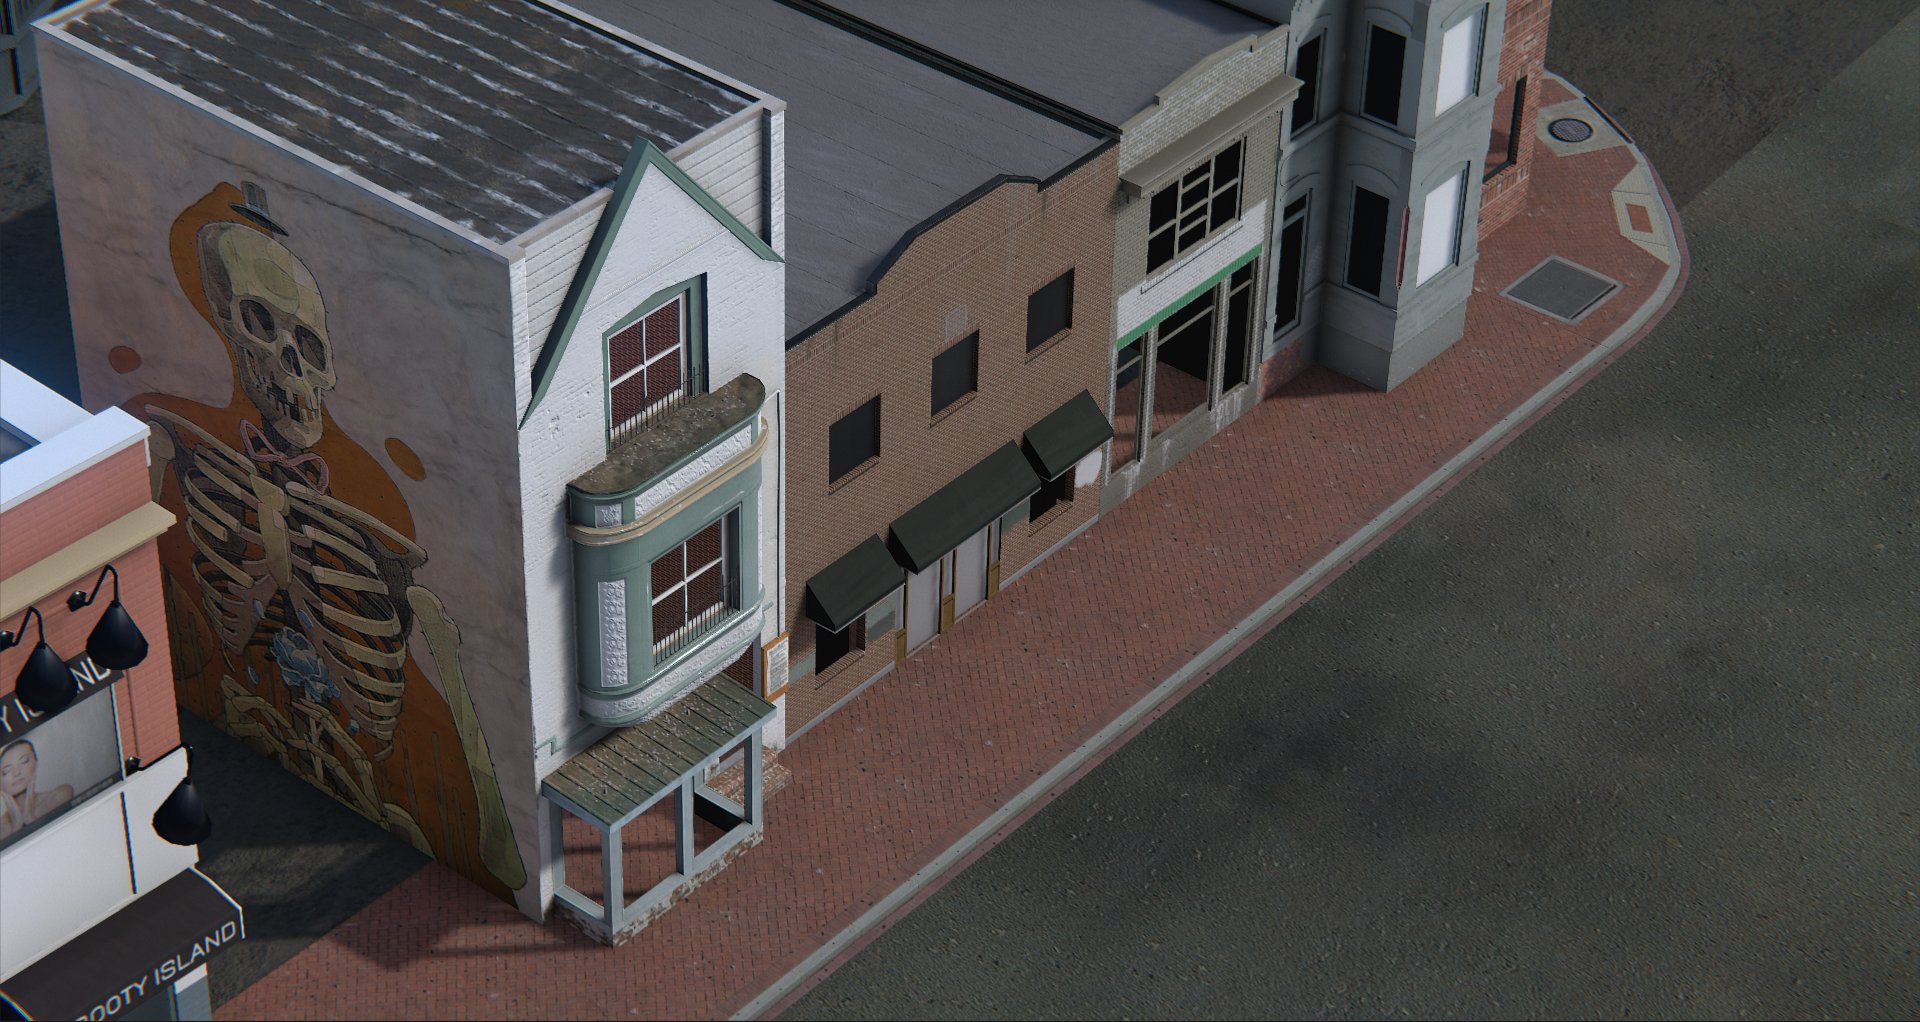
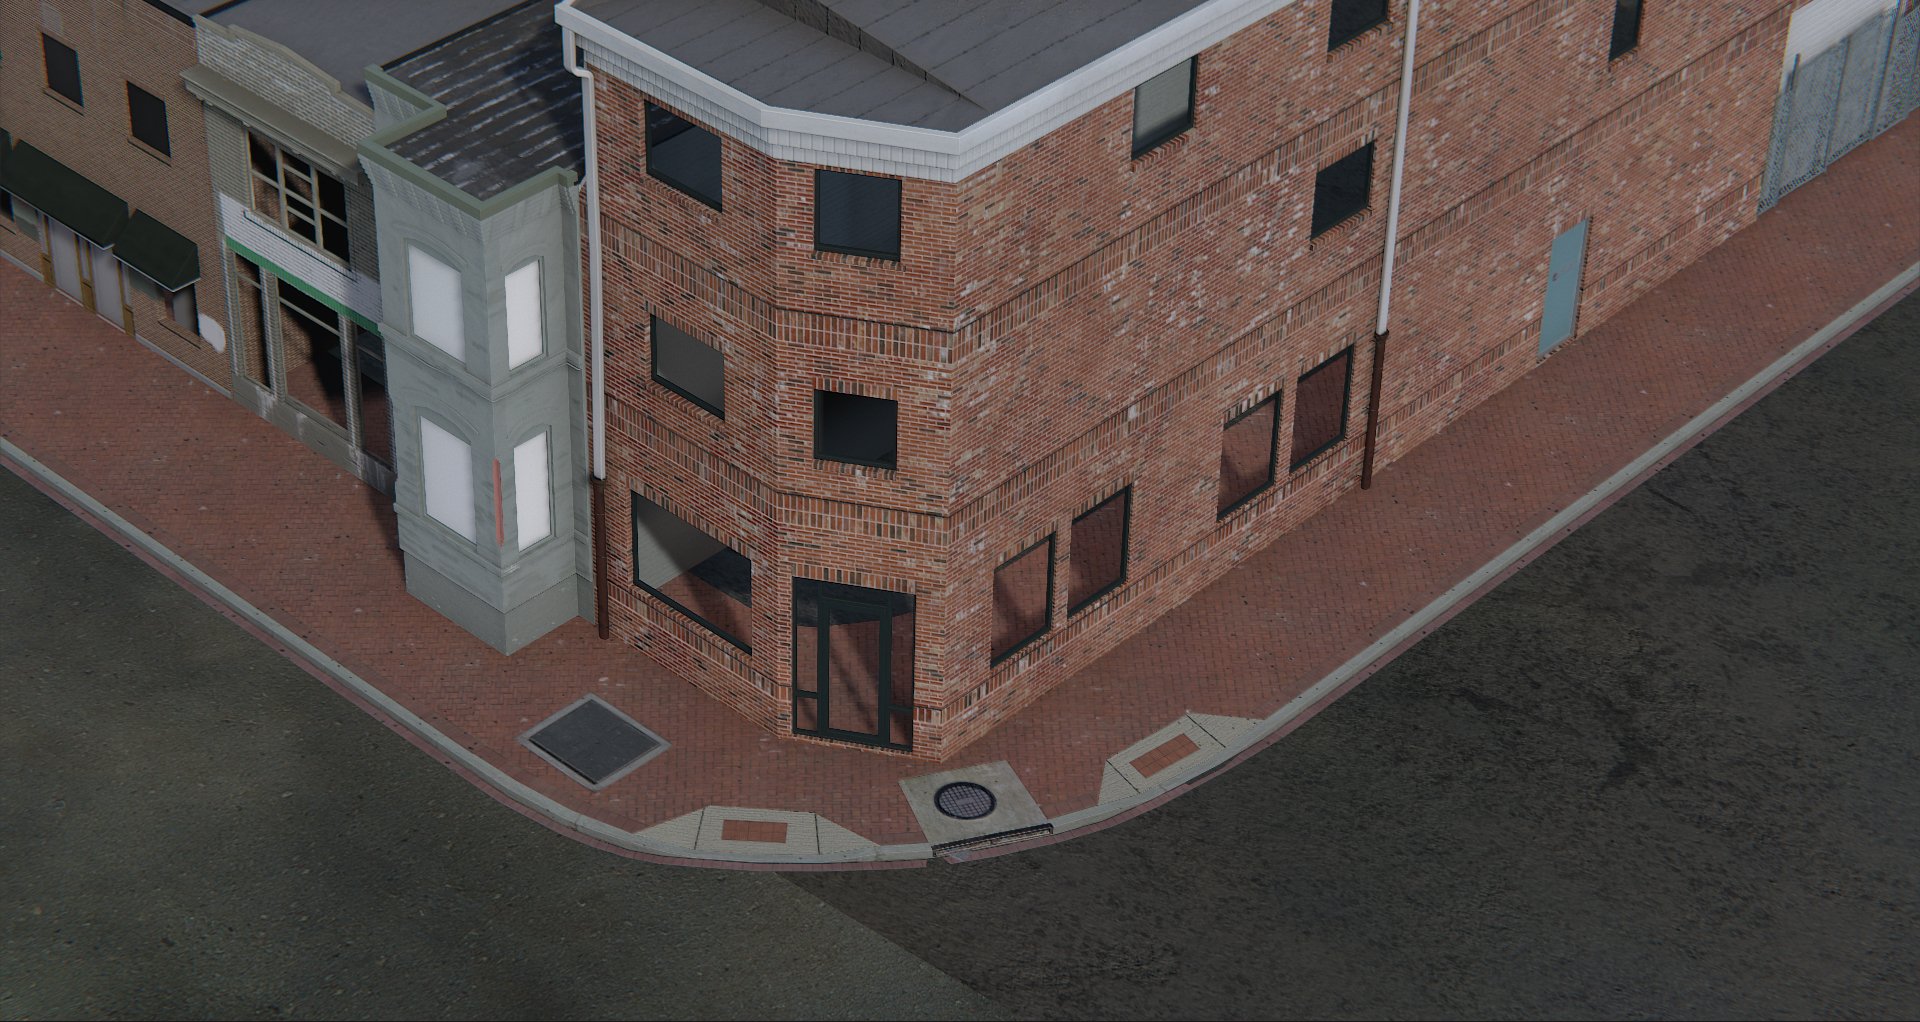
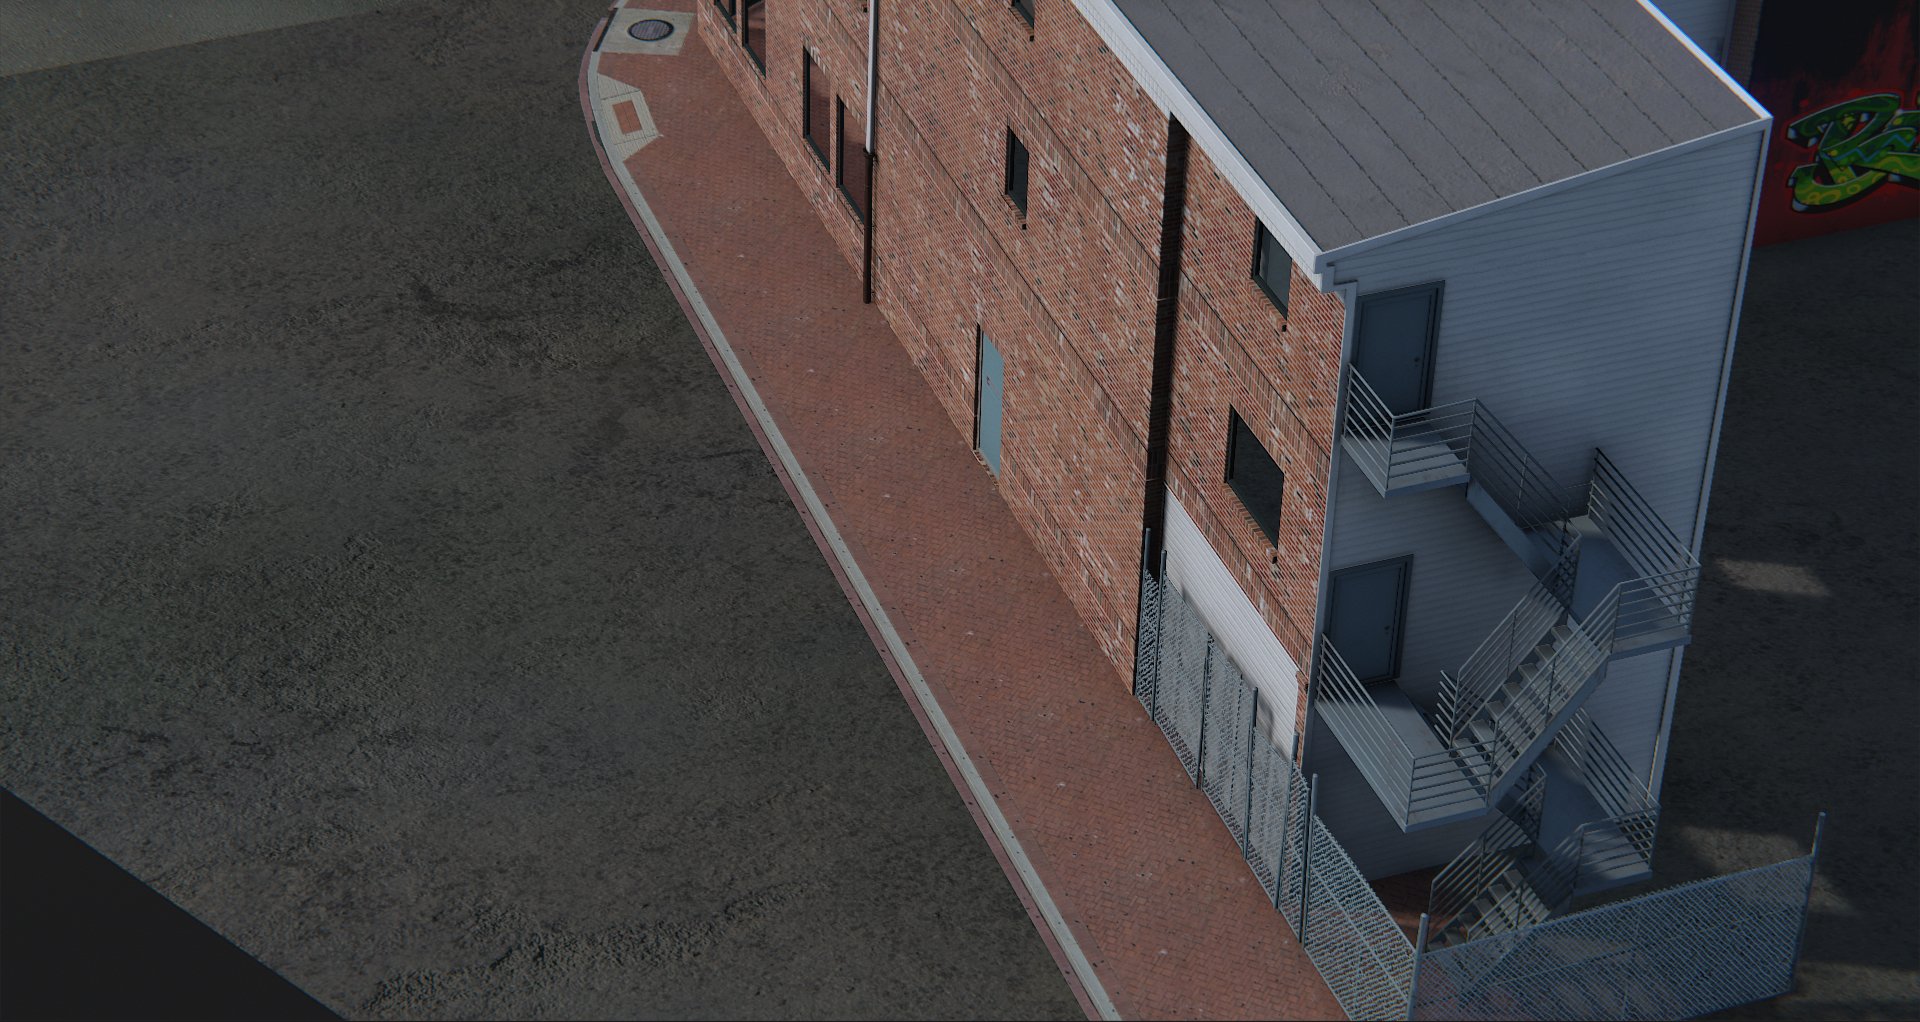
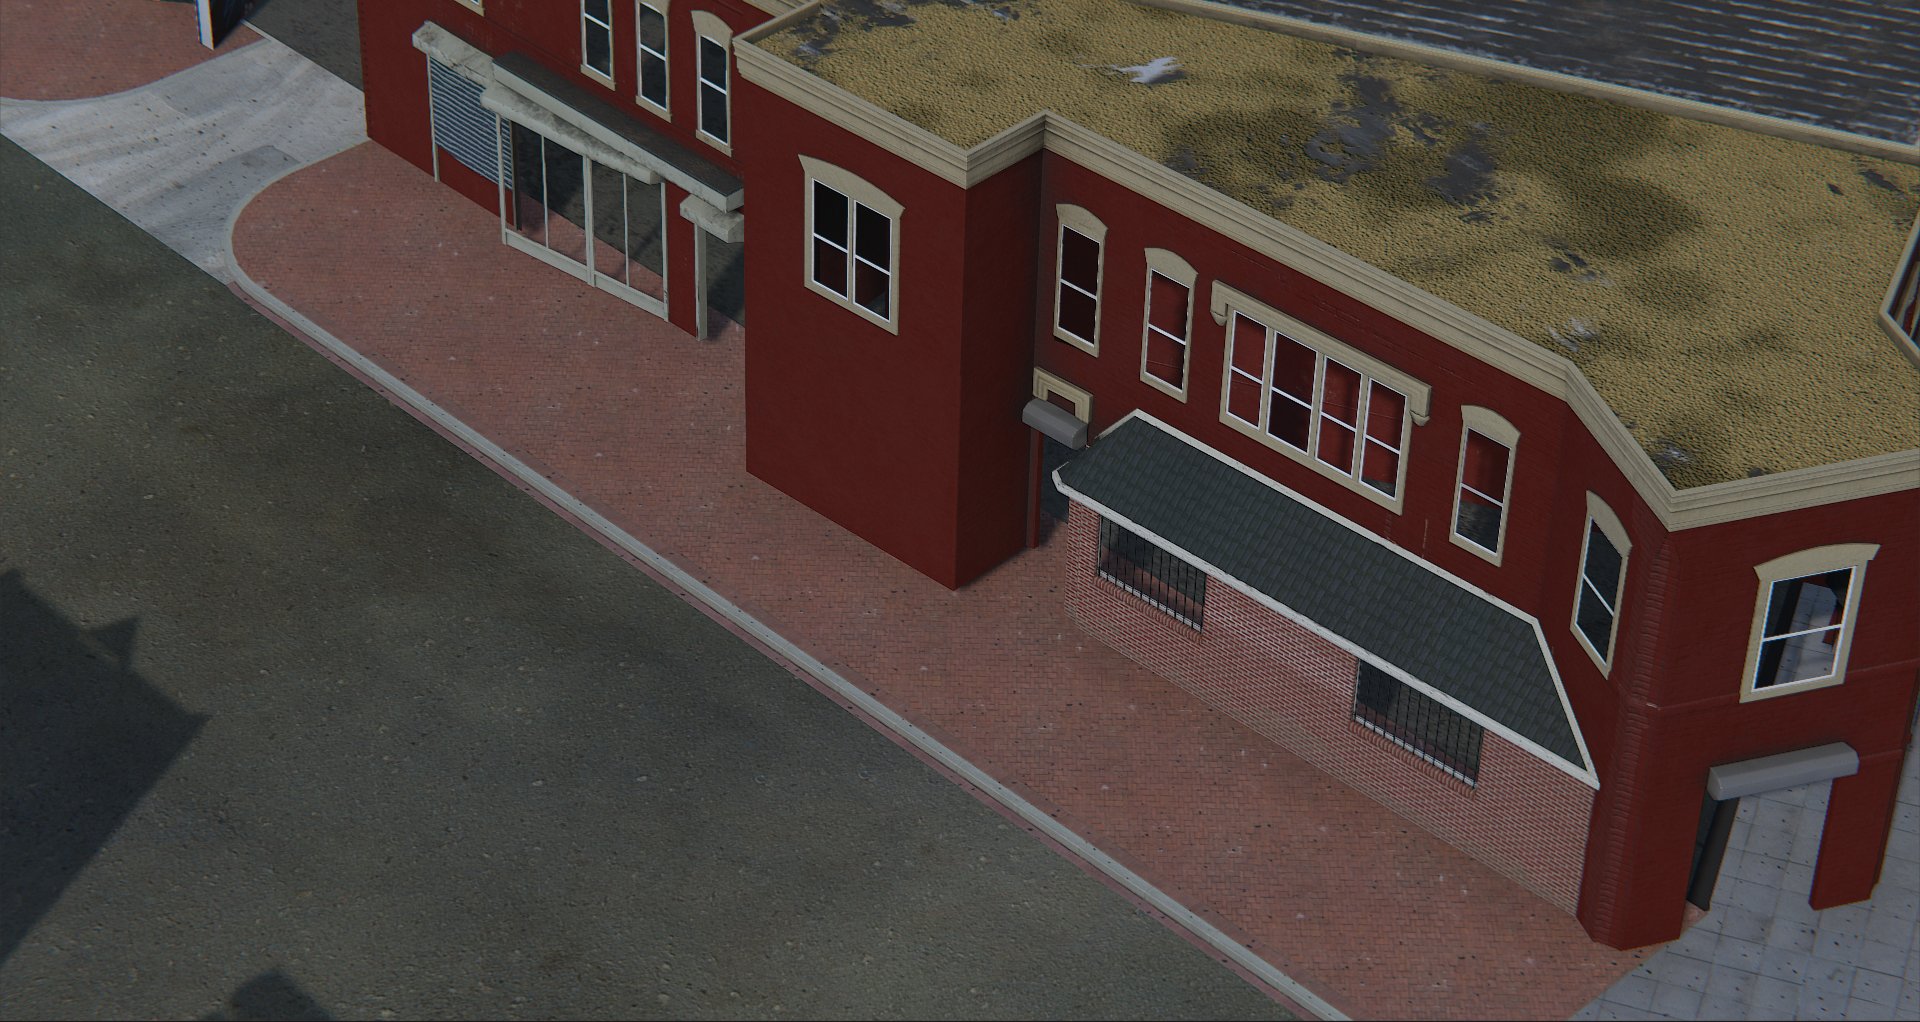


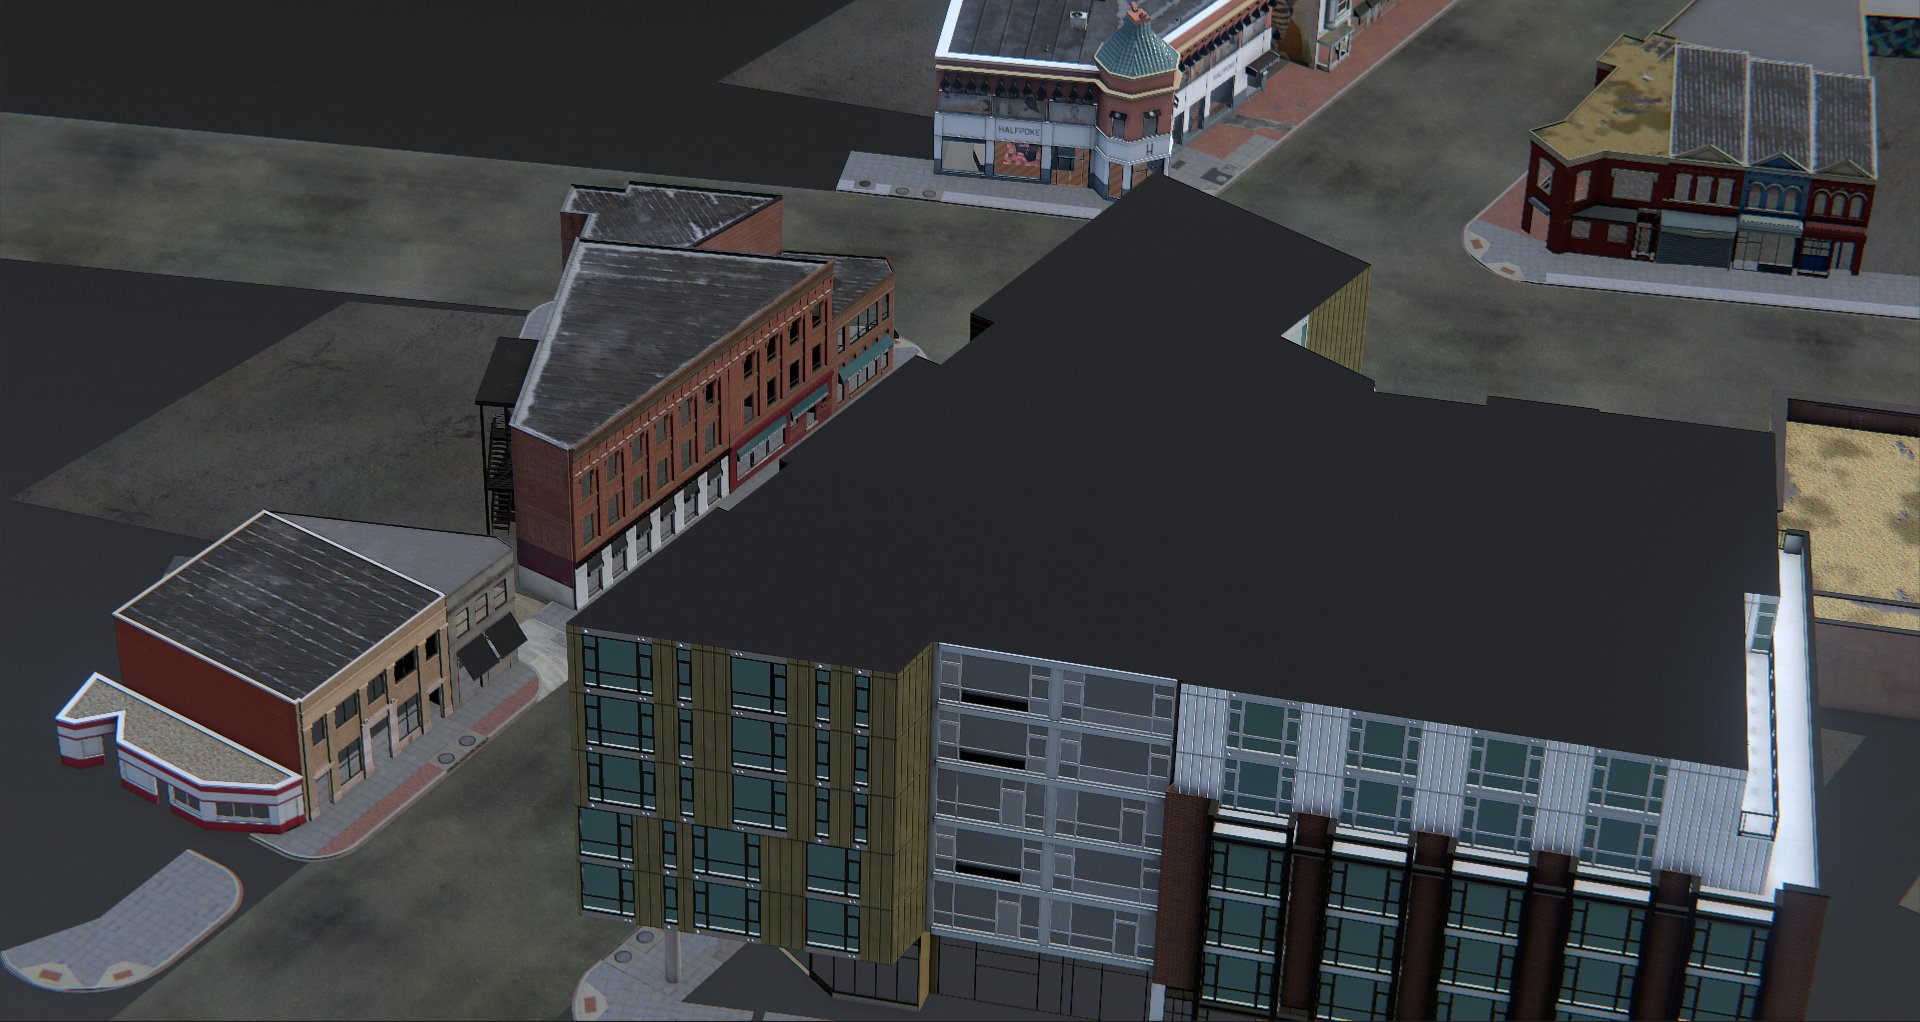
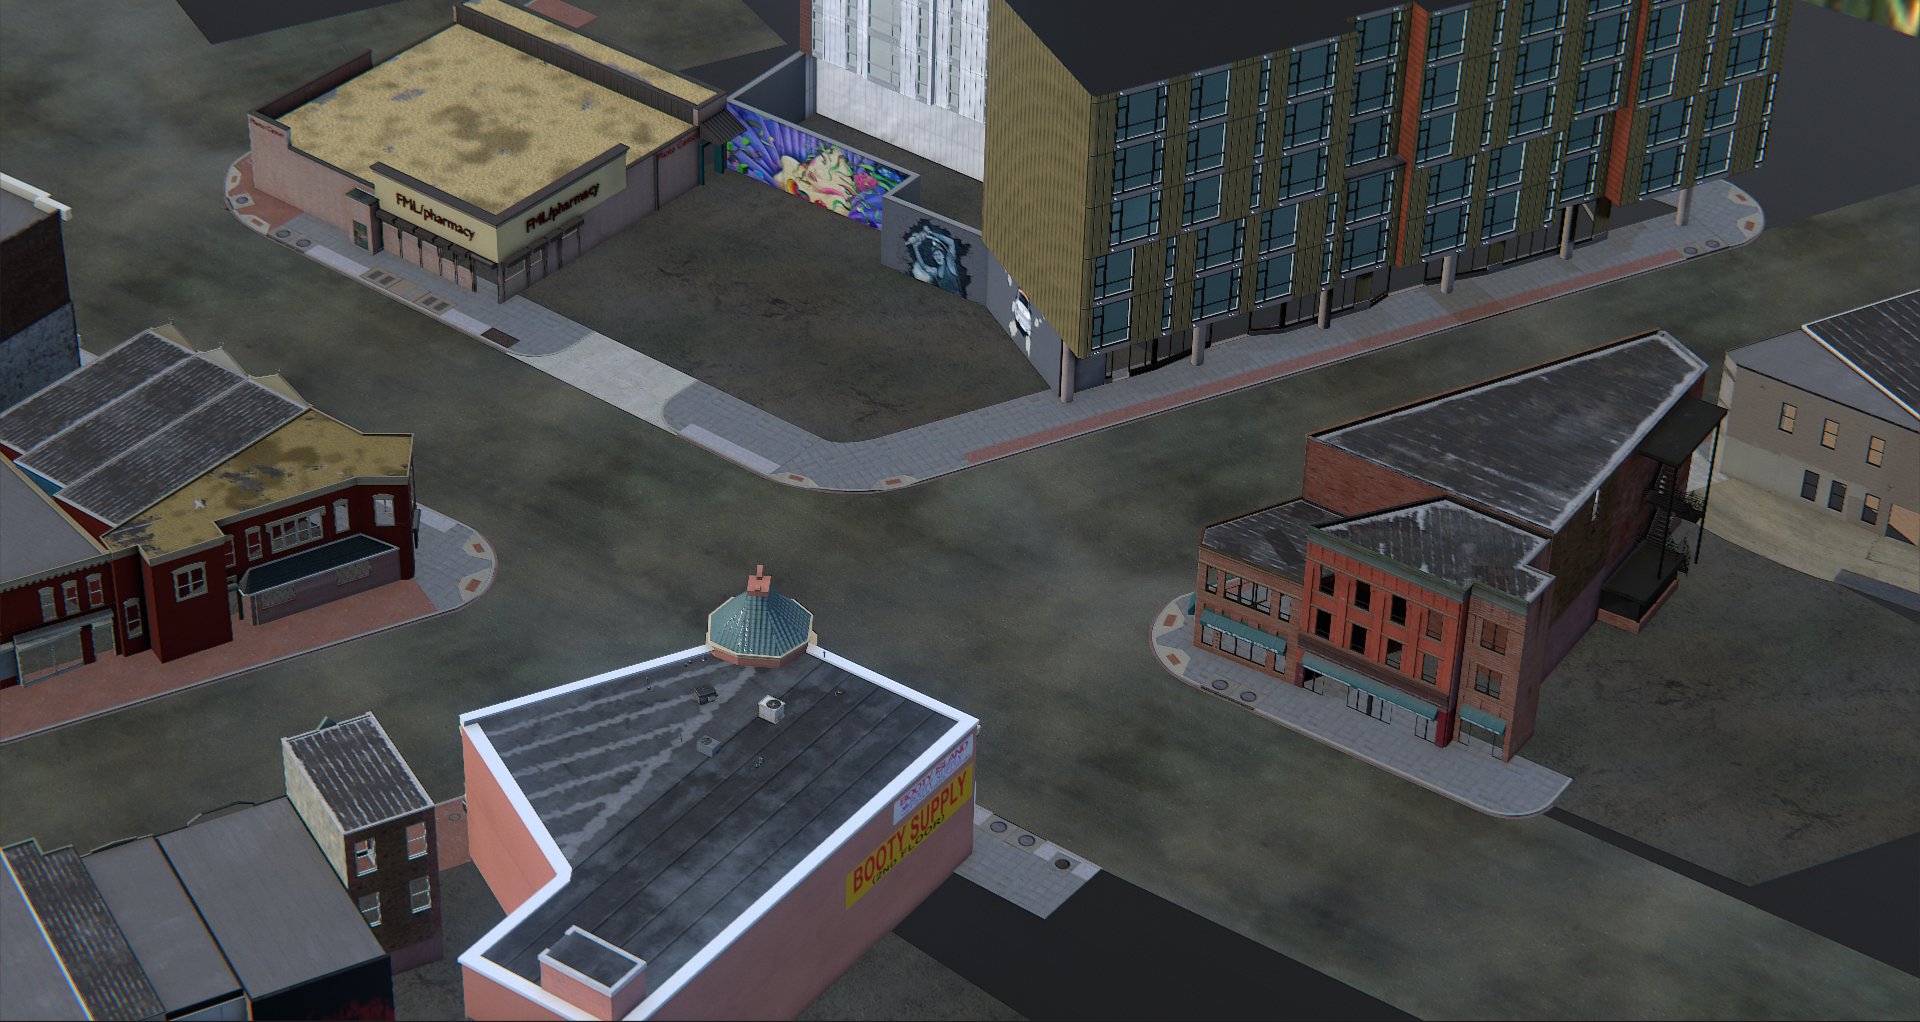
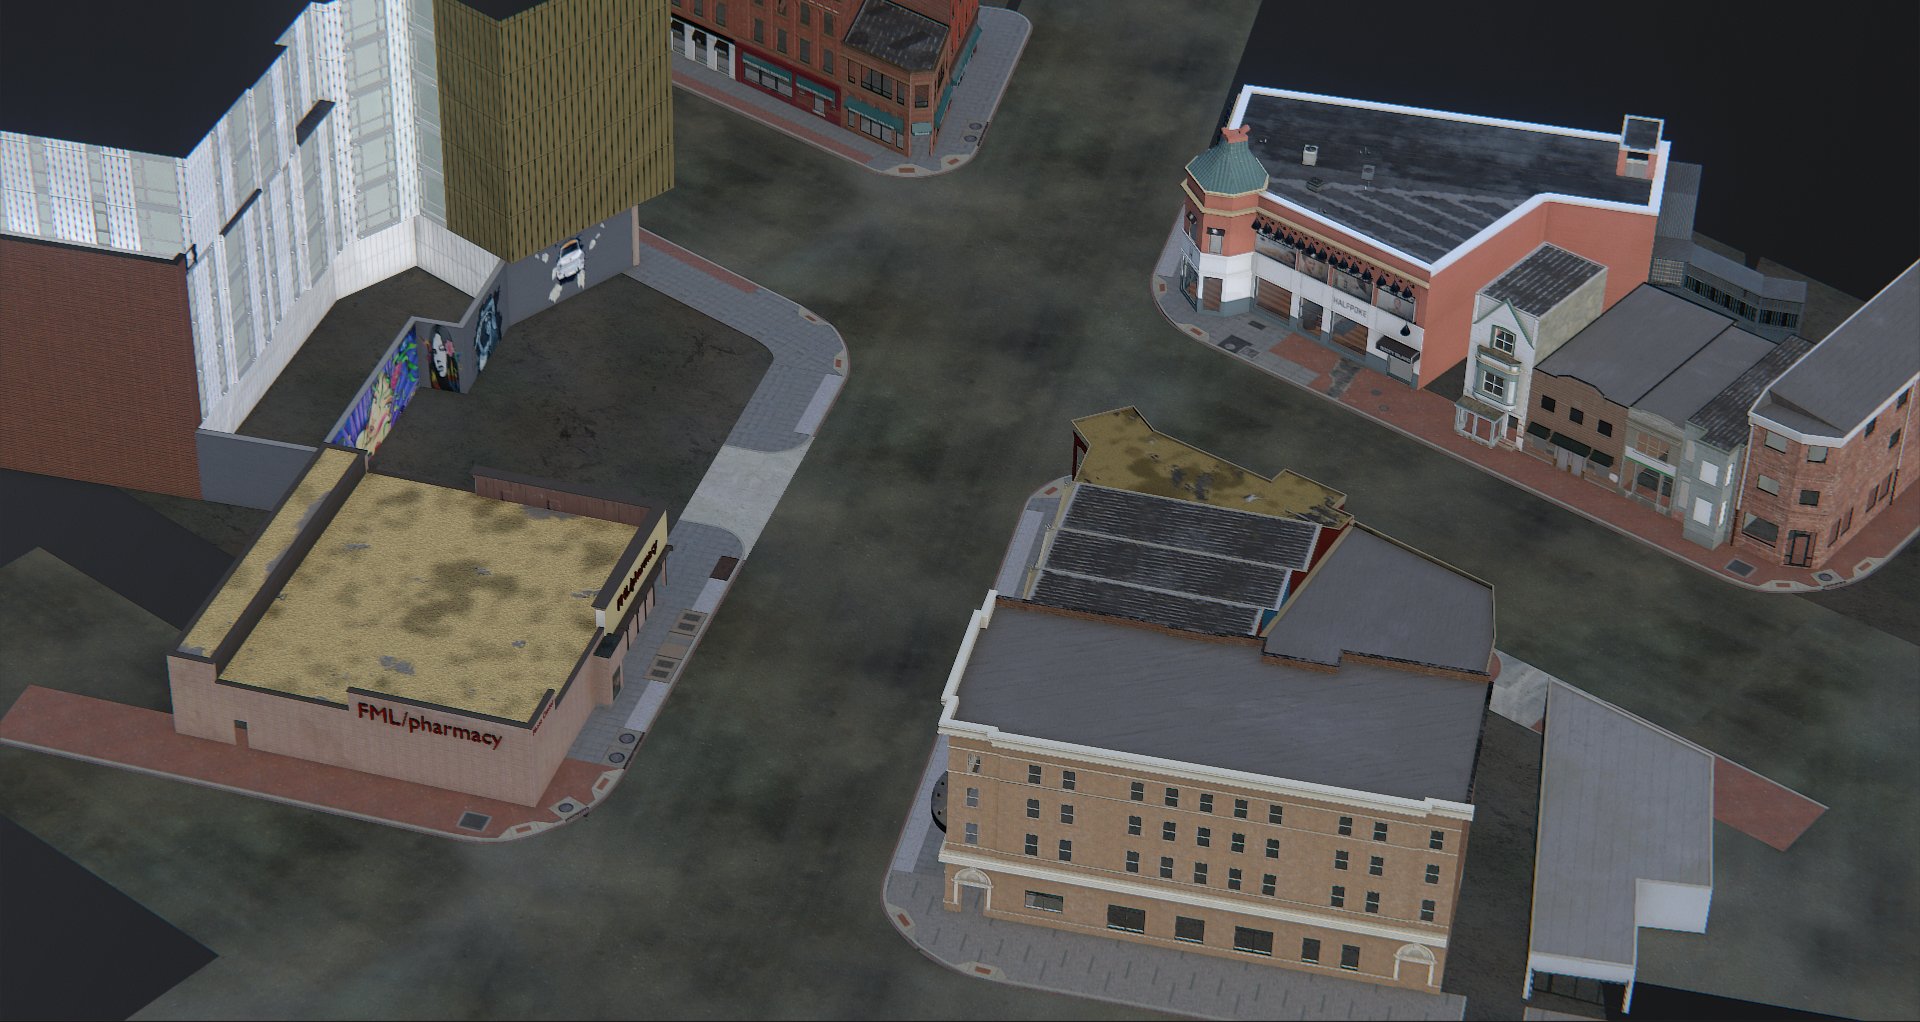
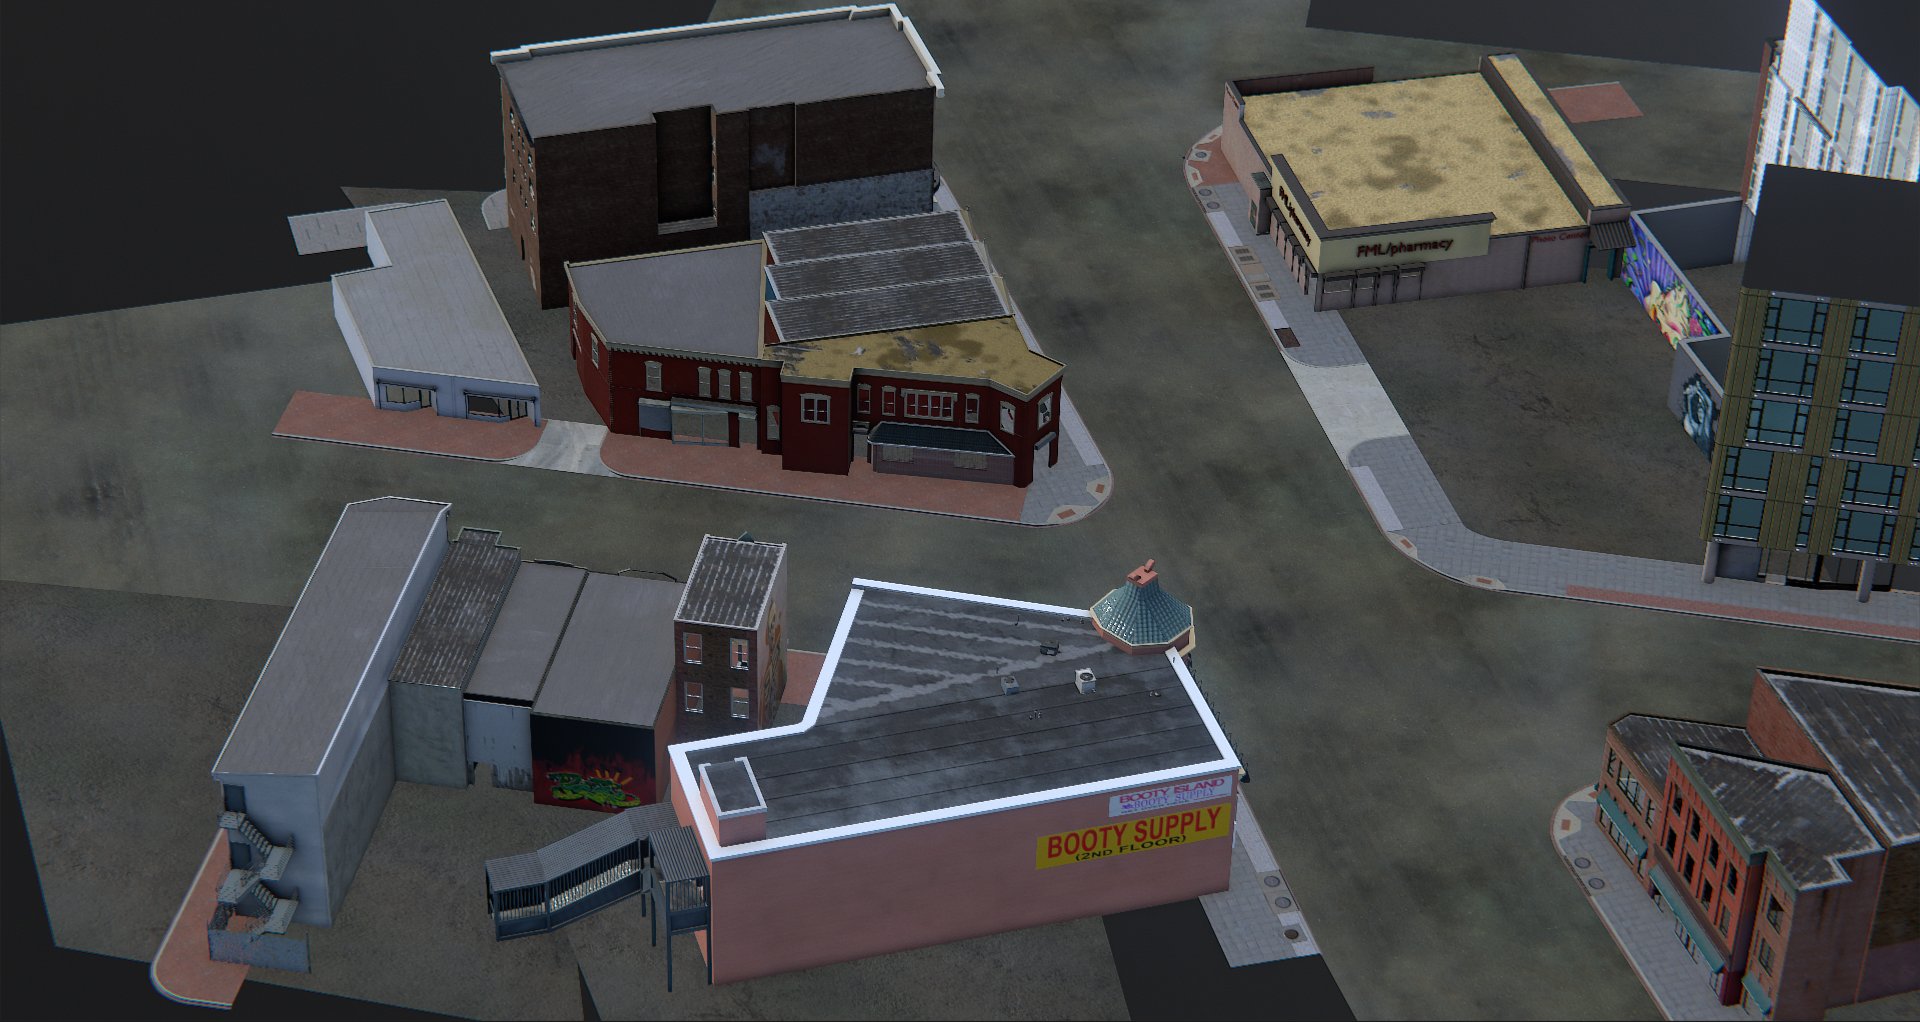
Please keep in mind, that these models are designed for a top-down view game, not a first person game - that is the reason behind lack of resolution in some places. The other thing is, some models were rushed and have little details - they will be fixed in the future.
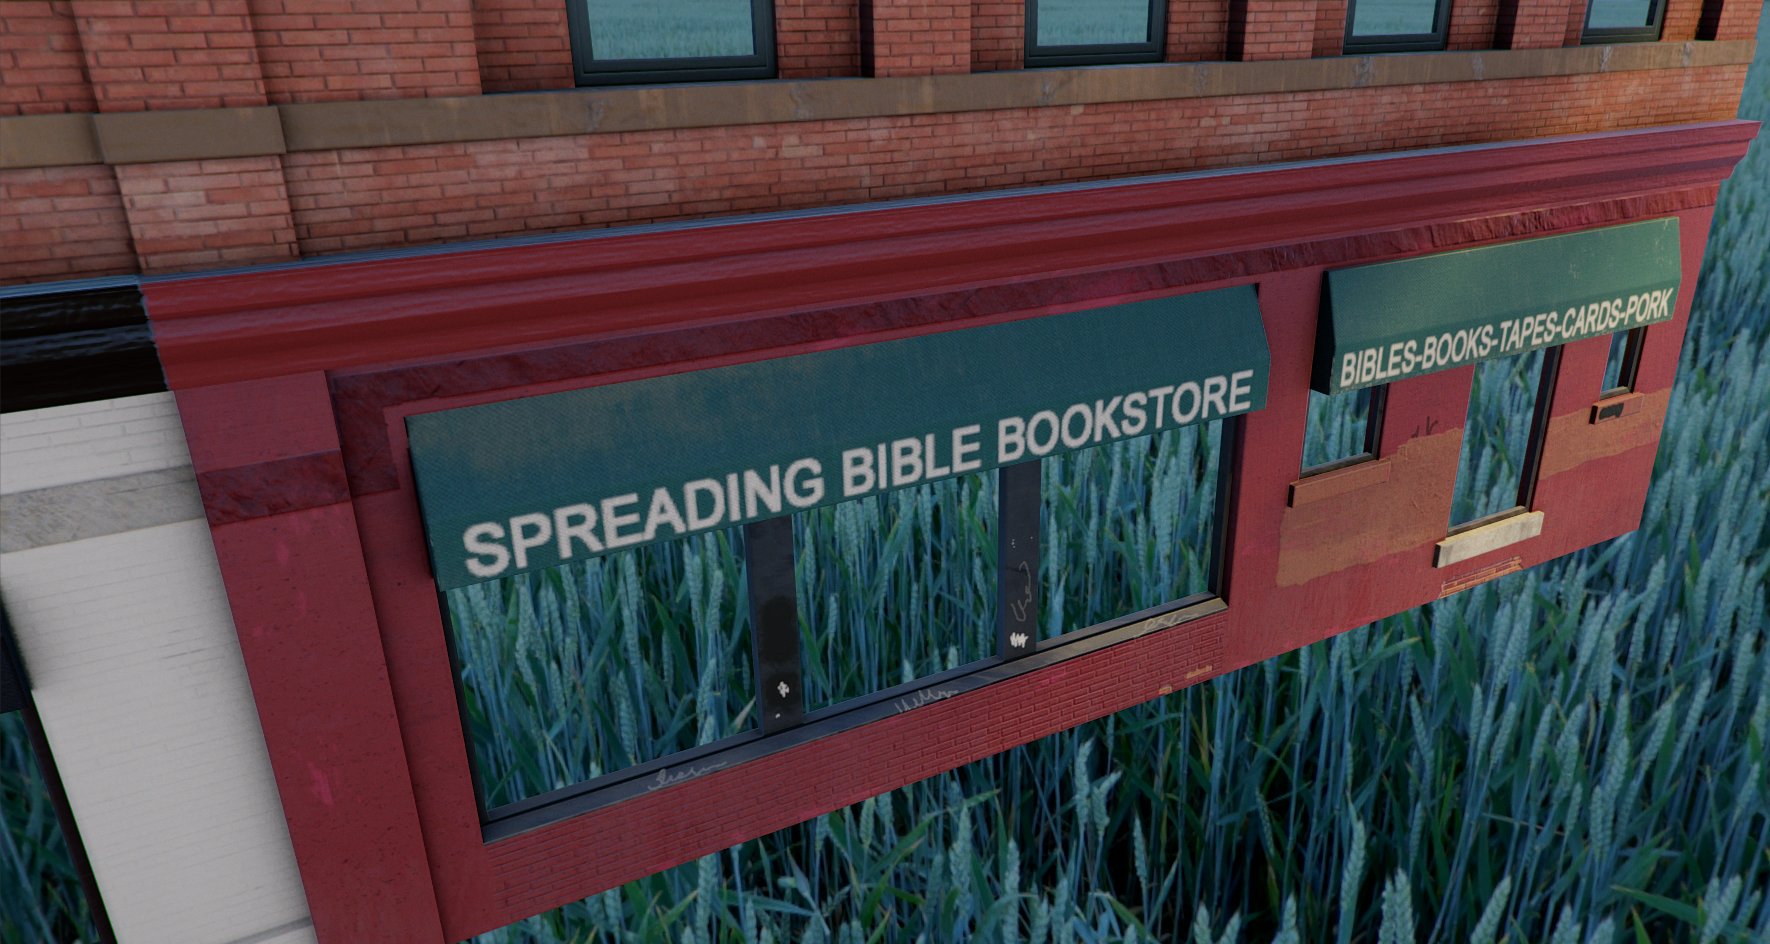
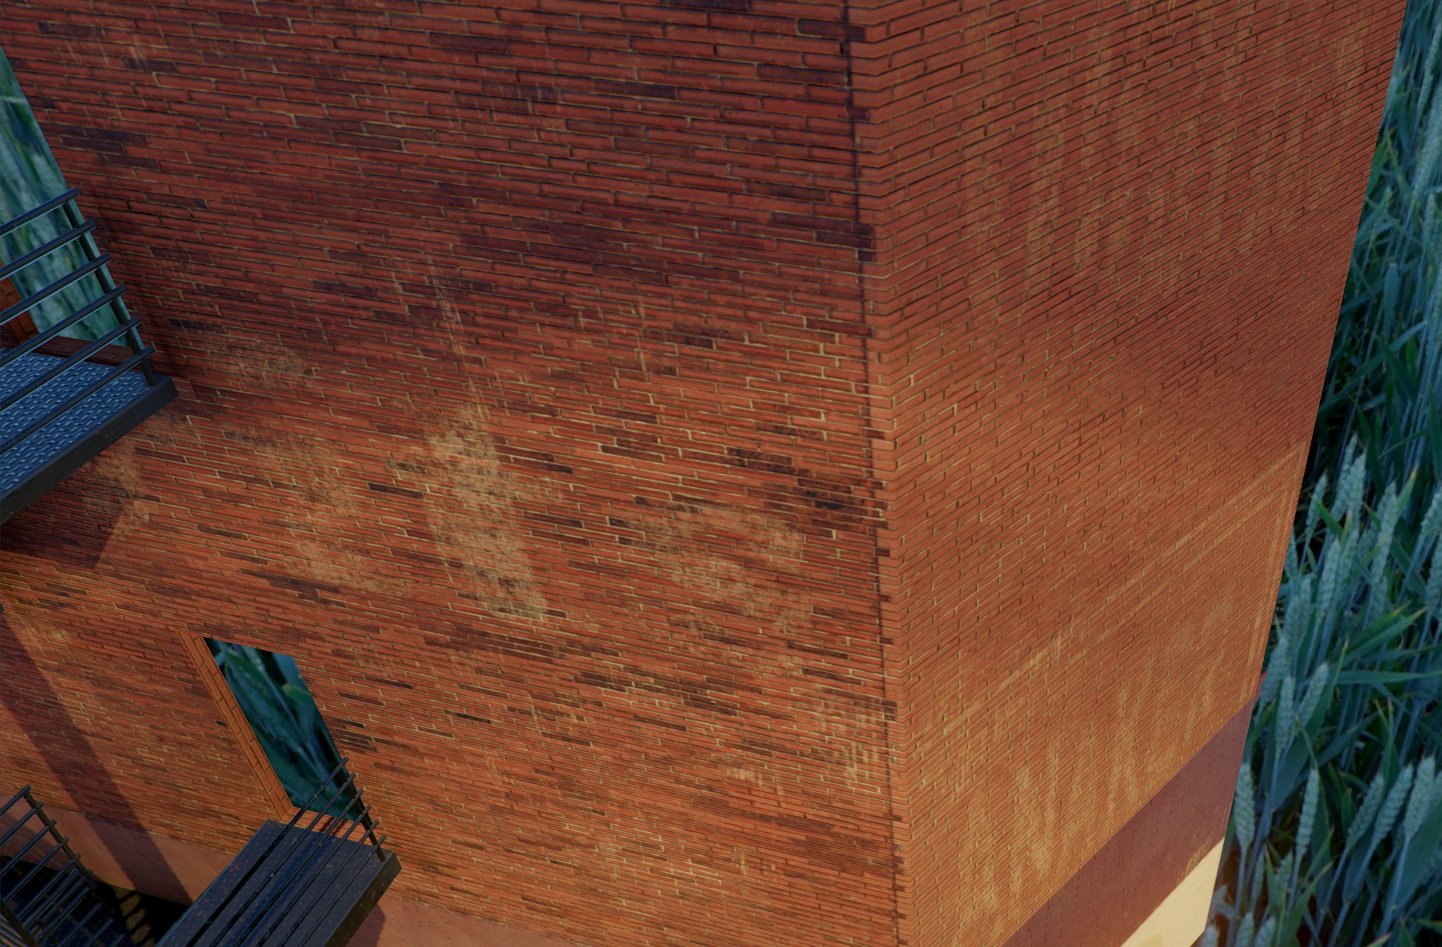
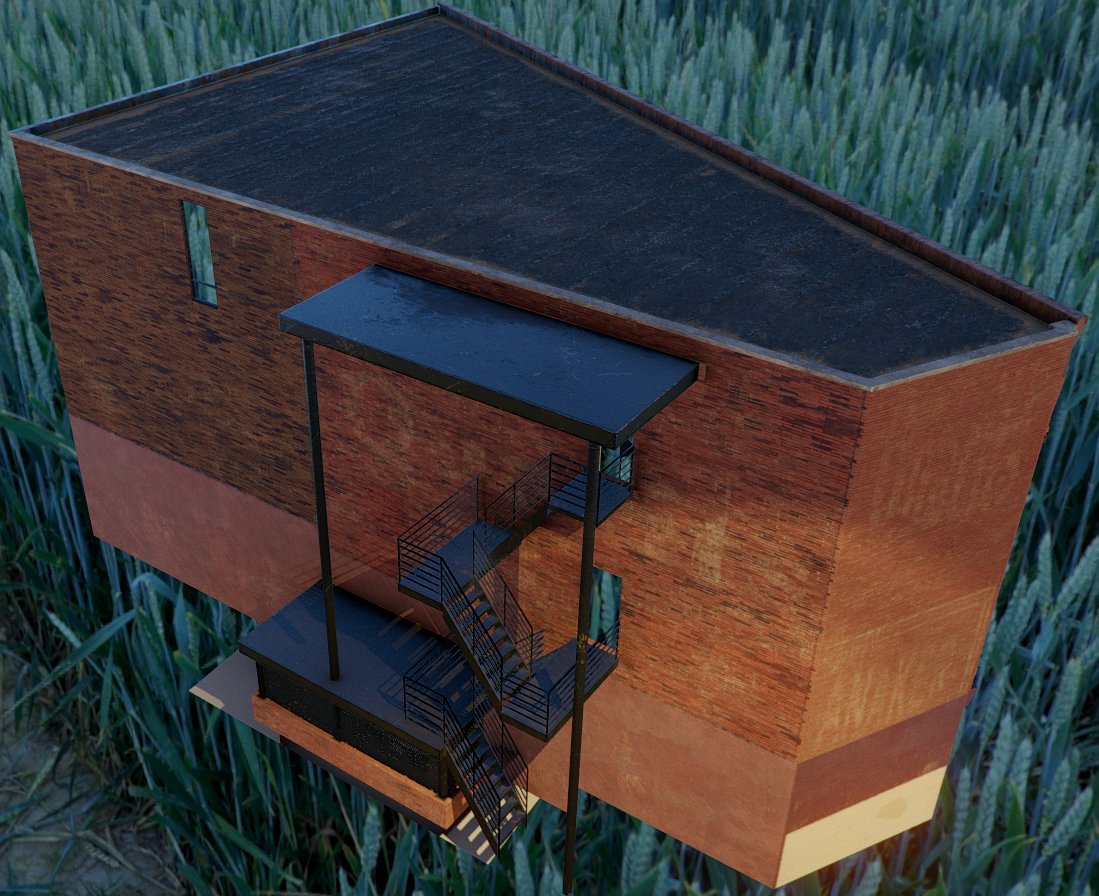
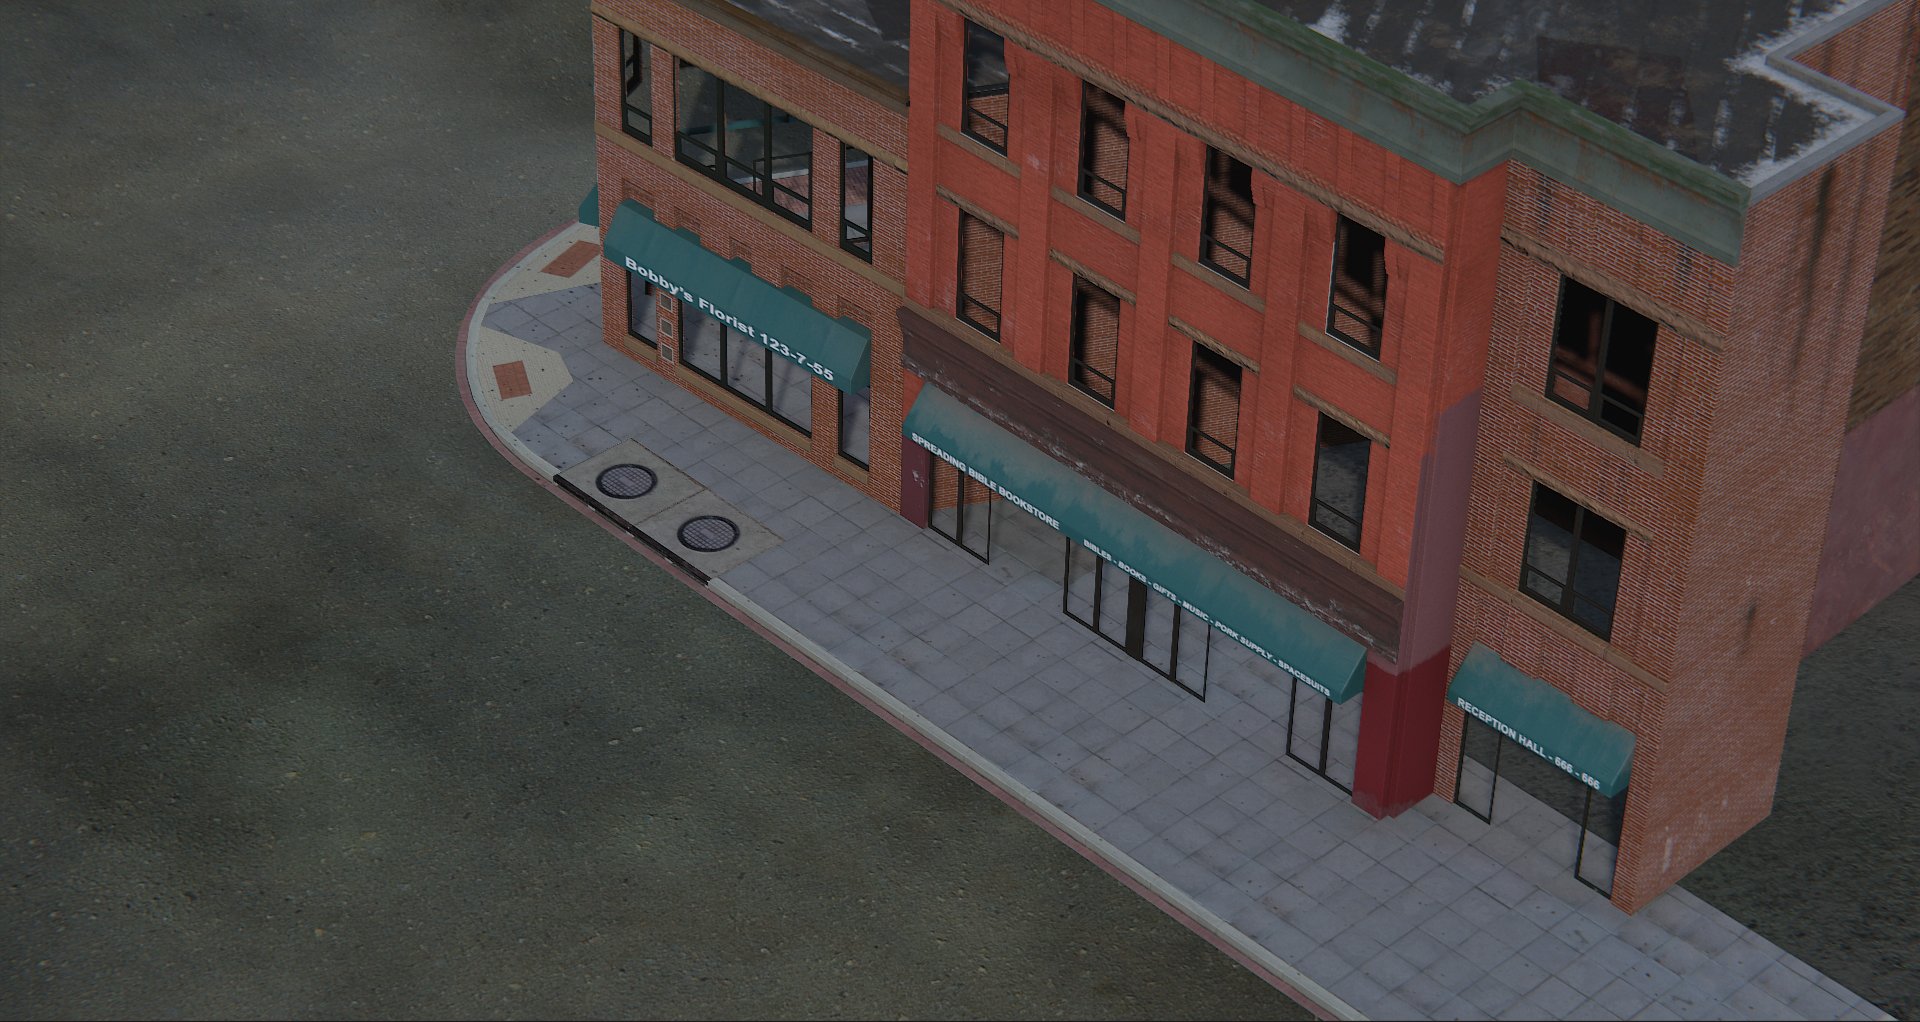
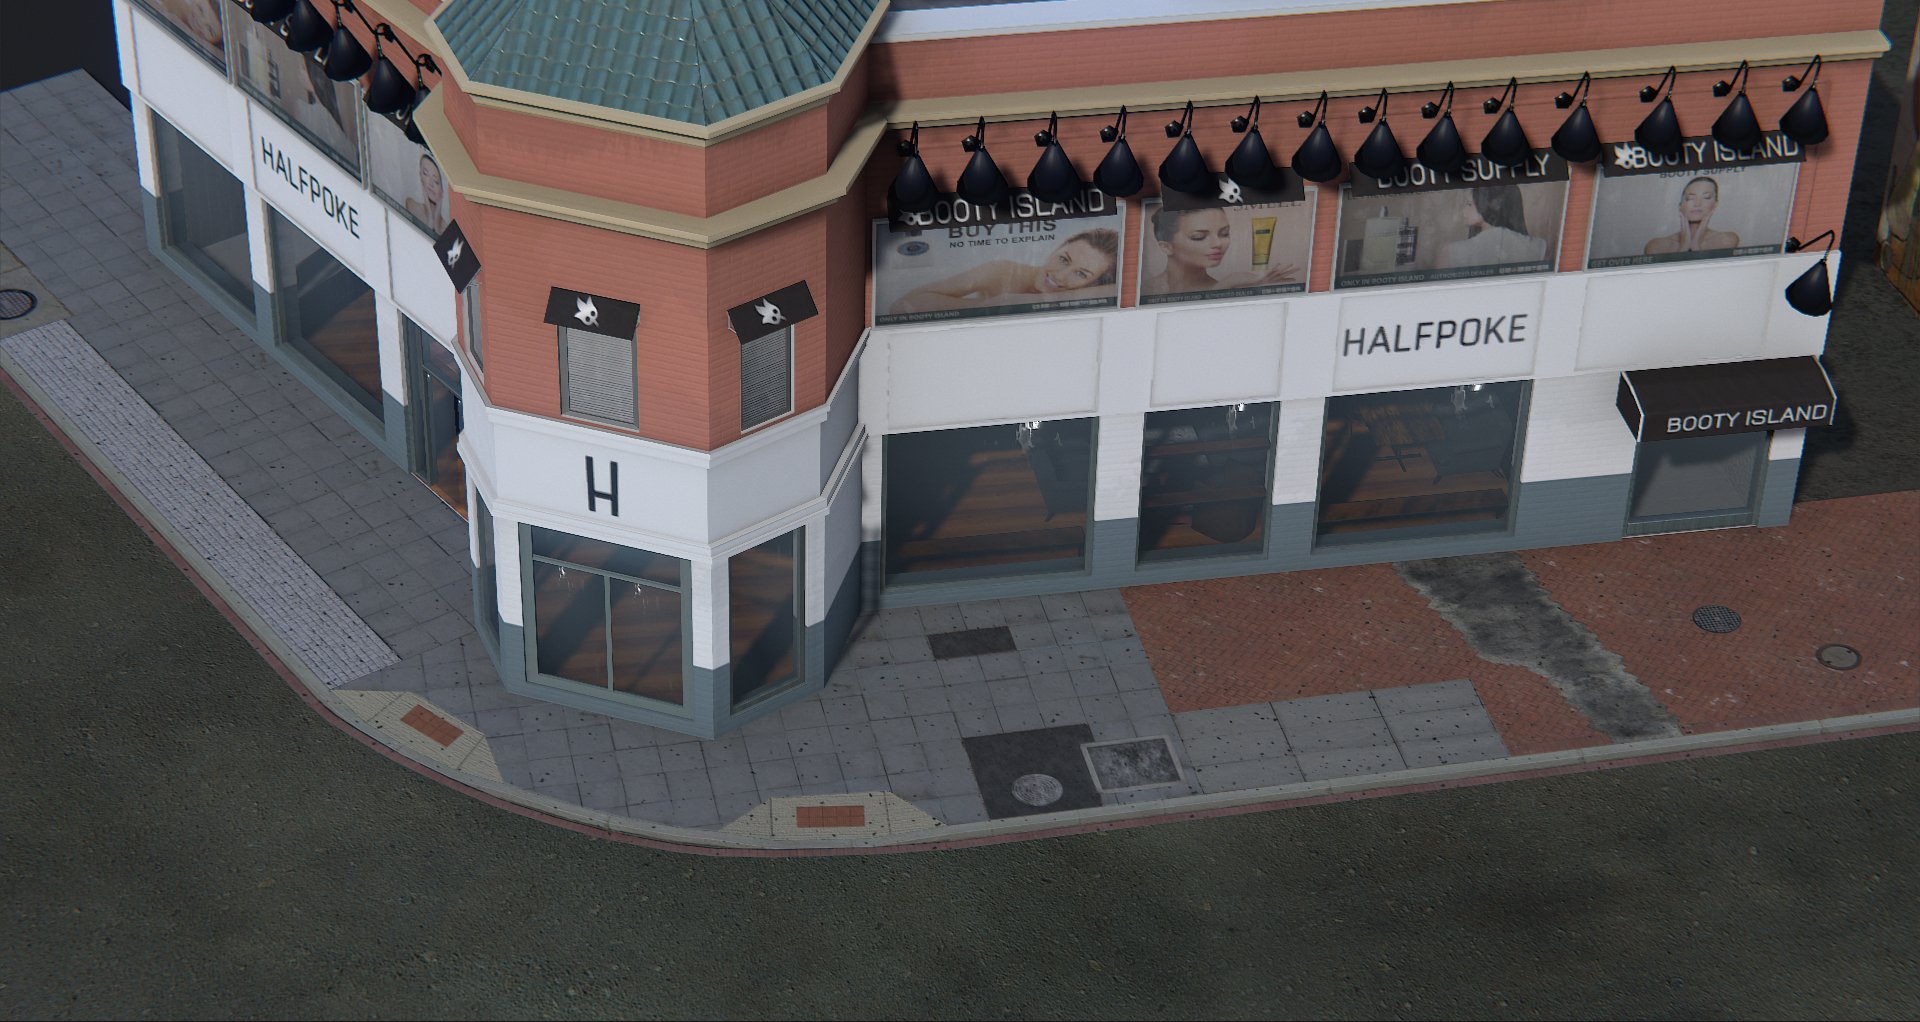
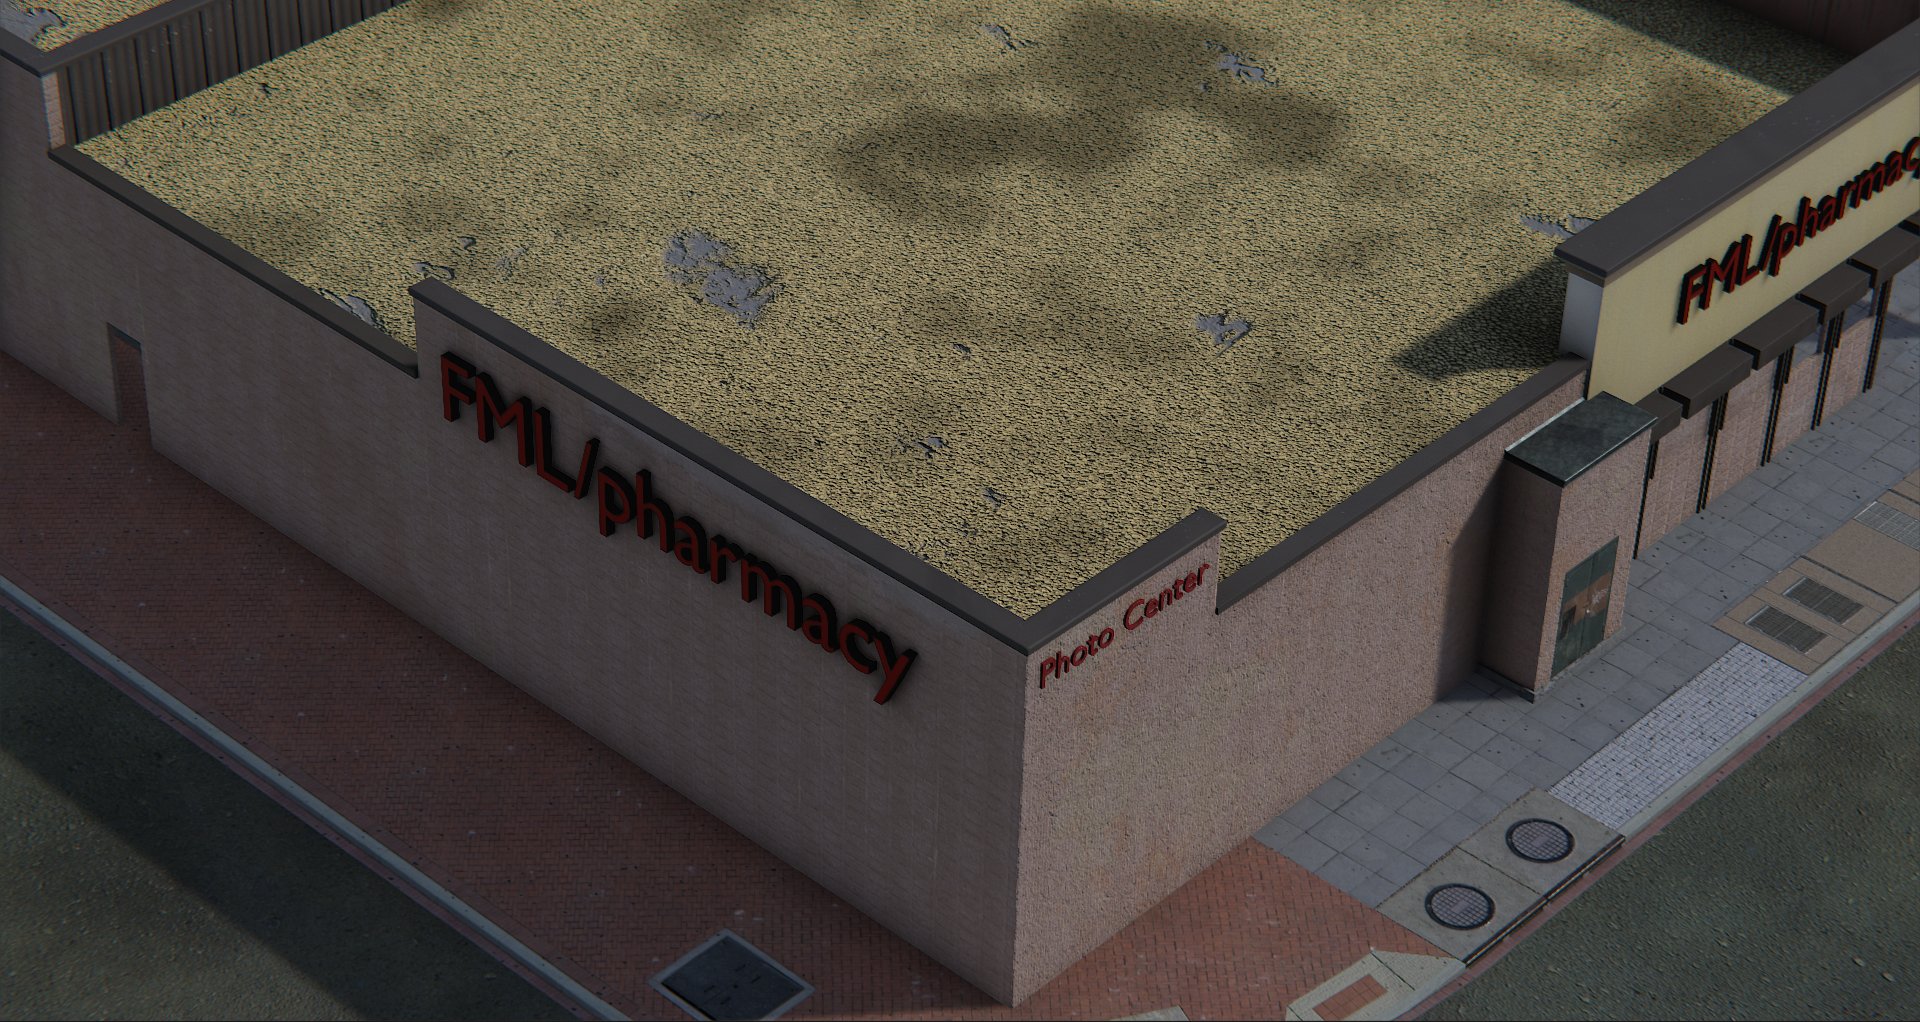
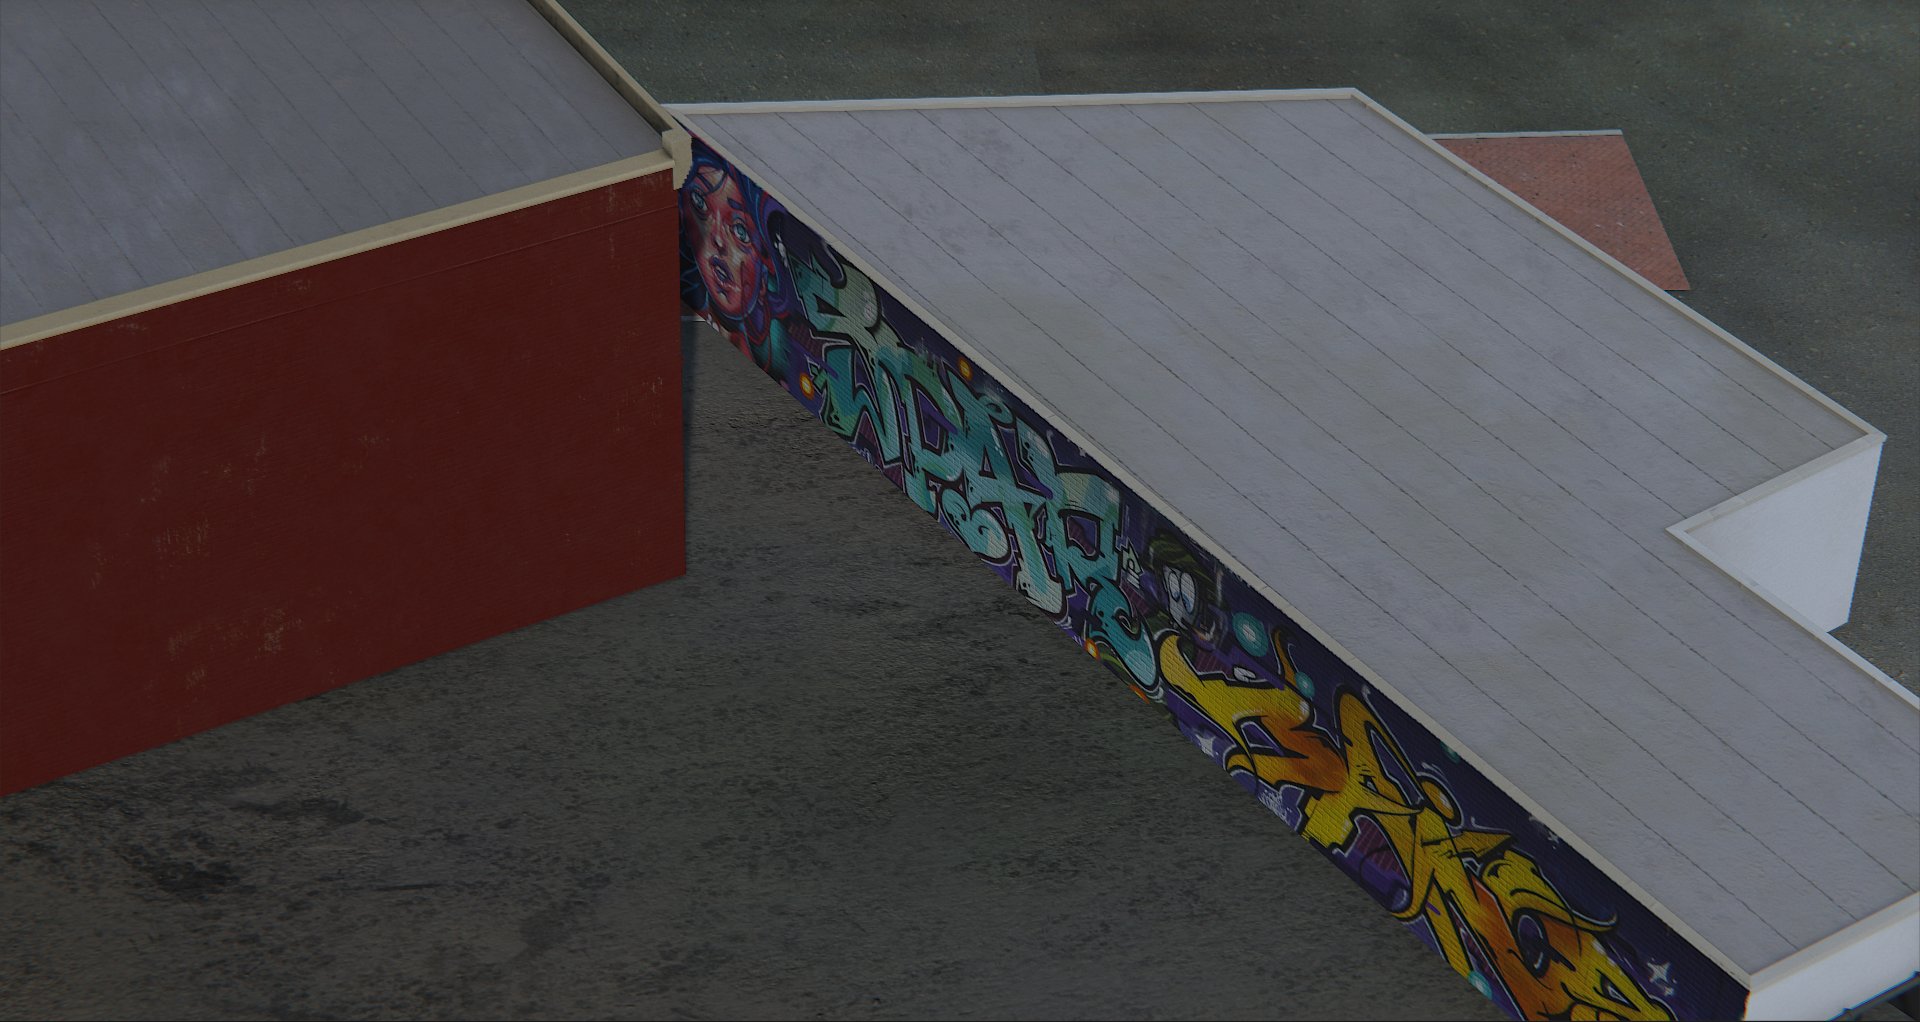
You can see the progress of my learning by studying the "Halfpoke" building, which was the first one I made - next to no details, hard edges everywhere, etc. On the other hand, the building with the skeleton graffiti was one of the latter ones I made and despite looking simple, has quite intricate details.
The screenshots were rendered in real time with Unity as I don't plan on adding these to a portfolio.
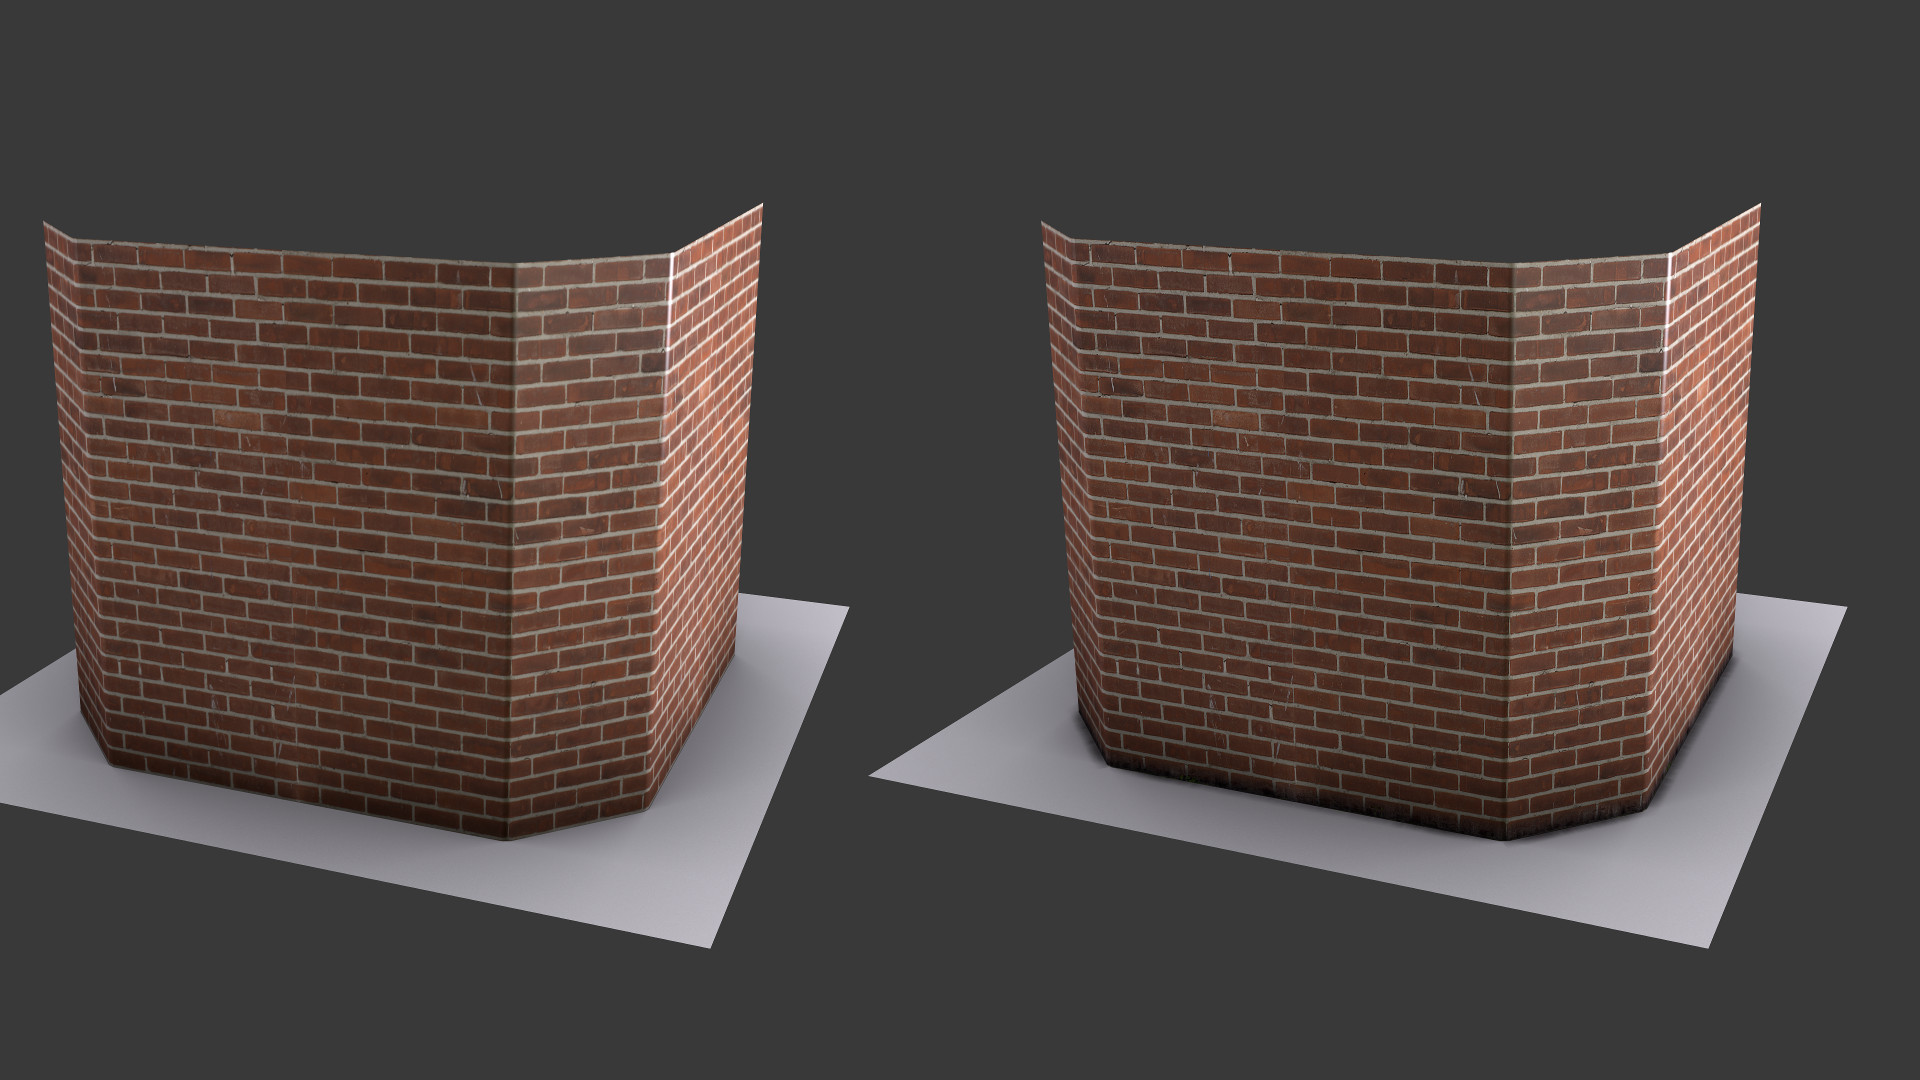
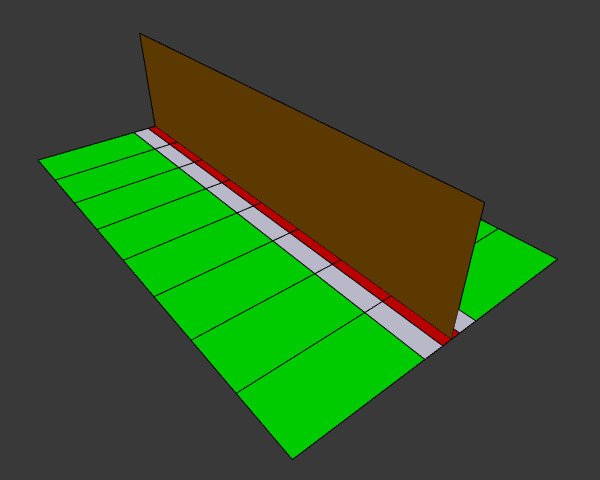
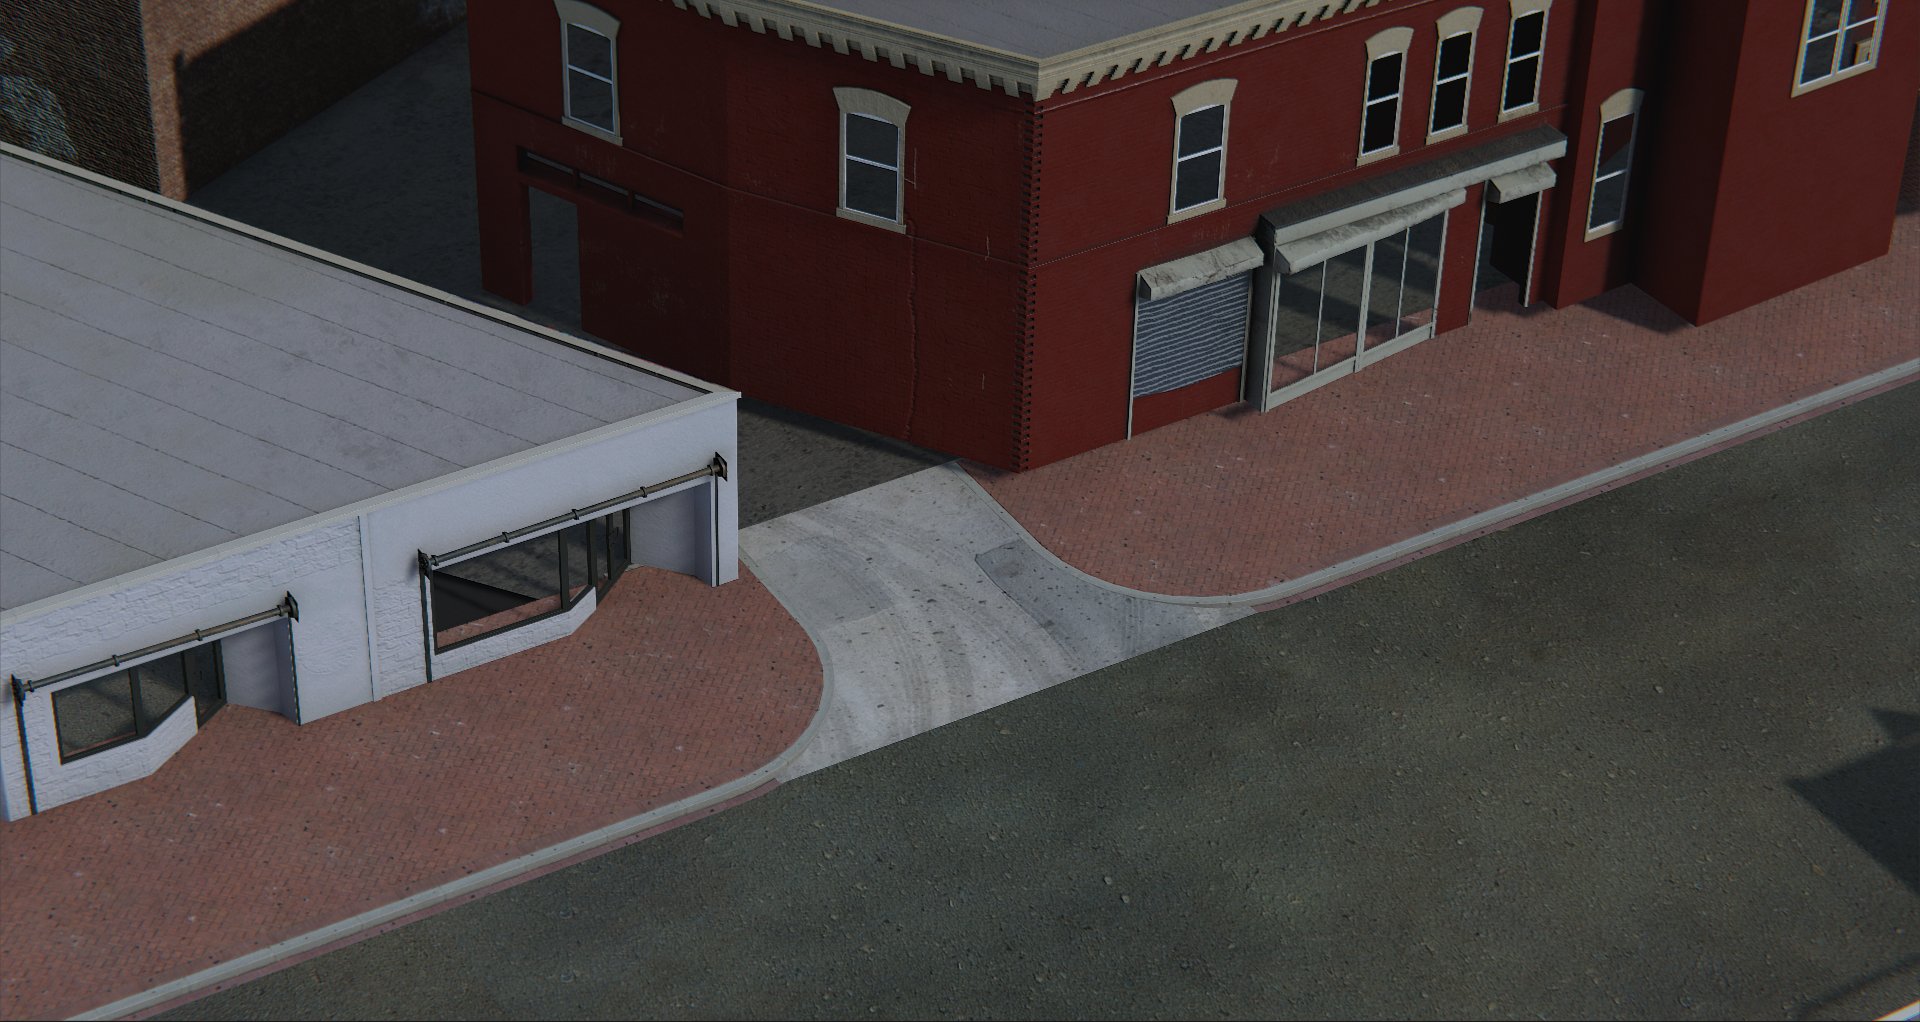
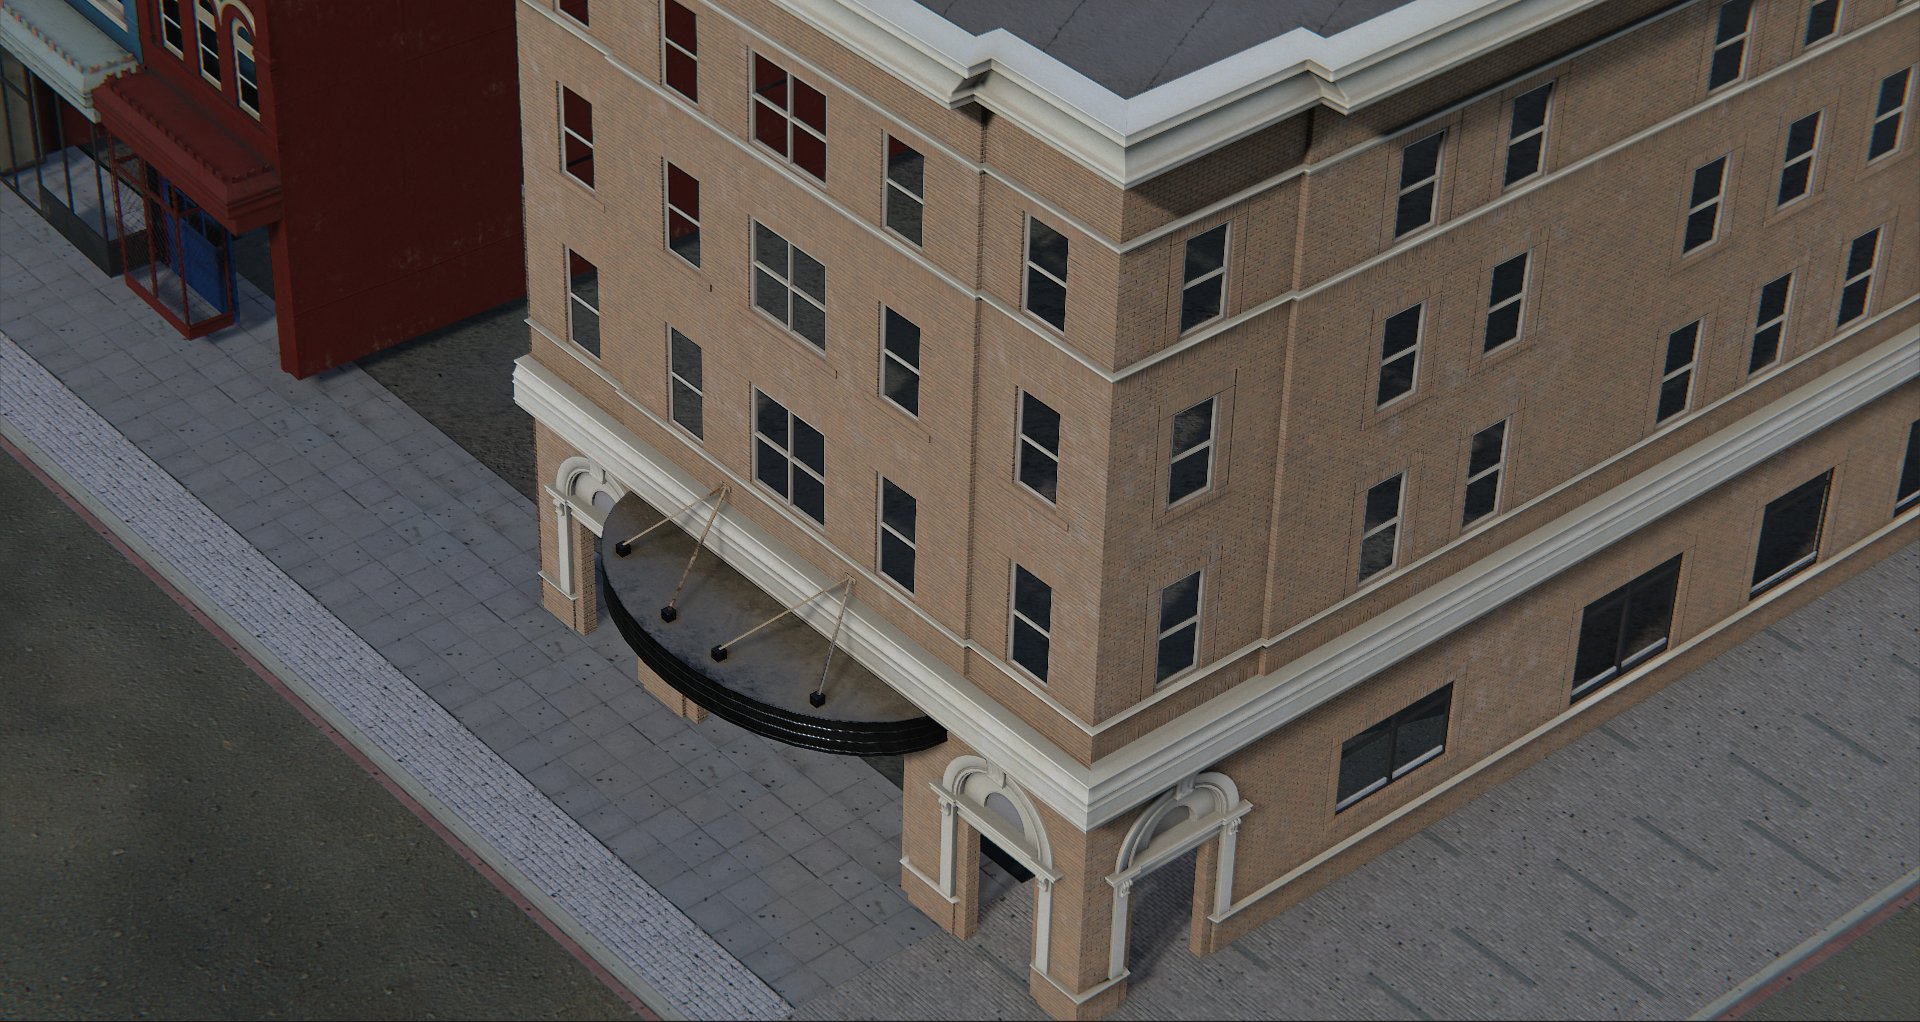
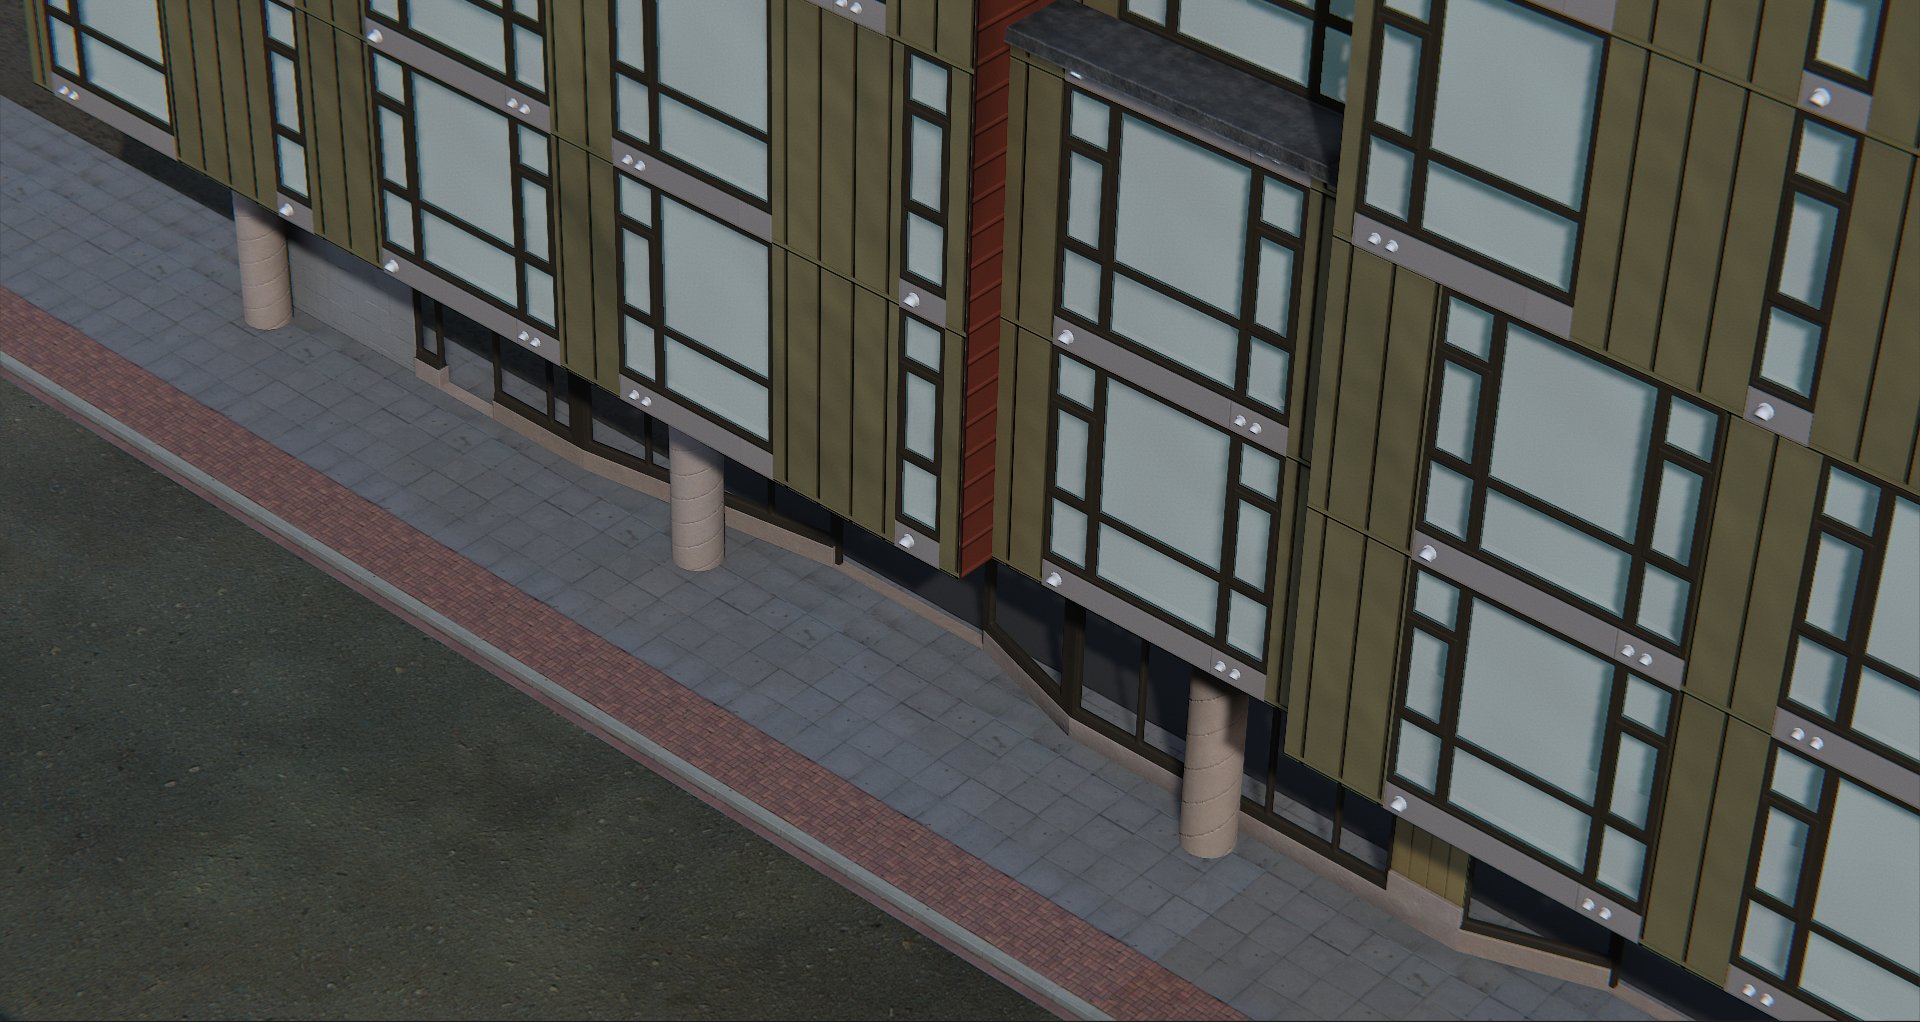
Recently I've added deferred decals into the engine and decided to test one idea I had for removing seams where buildings meet pavement. Here is how it worked out (you might want to enlarge the screenshots):
BEFORE: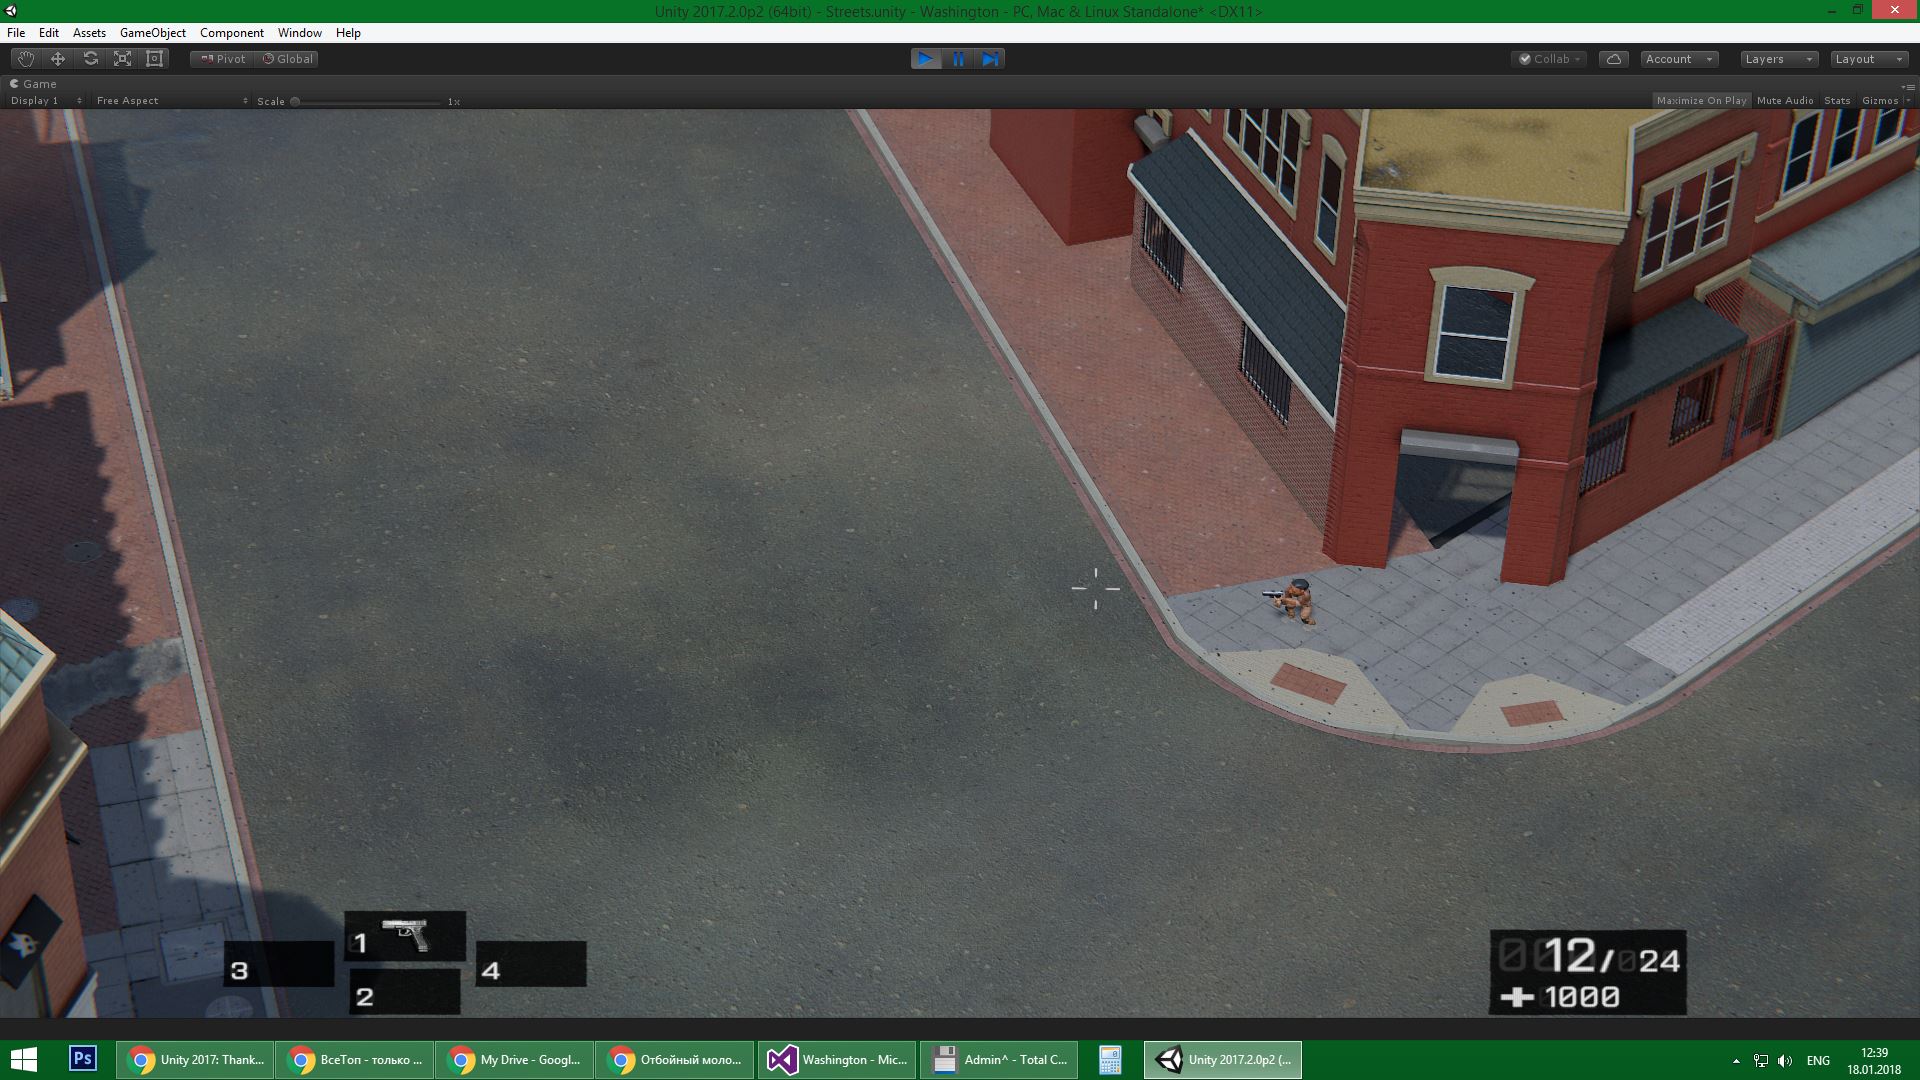
AFTER: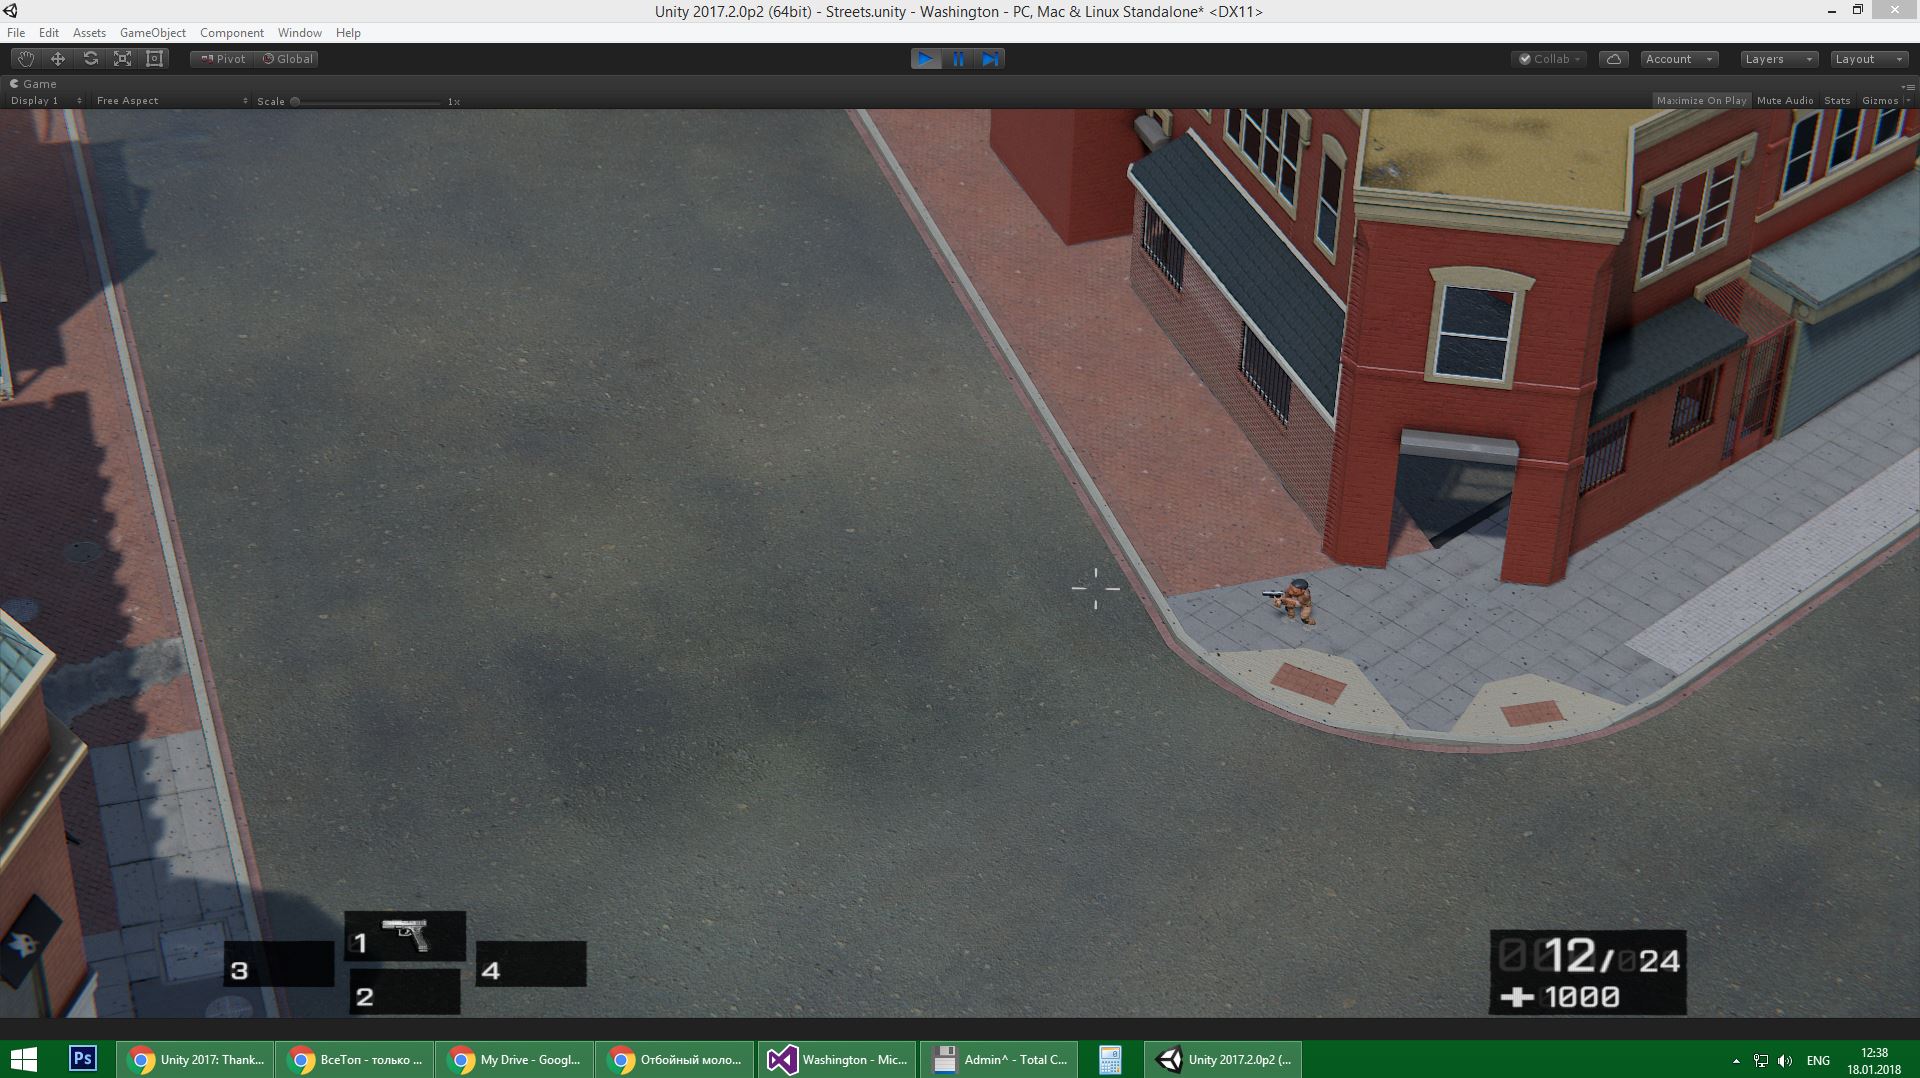
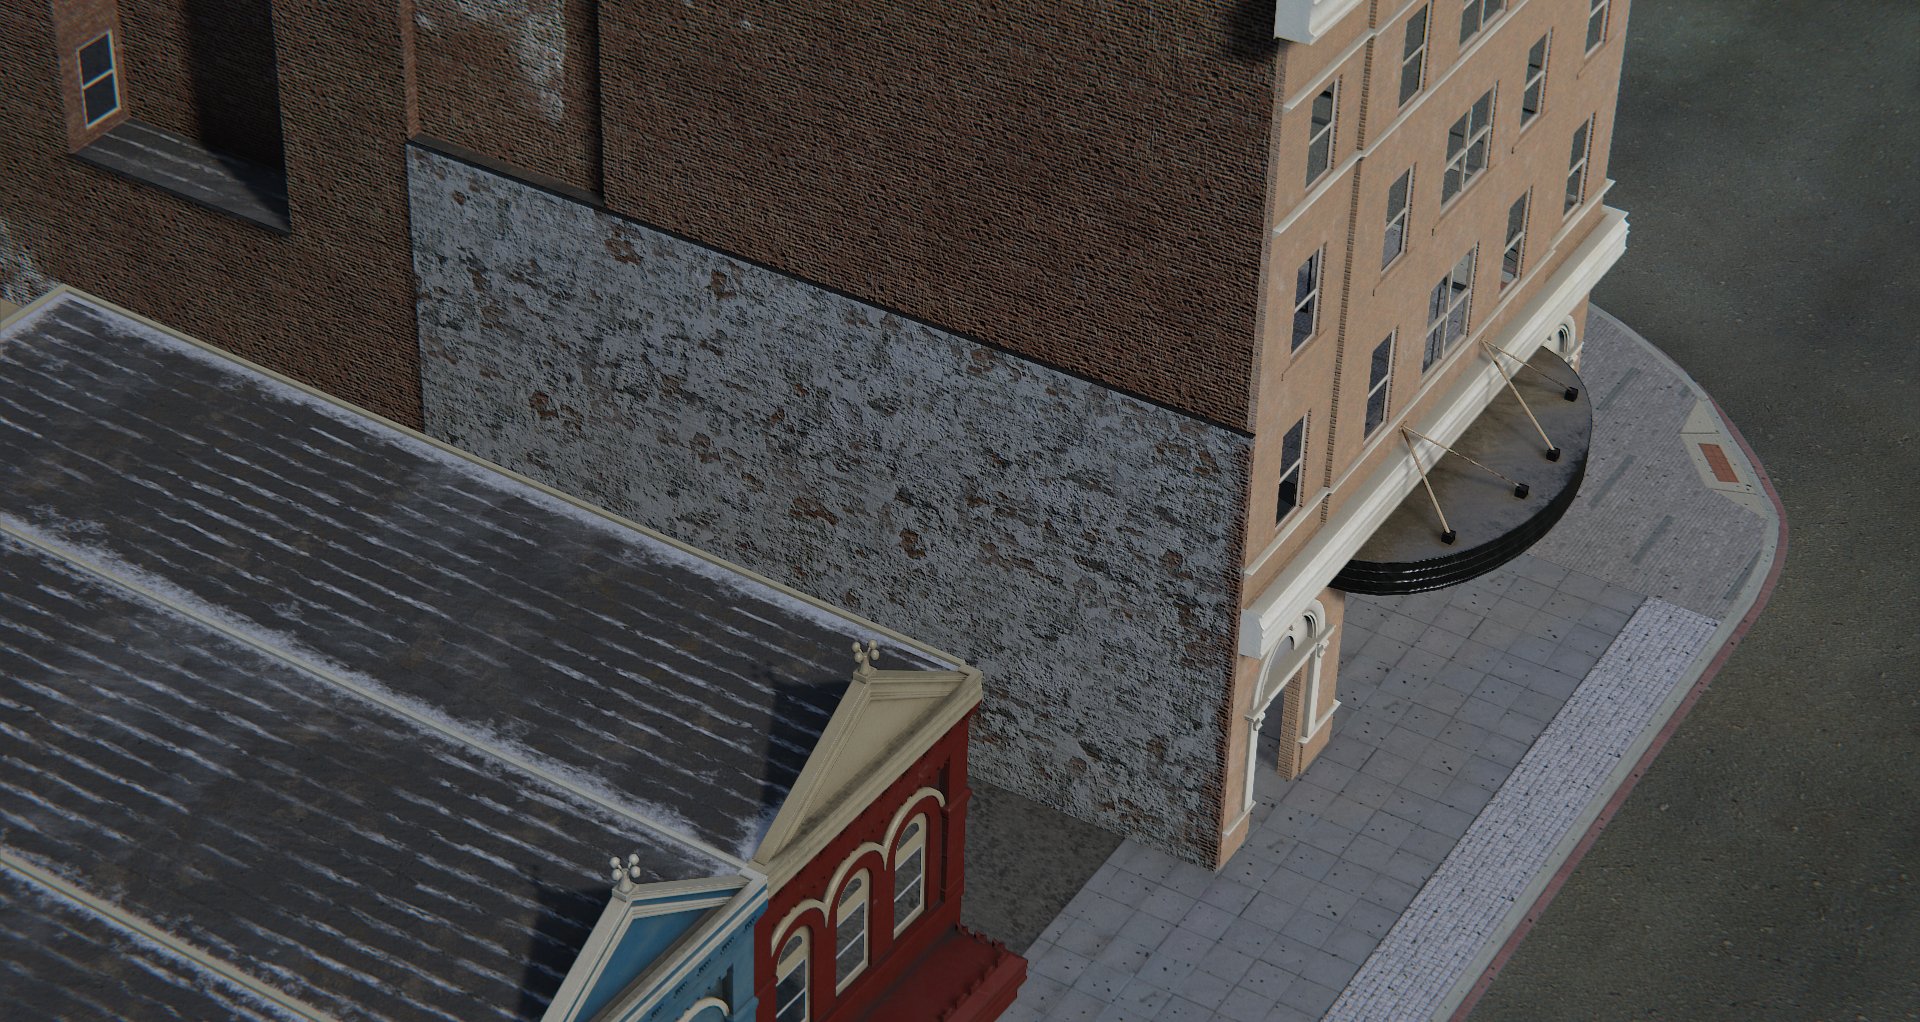
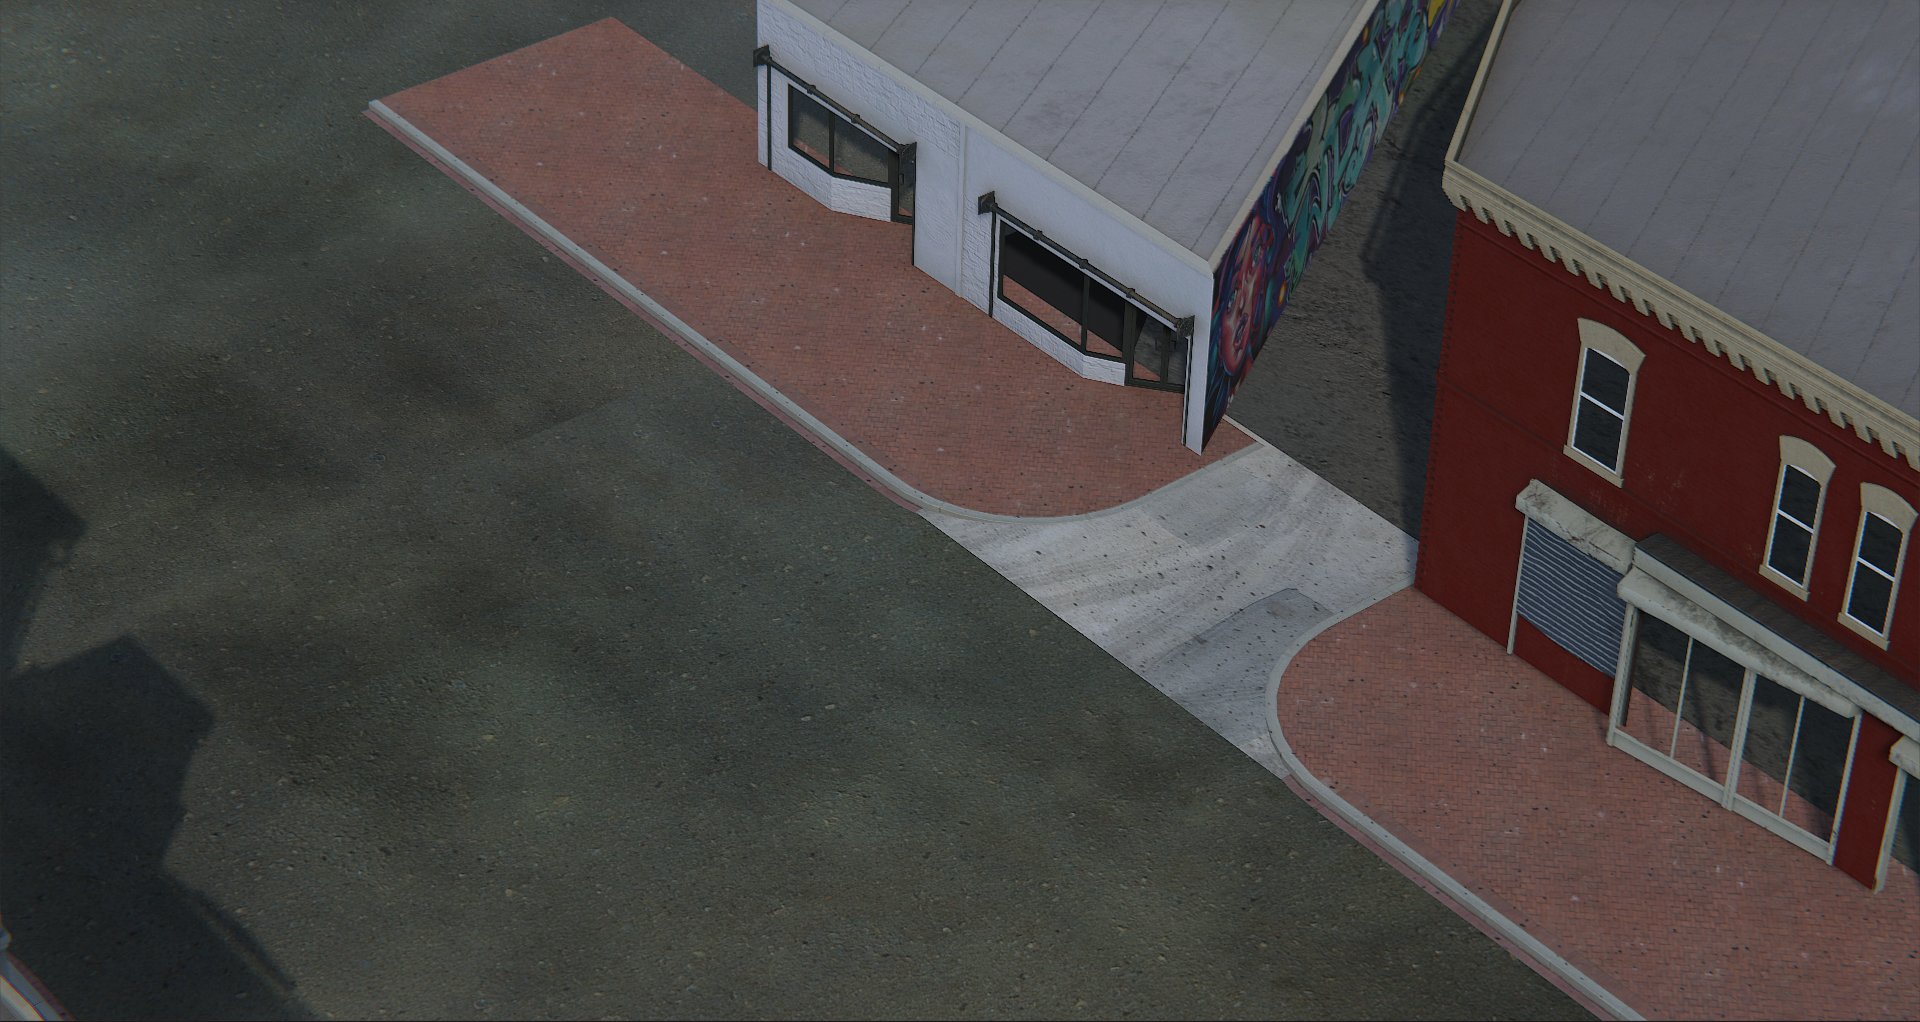
BEFORE:

AFTER:
So I am really looking forward to your feedback. I am obviously quite inexperienced and still have a tone of stuff to learn so I would love to hear where I can improve.