Dark Fantasy Environment and Props

Started by
22 comments, last by Scouting Ninja 5 years, 9 months ago

Dark Fantasy Environment and Props

Hi GameDevs,

I am currently working on a model pack for the Unity Asset Store. I am however not satisfied with the overall look of these game-ready models. There would be many architectual and prop objects from gates and windows to lamps, furniture, decoration etc.

The style would be a gloomy, mystical, dark fantasy-inspired look, similar to a dark elf or vampire castle interior. For modeling I use Blender, for texturing Substance Designer and PS.
Please take a look at my work and help me figuring out how should I improve the textures.
I use the Smoothness / Metallic workflow, and would like to add Ambient Occlusion separately (screen space). I also use Emissive maps where needed (lamps).
If you see some obvious flaws in contour, colors, etc please note those too. In these images I threw the objects into Unity, no light setup and compositing was done (I still need to learn those for presenting my stuff).
Link to my Sketchfab (here you can see the crystal lamps in 3D).

Thank you for your attention!

Door3.png

Gate01.PNG

Gate03.PNG

Lamps4.PNG

window05.PNG

Advertisement

These are actually very good. The problem is that these images don't show how good the models are.

Your shading and lighting spoils the whole effect. For the crystals look into matcap shaders or Fresnel shaders. Learning good lighting takes a long time, but for Displaying single objects the basics is simple. Google "3 point lighting" tutorials.


The flat lighting you are using here is only good for hand painted props, where shading is painted into the model.


Hi Scouting Ninja,
thank you for your quick reply! I already picked up Blender Guru's "Mastering Lighting in Blender" video. I plan to use Unity's realtime GI system with additional spotlights for my showcase video.
For the crystals and glass window: I would like to give a try for a custom shader with Amplify Shaders. Here is the first result with a custom refraction on the window glass:
window_refraction01.PNG.6f0517fe60575db217d6036c8c403692.PNG

What do you think?

The glass is already looking much better. Now the depth of the model really shows. Kind of a drawback is that the wood frame looks a bit dull compared to the rest now; maybe a handle or other details could provide it with depth to match.

Really good looking model.


3D modeling like cooking benefits a lot from how it's  presentation, people will keep that first impression in there minds when ever they see the model.

Learning how to control light and how to compose a image for presentation will also teach you more about art, this will lead to even better textures. Improving one of your art skills helps with everything else.

13 minutes ago, Runemark Studio said:

I plan to use Unity's realtime GI system with additional spotlights for my showcase video.

This is a really good idea, modern shaders look really good and adds to the work without much pain.

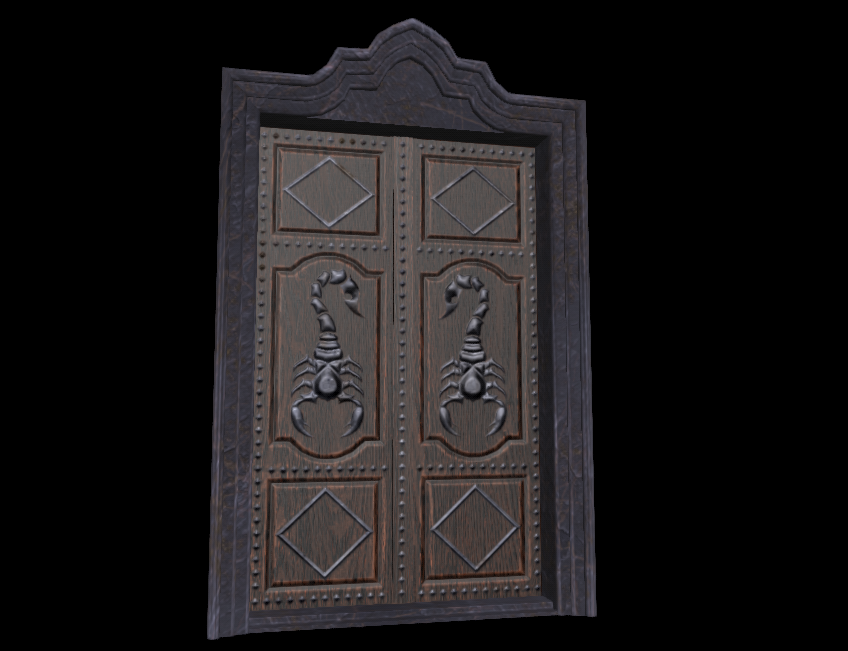
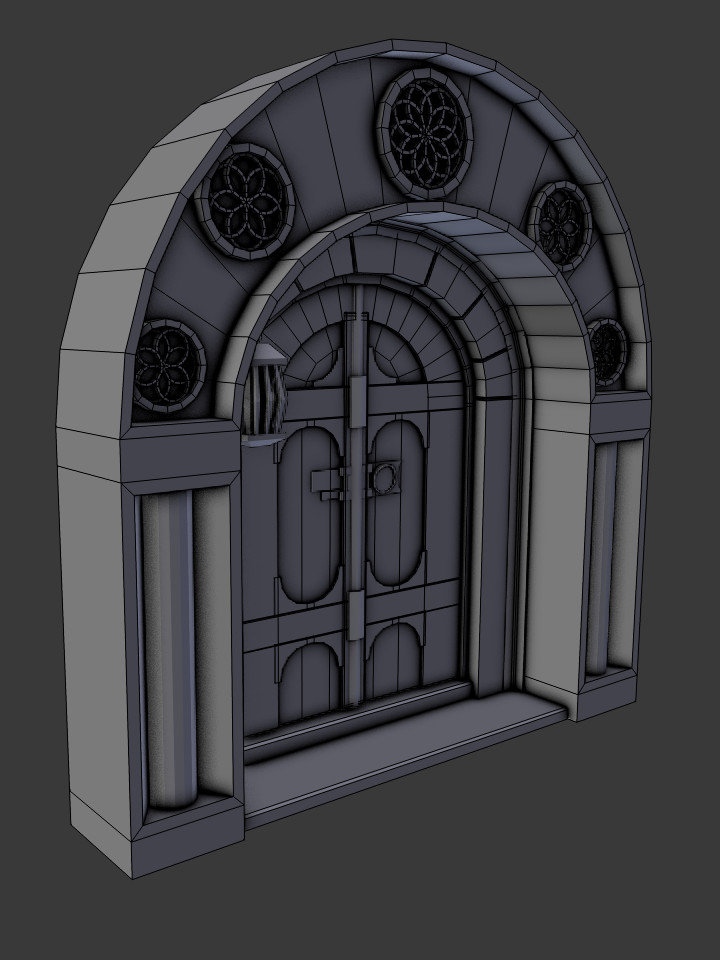
The design of ornaments looks boring to me, it's too symmetric / repetitive / predictable.

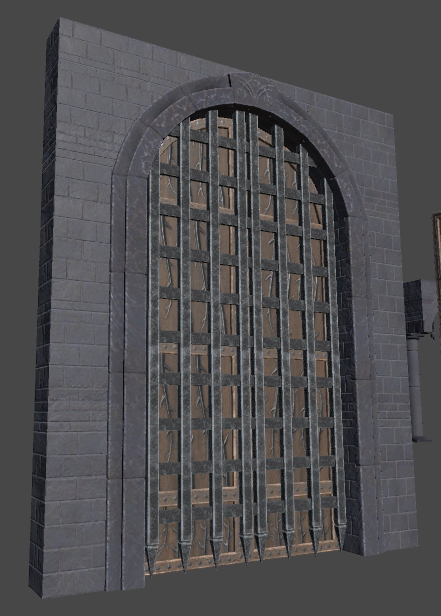
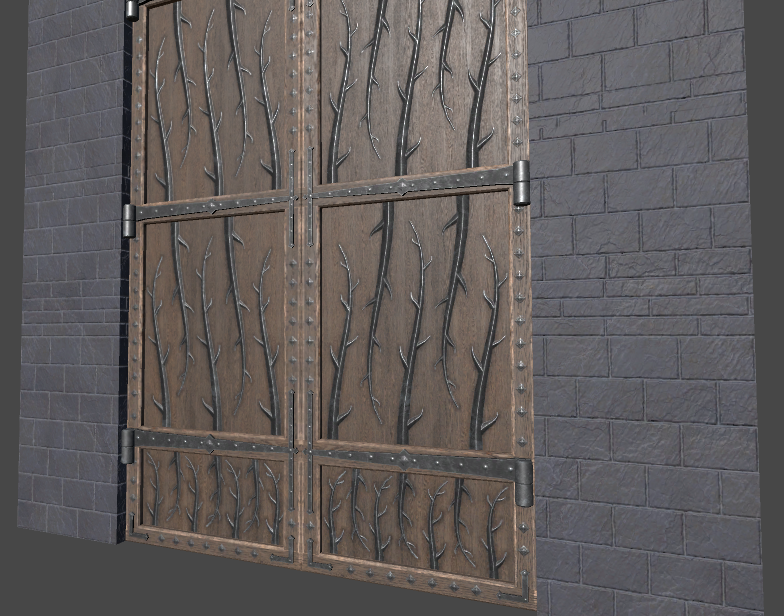
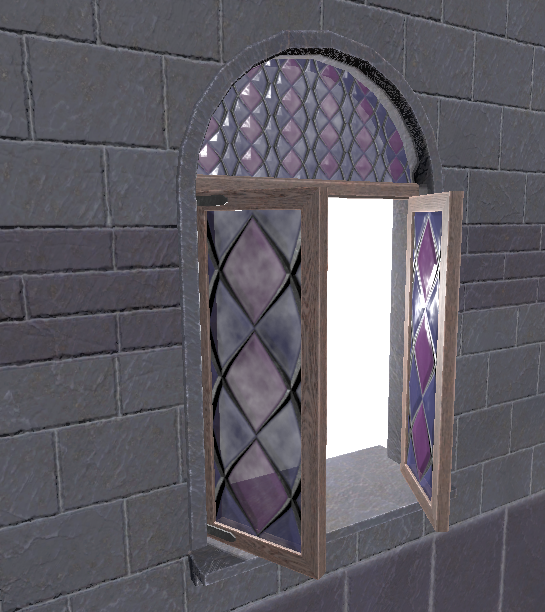
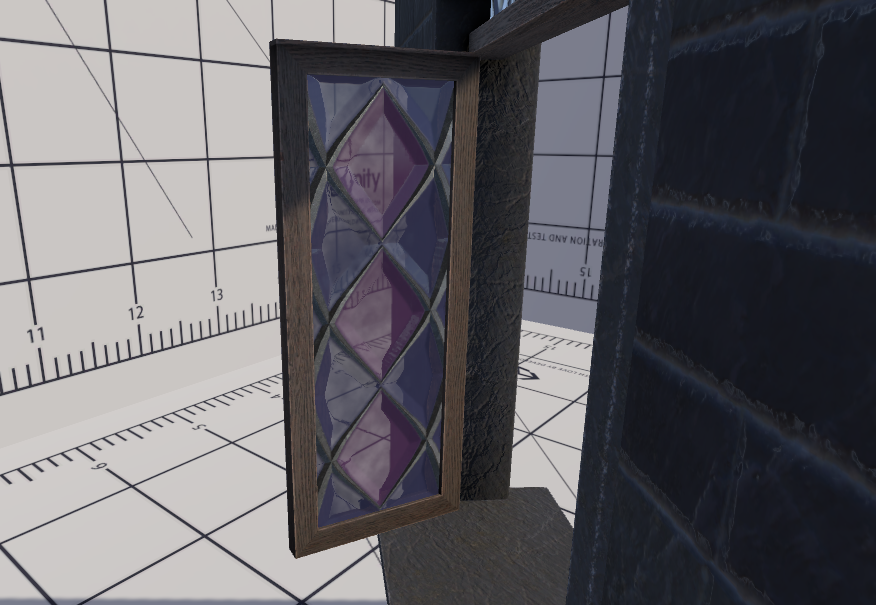
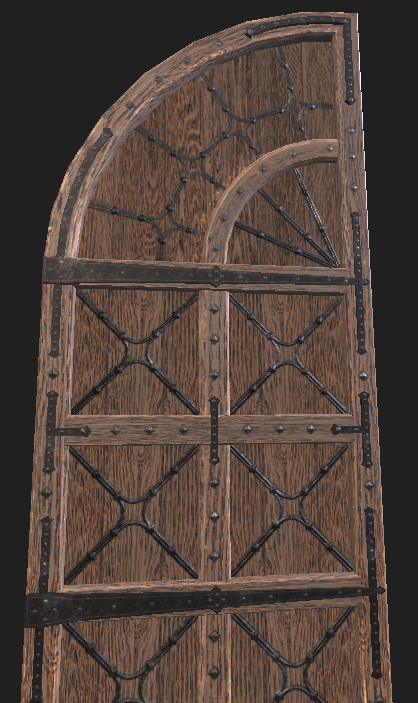
E.g. the bottom door element is the same as the top element; vegetation ranks are copy pasted upside down (which also looks unnatural because a real plant would not grow this way), the scorpion is just mirrored; window top / bottom glass uses the same texture just with a different scale (something that never happens in reality as well). As a result the overall impression feels uninspired, almost lazy.

I allow myself to sound really critical, but i'm bad with this stuff too. For this reason i can not make suggestions on how to improve this other than looking at other peoples work. Sorry for that, maybe somebody who likes to work with ornaments can provide better help... 


Minor issue: The scorpion looks as if you use photoshop edge gradients to get a height map. You could improve this by blurring the torso so it becomes more round instead the flat region in the center, and you could reduce contrast in the tail so it does not look 'higher' than the rest of the body.


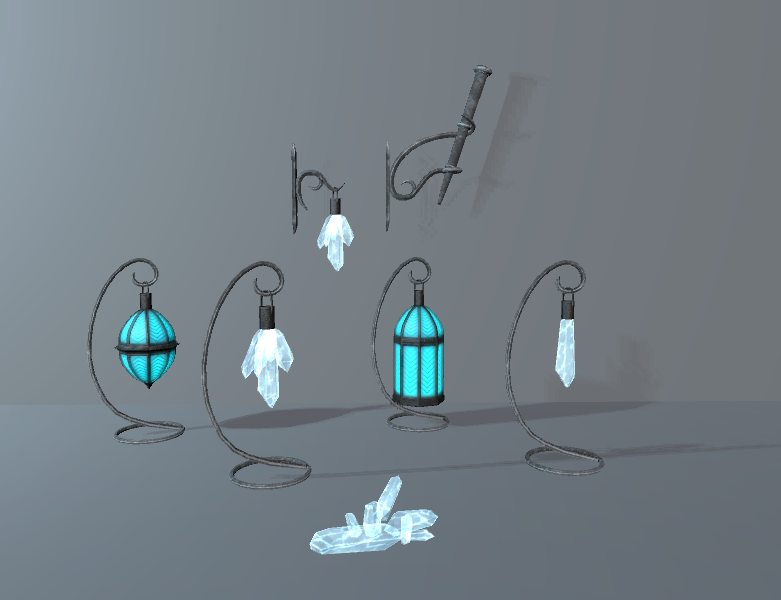
I agree you should present your work better, not only using better lighting, but also using better composition if the final image. Some tips:

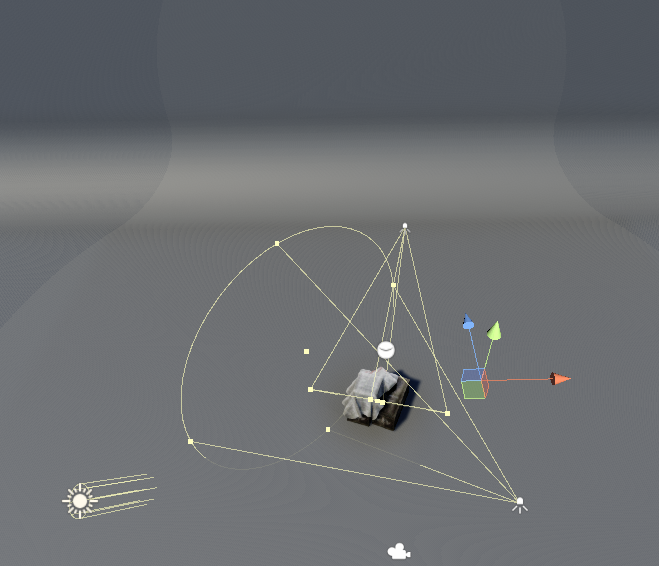
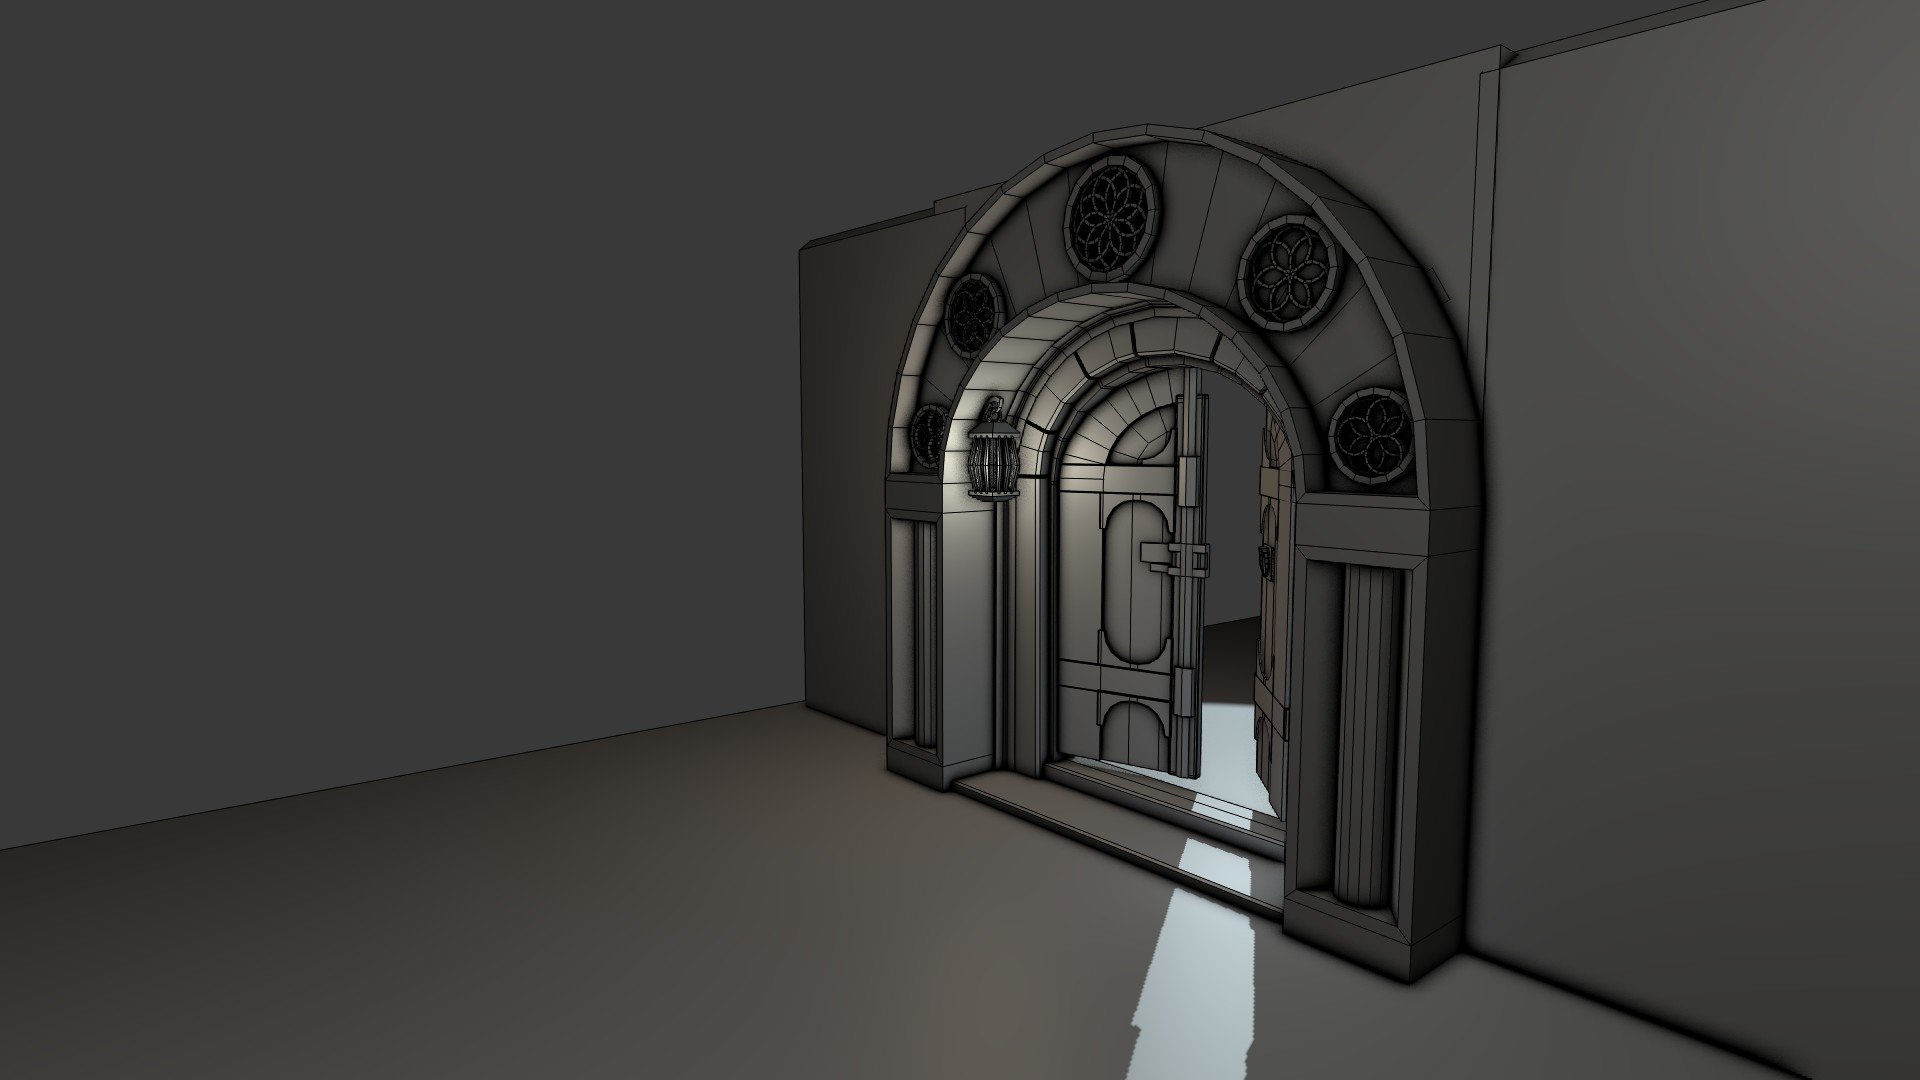
A slightly oblique perspective mostly looks bad. Either use larger angles or exact zero angles between camera and object, for an interesting or straight view.

Same for the position of the object on the image: Either place it exactly at the optical center, or use a larger offset for an intended interesting effect.

The lamps could use some rotation / different placement as well. Think of if you want to paint an image of a bowl of fruits, you first arrange them in a way they look harmonic, interesting or whatever. You spend some time on this and only if you are happy with the composition you start painting. 

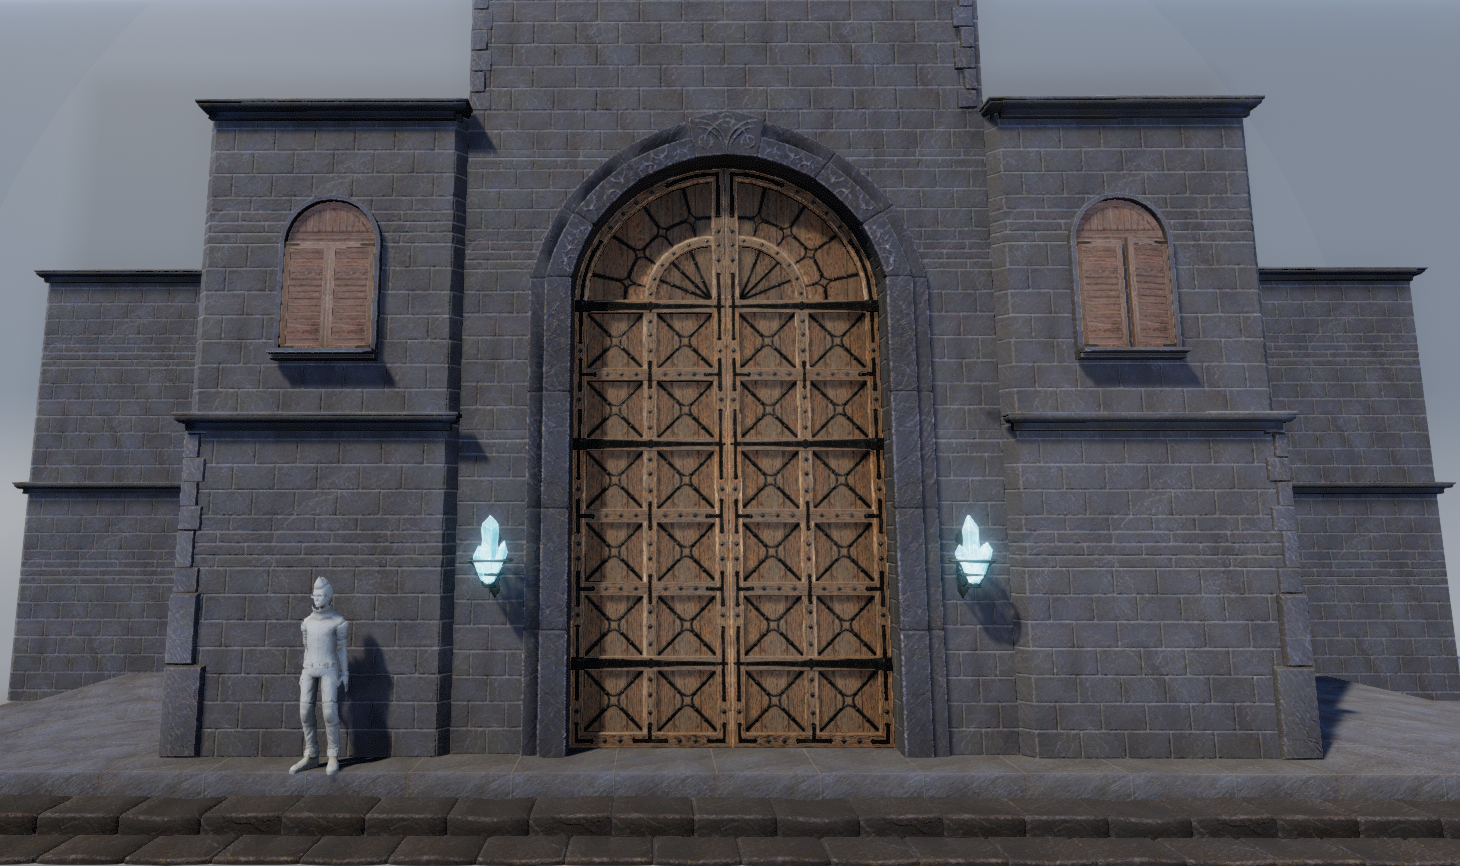
The open window is on the right of the image. It would look better on the left side, so the light 'nicely flows into the image' (it does not matter there is no volumetric light visible, yet - the argument holds even without it). Also it would look better if you would look at if from a lower angle more below, so it appears more mighty and interesting... stuff like that.


Hope this helps - no complaints about gemoetry at least :)


Hi JoeyJ!

Thank you for the very detailed feedback! Sorry for the delay, I was on vacation.
I made a different light setup in Unity, my aim was to mimic a real world photo studio with a plain backdrop and 3 lights. I used one of my more interesting models, a pile of crates to experiment with the light setup. Here is the result:
Box01.PNG.87d395234e8f3d04b3fe61efb6de7dd1.PNG

I found that the back light has to be way much brighter than the main light, and still it had a low impact on the overall look. 
And the small crate on top of the big one, half covered, is very dark compared to the same side of the bigger box beneath. But if I set my fill light to brighten up that exact area, the other parts, like the cloth, will become overbright.

Here is the same model but rotated more to the camera, as I tried to solve that dark spot problem:
Box02.PNG.aa035a3b5c1bed33c19bee0f4d46cd20.PNGBox_setup.PNG.9a966897f05ab75d88bd312f5ecf3d44.PNG
I feel it is still too dark... At least some of the small crate's edges are showing better... I also found that the whole thing looks like it is hovering, especially the front part which is missing some ambient occlusion or something like that? Or maybe I need to add some slight texture to the floor?

1 hour ago, Runemark Studio said:

But if I set my fill light to brighten up that exact area, the other parts, like the cloth, will become overbright.

This kind of problem can often be solved by tweaking tone mapping.


1 hour ago, Runemark Studio said:

I feel it is still too dark

You could use a enviroment probe instead / additionally to the 3 lights. (or at least constant ambient to fight darkness)

In combination with PBR this looks very realistic because there's light from every direction (depending an the enviroment map you choose).

If the scene is pretty convex (single object) realism is great, if it is more complex (full game scene / interiors) missing occlusion starts to show off. 

If you have metals you need a probe anyways to support reflections, and using the same probe for all objects you offer for a theme can make everything appear more consistent / professional... eventually - can also look boring. 

1 hour ago, Runemark Studio said:

I also found that the whole thing looks like it is hovering, especially the front part which is missing some ambient occlusion or something like that? Or maybe I need to add some slight texture to the floor?

Both worth a try, but the texture should have very low contrast and SSAO should be toned down (games mostly overuse SSAO - default settings are too dark)


But the crate scene looks very good to me. I agree it's a bit too dark but that's really minor - constant ambient might do it.


Edit: Composition is also nice here. :) 

The gardient from the studio wall background looks a bit artificial - maybe you could smooth the transition from planar to curved geometry to get rid of the visible gradient. Cropping the images to remove some background would also help.

For cropping it's most effective to make a screenshot of the store web page, cut out the images and place your own images in layers behind the web page. The you can transform all images so you see they look good when they appear in the real store.

3 hours ago, Runemark Studio said:

I found that the back light has to be way much brighter than the main light

Point lights are better for this. Area lights is the ones that look best but has a high cost.

Also remember that the output image has a limit on color range. So if you want your model to be brighter you need to lower the light in the background. Setting HDR rendering on will do this for you.

Quote

In many cases you can apply simple tricks instead of adding multiple extra lights. For example, instead of adding a light that shines straight into the camera to give a Rim Lighting effect, add a dedicated Rim Lighting computation directly into your shaders (see Surface Shader Examples to learn how to do this).

The above quote is from the Unity manual. What it means is for the rim light you should use a Fresnel function or a matcap.

Unlike Unreal, where you can just use the material editor to add the rim lighting, in Unity you will need to learn how to code it.

Gate remake and mini scene with walls and windows (WIP). I didn't touched the crystals yet, but it seems that Amplify Shaders will do the fresnel trick. I added a human for scale too. The gate is failry large, it will definitely need a sturdy ring to open.

Gate_V2.thumb.PNG.9a326c00404854f3fde29d01995e44f2.PNG


Gate details:


Gate_V2_detail.png.33c204fff98d87ceb0e1be1fb6e10b25.png

Improving nicely.

Love the brick details on the edges and the window frame and hangings is providing good depth.


If you want to take the depth even further I have a little trick for you that environment artist use. You should spend a few minutes planing the model by using primitives:

Door.thumb.jpg.1109ed3b49b108852d4f37d034bb8792.jpg

The Idea here is to plan the depth of of the 3D model using very simple shapes. Doing so results in a model that looks more 3D. Personally I also use this time to break symmetry, but not too much because humans like symmetry.

Once this is done you can arrange the model in a way that will look good when rendered. The key here is to try and make it look Dynamic and in use, like there is more going on than just a model.

MoonLitYard.thumb.jpg.959c6462aef6c894af16b6e0e13e3b7f.jpg


As you can see, using some colored light and opening the door my image gives a sense of a scene. This could be a door that leads to a moonlit courtyard. I also use lights to focus the view where I want it. Representing the model like this will get much more attention than just a door and bright lit scene.

Most importantly by planing like this I create a good 3D looking scene; that I can now use as a foundation for the final model.


This topic is closed to new replies.

Advertisement