1 hour ago, coope said:
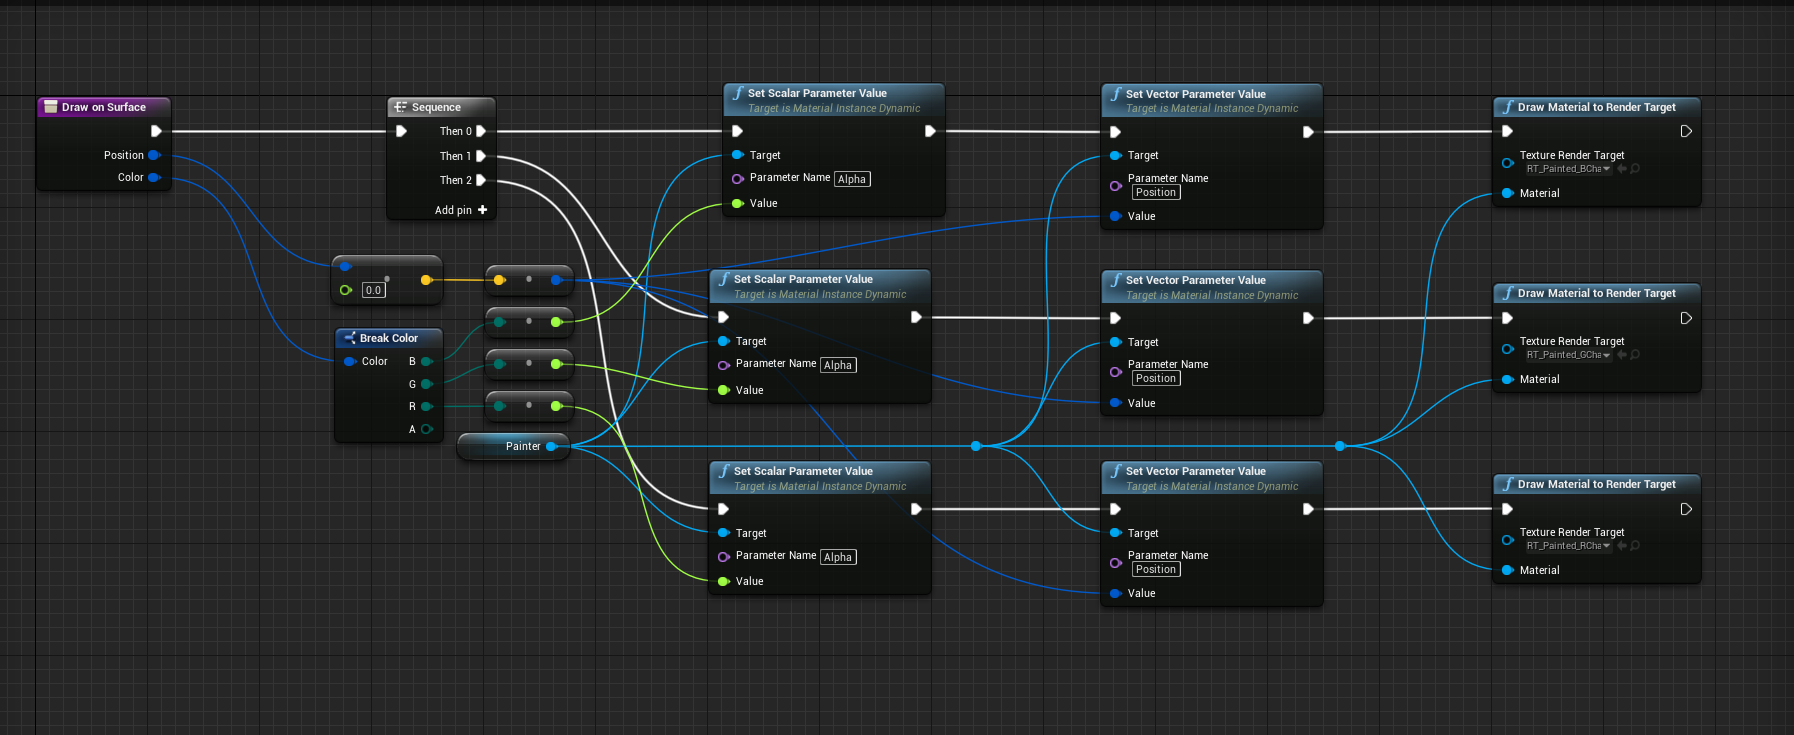
I've gotten started, and implemented a solution of sorts. Basically I raytrace to the target material, then call my Draw on Surface
This is one way to do it. The way it is normally done is a custom shader for drawing on is made, the same as with any other engine. Unreal also allows you to do this by creating a editable instance material, saving the texture is your own responsibility though.
Then again using the UCanvasRenderTarget2D gets the job done.
1 hour ago, coope said:
Either would result in the exact color needed being painted, only to be replaced or surpassed if the color is changed. Ideally by lerping towards the new color. So I'm kinda at my ropes length, can someone help?
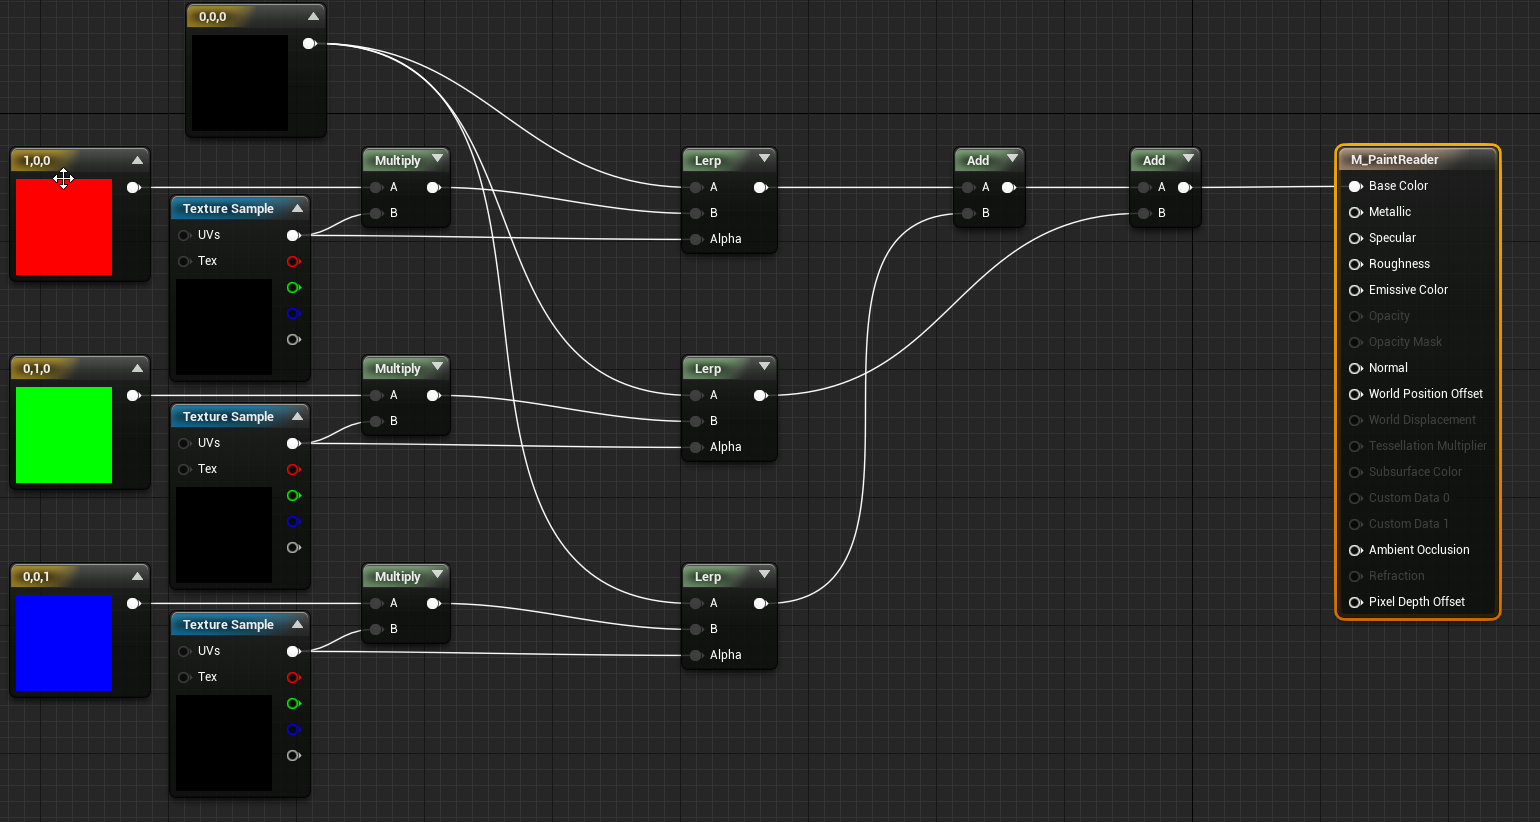
You want to mix based on the brushes, in other words you want to lerp the colors for real. Unreal has lerp but let me explain how it works:
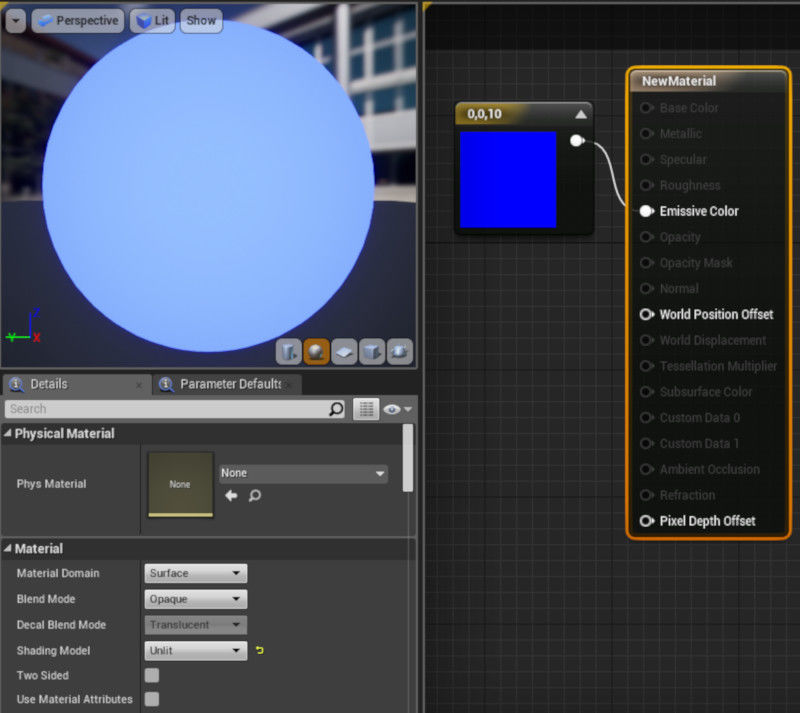
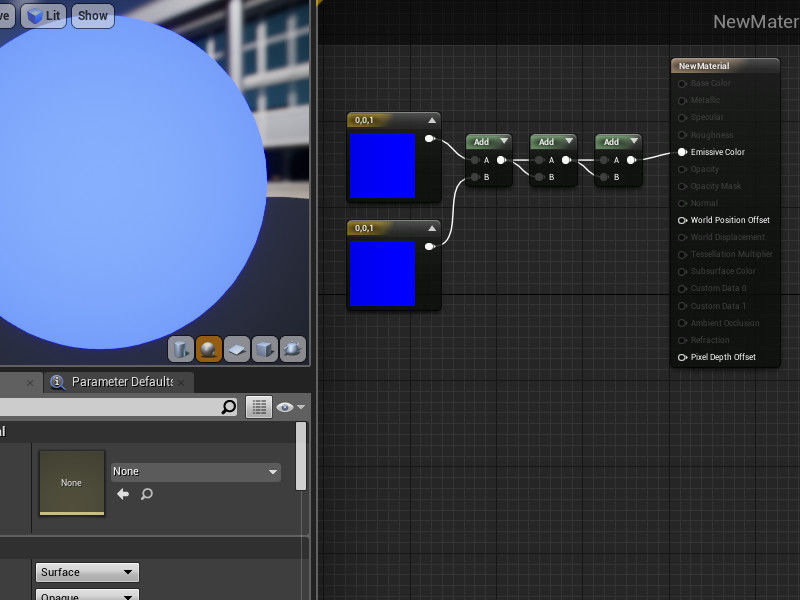
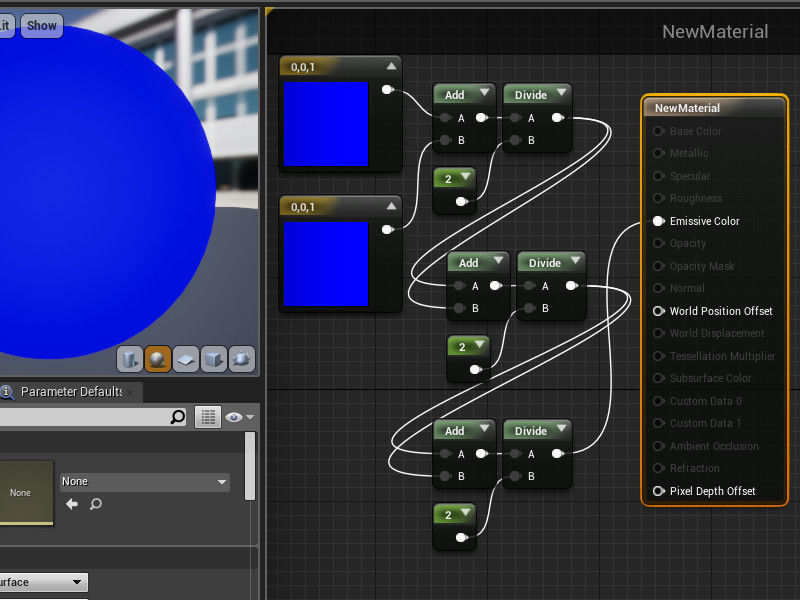
1.) If you add the color(R,G,B,A) Yellow(1,1,0,1) + Blue(0,0,1,1) = White (1,1,1,1); So this is working as expected.
2.) To use it for mixing color we lerp based on a brush strength
Lerp = ((1 - t) * v0) + (t * v1) To explain lets say v0 = 50 and v1 =100 then lets make t=0.5 for 50% So solve brackets first : ((1- 0.5) * 50) + (0.5 * 100) -> ((0.5) *50) + (50) -> 25+50 = 75
Now we lerp like this: (ColorA,ColorB,BrushStrength) let's say BrushStrength is 0.5 and the colors are again yellow and blue:
((1f-0.5f)* (1f,1f,0f,1f)) + (0.5f * (0f,0f,1f,1f)) -> (0.5f, 0.5f, 0f, 0.5f) + (0f, 0f, 0.5f, 0.5f) = ( 0.5f, 0.5f, 0.5f, 1f)
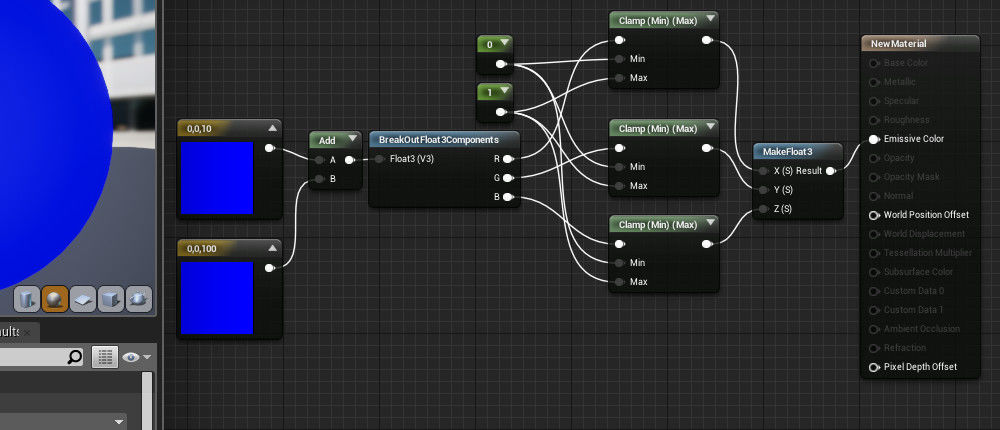
3,) I think you want the alpha lerp trick:
Let's say you have yellow(1,1,0,1) and a transparent blue (0,0,1,0.5). Lerp the alpha based on some kind of brush hardness or something, lets use 0.5 again:
lerp(1f, 0.5f, 0.5f) = 0.75f Then add the two colors and multiply each value except alpha: ((1f,1f,0f) + (0f, 0f, 1f)) * 0.75f = (0.75f, 0.75f, 0.75f) After this just add back the alpha.
I tried Gimp, it uses a similar formula:
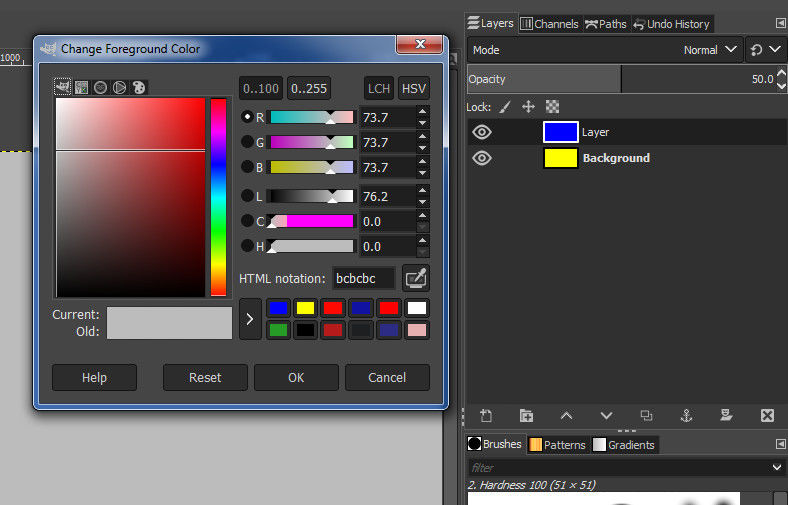
Different software will use different alterations to the formula. Some even attempt to recreate real world color mixing.