dynamic light shafts

Started by
4 comments, last by spek 13 years, 1 month ago
I've noticed a lot of games using the following kind of lighting scattering effects within light shafts, both outside like below

crysis_2_demo_for_pc_coming_very_soon_1.jpg192451-header.jpg
and inside like this
VolumeLight.jpg

The second image looks like its achived by a bloom filter, but with a directional blur. But Im wondering how the third image would be acheived?
Advertisement
Crytek's technique is a post process. You can implement something similar using this as a guide. However it's really only good for the sun or the moon, since it only works for one light source thats' at infinite distance from the camera. If you want real volumetric lighting effects it's possible to do so by marching through a shadow map, but that can be rather expensive in comparison.
I'm also fairly interested in this.
I used to experiment a bit with something relatively similar to what MJP suggested - the volume marching was implemented using standard projection and additive blends (it happened quite some time ago). It used to be quite slow for an the amount of slices required to give convincing results (especially when the blends were not additive).
I think the ray-casting operation MJP suggests is going to be fairly more efficient nowadays compared to real blend (compute instead of read/mod/store bandwidth)... I don't expect this to be fast enough to be used in action but perhaps adjusting the "step" sizing could do the trick.

I'd like to read other experiences.

Previously "Krohm"

It's quite literally a radial blur of 1- scene depth. The trick, however, is that the center of the blur is the light position in screen space-- lightPos * VP. While you probably can't reproduce the third shot exactly, the effect still looks pretty decent in practice. Disregard the infinfite light thing-- as far as I'm aware, Unreal 3 uses the projected light position without issue.
clb: At the end of 2012, the positions of jupiter, saturn, mercury, and deimos are aligned so as to cause a denormalized flush-to-zero bug when computing earth's gravitational force, slinging it to the sun.
We did the marching through the shadow map technique, gave some really nice results. We needed quite a few samples for best visual look though, so we do it in low res and then blur the result as we composite it on screen. Added some luminance adaptation and it looked pretty good. However doing additive fake light passes like this on screen can occasionally play hell with HDR, so worth keeping in mind.
Doing shafts as a post effect only works when you can see the lightsource, because you'll have to render the source as a bright dot/sprite/sphere(or whatever), then create blur-streaks. For outside scenario's it works good & fast. Eventually you can use it for (mutiple) indoor lights as well. Like I did here:


http://3.bp.blogspot...0/HookBeast.jpg
A bright sprite is behind the monster. You can't see the sprite, but it will be rendered in a special pass required for the blurring. Here another one. Notice that you won't get perfect shafts between all that detailed fence wires, unless the you are nearby enough to render the fence sufficient in the (smaller) pass that renders black objects and source spots into a texture:
http://2.bp.blogspot...ShaftMethod.jpg


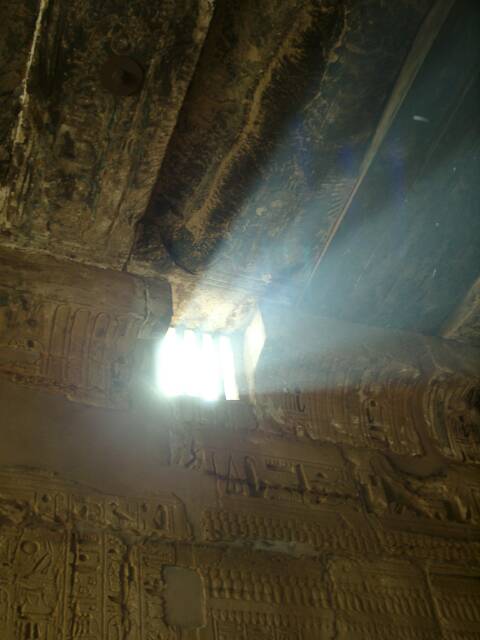
However, if you can't see the source (for example, in a long corridor where the sun comes in via windows on the left in such a way you can't see the sun), you won't get any shafts. So I switched over to a technique that shoots rays between the pixels in front of you(scene depthMap) and the camera. For each step (you need a lot), you test if it intersects shadowMap(s). It gives pretty accurate results, although it costs quite a lot more of course. You can gain speed with tricks like ATEFred suggested.
http://2.bp.blogspot...Light_Shot4.JPG

As for the cool color effects & dust within the ray like you see on shot 3. You could store a depth or 3D position for the shaft pixels (in the raymarch pass). Then later when upscaling to full-screen, you can use that info to sample from a 2D or 3D texture with animated dust. The blue colorizing... no idea how they did that. Probably some cool formula based on camera angle, traveled shaft distance, and some magic :)

This topic is closed to new replies.

Advertisement