[size="3"]One of the new utility apps (BrushUp) I'm developing for Woody3D will allow the artist to scan in a series of leaves in the field and with very little effort convert them to brush maps compatible with the Leaf Painter editor. This entry documents the process by which this is achieved.
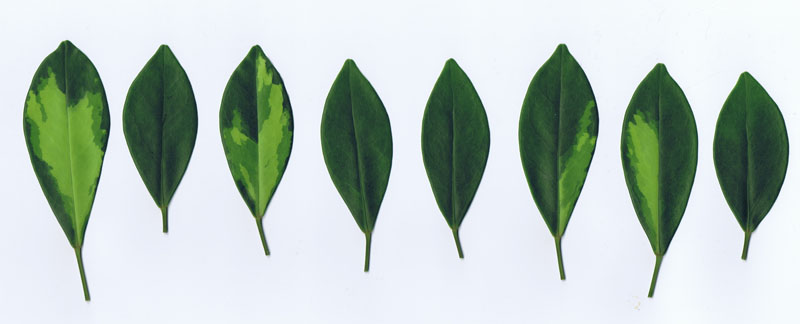
For this example I've taken 8 leaves from one of my house plants, placed them vertically in the scanner, closed the lid, hit the button and the results are shown above.
What BrushUp does is take scans like the one above, detect and crop out each individual leaf, build alpha maps for each, expand the color edges, and save to a folder. It does this using the following steps.
Step 1. A little pre-processing. Load the scan into Photoshop and use the paint tool, with high tolerance and anti-alias disabled, to create a solid background color for the map.
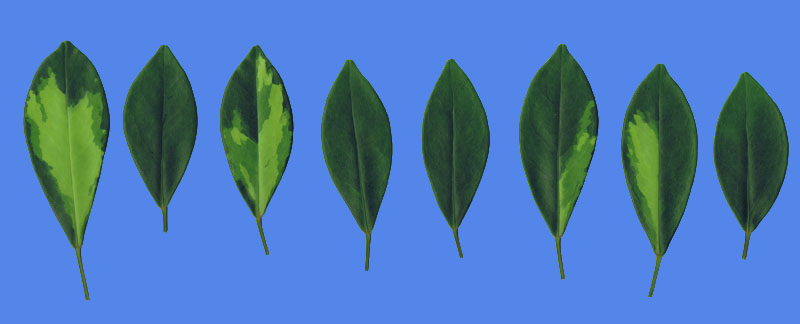
Step 2. Load the image into BrushUp and tell it the background color.
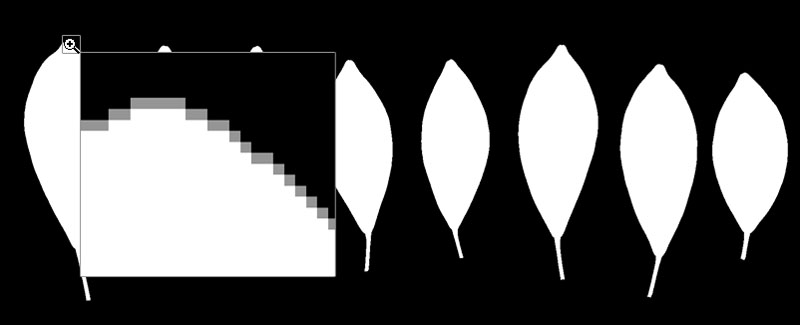
Step 3. Enforce a 1 pixel border. To simplify edge detection we ensure there is a 1 pixel border of background color on the image. Canvas resize.
Step 4. Flood Fill Alpha to Zero where background color. This does two things. It defines the initial binary alpha map, and paints the edges of each brush with a 128 alpha. This will be used later when determining bounding rects for each brush. The flood fill uses 4 directions and is stack based. Pixels already added to the stack are marked with alpha 128. The resulting alpha map is shown below:
Step 5. Get a list of Bounding Rectangles for each Leaf / Brush. The alpha channel is scanned for every pixel. When a pixel with alpha 128 is found it uses an 8 direction stack based fill algorithm to follow the edge around, marking checked pixels white as it goes and maintaining min and max points to build the rectangle on completion.
Step 6: For every bounding rect Crop and Post Process. Iterate through the list of rects and do the following for each:
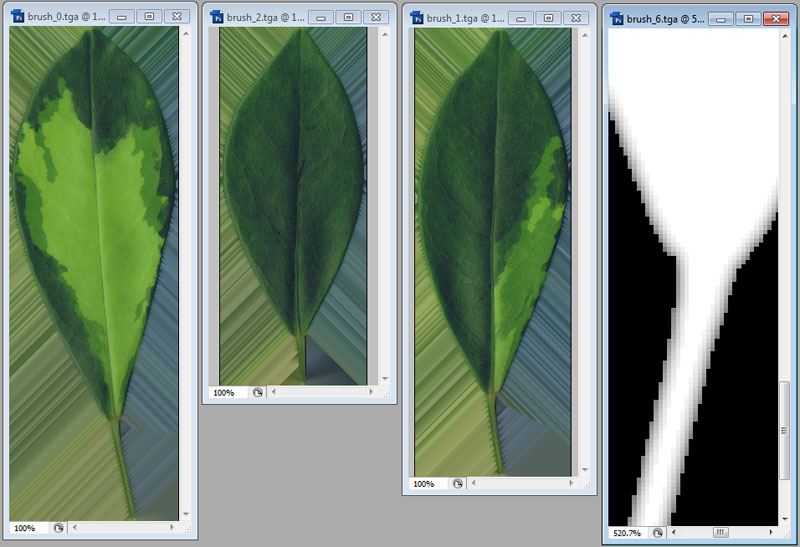
- [size="3"]a) Crop the brush using rect.
A few of the resulting brush files are shown below:
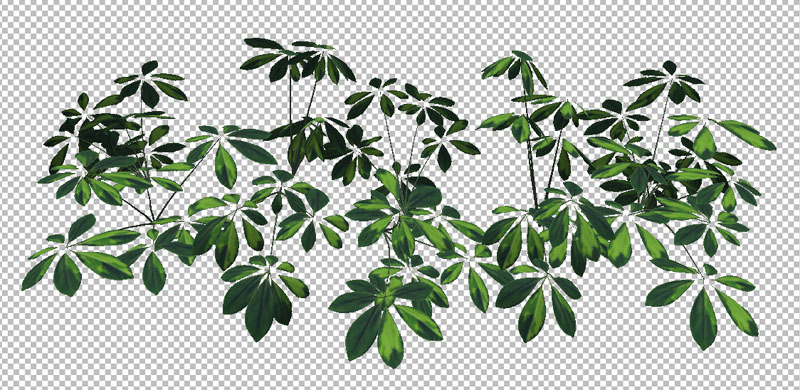
And a couple of (I think 4) minutes later, I had created this texture in Leaf Painter using the new Palmate Compound node.