Critique my work

Started by
35 comments, last by Allba 6 years, 9 months ago

Hey guys,
Just looking to see if any of you would be willing to give me some pointers on my work. Aiming towards being a "hard surface" sort of guy, so the likes of Environments, props and vehicles. Any comments welcome, if you feel I have missed important steps etc, that would be appreciated.
All, but the Environment image are "complete" however the environment is currently a Work in Progress Unreal 4 recreation of a SWTOR environment. All other assets have been done in unreal, so any comments on how I have handled materials etc that would be great.

Thanks guys

Stuart

nd06rodf6u9e.jpgc1jv5sjwaxeu.jpg

4uvey24v4moi.jpgytvm38046sse.jpgolynqe2dv46q.png

Advertisement

It's difficult to criticize the work, maybe if you showed us your wire frame we could deliver some criticism on the meshes.

All other assets have been done in unreal, so any comments on how I have handled materials etc that would be great.

A notable thing here is that you are not taking advantage of the way BPR materials work, it looks like you are using just a normal diffuse shader.

The rifle for example, it looks like one solid piece with color as the only indication of what is metal, wood or cloth. A black and white image of it looks like it's two types of metals wrapped with a piece of rock.

The dust on the gun also looks flat, part of the metal instead of formed over it.

The light saber handles has the same problem as the gun.

Iron man's material looks flat again, although the light from the side saves it.

The race car wheels has a good material, easy to see rubber and metal. The body material looks flat.

Your modeling is good. Shape and forms are clear, silhouette stands out for all objects.

Some parts of Iron man looks a bit 2D, that none of the other work shows it, so I think Iron man is one of your older work pieces.

There is some outward pinching on the curved mesh in the level design, although it adds some depth to the image so it isn't really a bad thing.

The textures are clear, no stretching or mistakes, so I assume it means you have good clean UV maps.

In all very good work, the only advice I would give is to focus on materials a bit.

@Scouting Ninja

Thank you for the reply, very much appreciated. PBR materials are something I have only recently pick up on, and I am still getting to grips with it. Are there any resources you would recommend for getting the most out of PBR? I am currently using Quixel suite, but when ever i follow tutorials, I never seem to get a similar result, always resulting in my materials being flat. Would maybe playing around with the roughness values work in this regard? or is there something else that I should be looking at?

Edit: I will upload some wireframe images and some texture snapshots when I I get back to my main PC and get access to the files

Would maybe playing around with the roughness values work in this regard? or is there something else that I should be looking at?

I find that when working with PBR it helps to think of making a material, not texturing a model.

For example: When making the wood for the gun I would first find a wood texture and clean most hard shadows. This is then the Albedo for my wood and as such it should only effect the color. That is they key to a good Albedo it should only be color and brightness based on how much it should reflect.

Next I would make a normal for the texture, this will be my wood grain. I won't add any wood grain to the wood Albedo. The normal would be made from the texture, noise, cavity maps an any other details. I will also mix the grain normal map with any baked normal map from a high poly mesh.

For the metal map I would pull the highlight from photos, this tutorial will explain:

.

The gloss map(Roughness) I like starting with a real world value and tweaking to match what I want. To get a real world value you can just google search or do your own tests.

All this will only be for the wood, I would repeat mapping the other material types.

If I find some time I will see about doing a example for you.

I am currently using Quixel suite, but when ever i follow tutorials, I never seem to get a similar result

Quixel is good for a base to work on and for lesser models, for good materials you will always have to do some manual work.

Do research on materials, remember that the art you make is your own interpretation of what you see. So even if some one could teach you what metal looked like it would never be the way you understand it.

Thank you again for the quick response. So far I have been taking Quixel as gospel and was just assuming it would serve me well. But I have been looking at it wrong as you mentioned. I will defiantly do some research on materials and hopefully make some improvements.

I will also have follow the tutorial you provided to gain a better understanding of the whole process and hopefully come out of it with much better looking materials.


Below I have also attached some images of my wireframes, for any feedback on the meshes.

stuart-speirs-capture.jpg?1484772718

stuart-speirs-capture3.jpg?1484772720

stuart-speirs-capture1.jpg?1484773474stuart-speirs-capture2.jpg?1484773477stuart-speirs-screen01.jpg?1484773779stuart-speirs-screen01.jpg?1484774099

stuart-speirs-screen01.jpg?1484774598

The Iron Man photo (of his butt) has some bad edge flow going on. It seems like you have some wild vertices and random edges in there. Although, could this be an export / screenshot issue?

[attachment=34608:stuart-speirs-capture3.jpg]

Also, I agree with @Scouting Ninja about doing some work on PBR, especially in UE4.

@_Martin

Thanks for the reply Martin, really appreciate it.

I did make the mesh in various different parts, there is unfortunately some clipping issues. But I should probably try and rectify this for future projects

@_Martin

Thanks for the reply Martin, really appreciate it.

I did make the mesh in various different parts, there is unfortunately some clipping issues. But I should probably try and rectify this for future projects

Hey, yah, no problem. I do like the final render - it looks pretty sweet. Keep up the good work, the rest of them look great (but again PBR materials are a great thing to add)

About working with PBR MAterials and maps:

My personal expierience was that "crutches" like the Quixel suite do not produce very convincing results out of the box. You really need to dig into the theory behind the PBR workflow of your choice (metallic or specular), find out what all the maps do and influence, and then need to check the output of the Quixel suite to make sure the maps are correct.

Not saying its the fault of the Quixel suite, not entirely anyway. But there are a ton of things that can influence the map outputs more than you want, like grime and dirt not that visible in the diffuse map, but toning down metallic, specular or smoothness way too much.

I found it easier to paint the texture in a 3D painting tool like 3D coat, and then use Crazybump to create AO and Specular maps that I then can enhance and tweak in Photoshop, and mix with my diffuse map to give the colors more depth. I had to tweak all the maps anyway after exporting from the Quixel suite, while fighting with masks and all the knobs and levers of the Quixel suite first, so I spent more time going through the Quixel suite than painting by hand first.

But then I am creating not very high resolution textures with many exture details like clothing patterns omitted, so I guess for really HD textures the Quixel suite would work better.

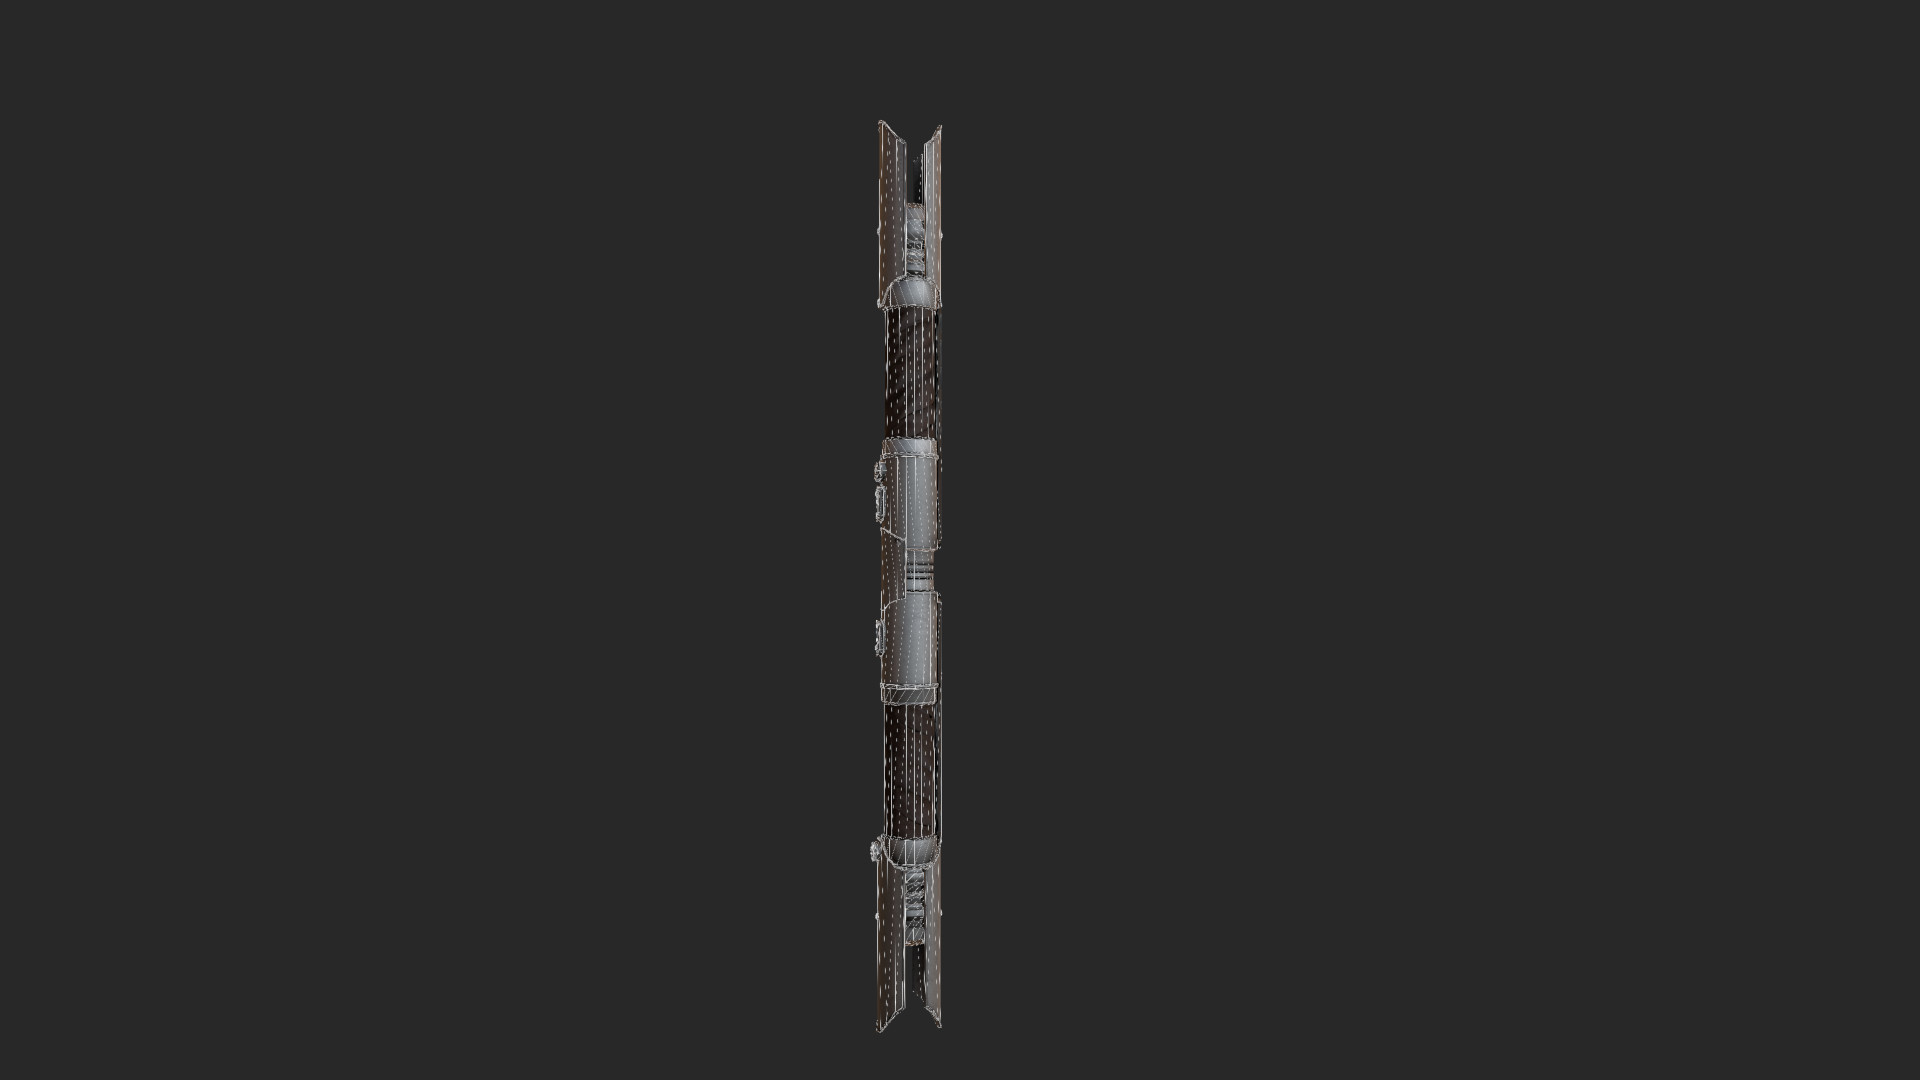
BTW, looking at the meshes, nice clean layout (save errors as already pointed out), but rather high for a game low poly mesh.

Did you already bake a normal map? Many of the bevelled areas could be collapsed to a simple bevel with two edges, or maybe no bevel and a single edge in case of angles bigger than 90°-120°, as a normal map would simulate a rounded edge just fine, and the shillouette would probably still look correct.

Other areas also seem to have an excessive amount of polygons, like the face mask. Sure, its rounded. But you should let a normal map take care of simulating the roundness, instead of going through smooth shading alone and turn up the polycount because of that.

IMO Place the polygons in a game asset low poly model 1. to get an approximation of the high poly shilouette that still looks mostly correct ingame, and 2. to give the skinning enough polys to deform a skinned mesh. Whereever a polygon does not need to bend in a skinned mesh, or does not contribute much to the shillouette, it can be combined with the neighbouring polygons. You will have more than enough other assets that might need the polycount more, and never enough processing power to handle all these polygons at once and still keep up a good framerate.

Of course, the needed / acceptable polycount depends a lot on how the game asset should be used. This iron man model seen in a isometric game from 30 metres away is a waste of polygons.

Used in close up cinematics, that polycount might actually be fine. Really depends on the game, and scene its used in.

@Gian-Reto

First off, thank you for the reply, much appreciated. I have had a look at using the "crazybump work flow" and I did use it fairly regularly in my first few years of university. One of my lectures then suggested Quixel as it was "better." But it does really seem like its not about the software, its how you use it that counts. I did also do hand painted textures within zbrush, which I imagine is similar to doing so in 3D coat?


The Iron Man Model is an older project, where I was still unfamiliar with creating game Assets, so I do agree that some of the polys are unnecessary. At this point I also did not have a full understanding of how to get good normal map bakes. So I do agree that the majority of the bevels just do not have to be there for the Iron Man. I did try to rectify this on the Car model, but I still feel like there are some parts on that that are a bit dense.

I think My main issue is that I don't fully understand what polygon budget would be used in certain situations. How high can you do with a 3rd Person Hero character, 3rd and 1st person weapons and environments filler props?

This topic is closed to new replies.

Advertisement