Josh Klint said:
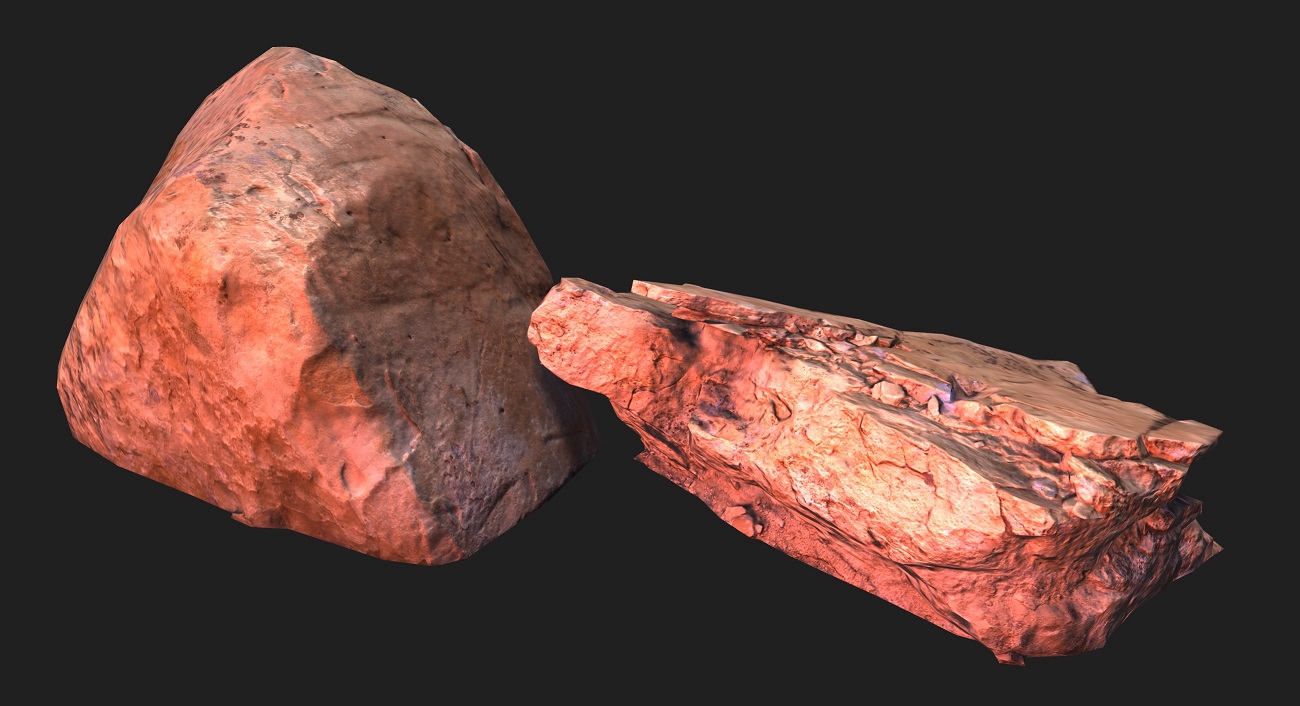
Can someone explain what is going on here? Obviously there's some auto-exposure increasing the brightness, but there's something else going on here that looks quite good.
It looks like a bad (or no) tone mapper (in Unity). That saturation effect is an artifact of applying tone mapping or numerical saturation/clamping to RGB independently. The blown-out bright spots are where the pixel value is clamped to 1. Your rendering looks better to me, especially the brighter one in the second post. The other difference in the Unity one is the blueish sky ambient light.
For tone mapping, I like the exponential one applied separately to RGB:
vec3 toneMapExpRGB( in vec3 color )
{
	// Normalize so that input of 1 produces output of 0.8.
	color *= -2.321928094887361;
	return 1.0 - exp2( color );
}
I also combine that with a “color bleed” effect (applied before tone mapper) which simulates crosstalk between R,G,B sensors at high brightness:
/// Bleed RGB channels into each other so that bright colors saturate to white.
vec3 bleedChannels( vec3 color, float amount )
{
	// Squaring color makes the effect stronger at higher brightness.
	vec3 bleed = color * color * amount;

	// Mix each channel into the others.
	color.gb += bleed.r;
	color.rb += bleed.g;
	color.rg += bleed.b;

	return color;
}
For this to look right you need to set the exposure to slightly over-expose the image (i.e. at least some pixels values > 1). There are different ways to determine the exposure automatically. I believe the best methods use a compute shader to build a histogram of pixel intensities, then use the middle 5%-95% of the histogram totals to bracket the exposure (clipping very dark and very bright pixels). This is similar to what the “auto contrast” filter does in Photoshop.