Before you begin
There is a video version of this tutorial available here which compliments the article version:
https://www.youtube.com/watch?v=qRuVgGOL3fI
Overview
Welcome to the 2D UFO game guide using the Orx Portable Game Engine.
(Updated for 2021 and to support version 1.12 of Orx)
My aim for this tutorial is to take you through all the steps to build a UFO game from scratch.
The objective of the game is to allow the player to control a UFO by applying physical forces to move it around. The player must collect pickups to increase their score to win.
I should openly acknowledge that this series is cheekily inspired by the 2D UFO tutorial written for Unity.
It makes an excellent comparison of the approaches between Orx and Unity. It is also a perfect way to highlight one of the major parts that makes Orx unique among other game engines, its Data Driven Configuration System.
You'll get very familiar with this system very soon. It's at the very heart of just about every game written using Orx.
If you are very new to game development, don't worry. We'll take it nice and slow and try to explain everything in very simple terms. The only knowledge you will need is some simple C++.
I'd like say a huge thank you to FullyBugged for providing the graphics for this series of articles.
What are we making?
Visit the video below to see the look and gameplay of the final game:
Getting Orx
The latest up to date version of Orx can be cloned from github and set up with:
git clone https://github.com/orx/orx.git Once cloning has completed, the setup script in the root of the files will start automatically for you. This script creates an $ORX environment variable for your system. The variable will point to the code subfolder where you cloned Orx.
Why? I'll get to that in a moment, but just know it will make your life easier.
The setup script also creates several projects for various IDEs and operating system: Visual Studio, Codelite, Code::Blocks, and gmake. You can pick one of these projects to build the Orx library.
Building the Orx Library
While the Orx headers are provided, you need to compile the Orx library so that your own games can link to it. Because the setup script has already created a suitable a project for you (using premake), you can simply open one for your chosen OS/IDE and compile the Orx library yourself.
There are three configurations to compile: Debug, Profile and Release. You will need to compile all three. You can choose the 32-bit or 64-bit configurations.
For more details on compiling the Orx library at: cloning orx from github at the Orx learning wiki.
The $ORX Environment Variable
I promised I would explain what this is for. Once you have compiled all three orx library files, you will find them in the code/lib/dynamic folder:
- orx.dll
- orxd.dll
- orxp.dll
Also, link libraries will be available in the same folder:
- orx.lib
- orxd.lib
- orxp.lib
When it comes time to create our own game project, we would normally be forced to copy these library files and includes into every project.
A better way is to have our projects point to the libraries and includes located at the folder that the $ORX environment variable points to (for example: C:\Dev\orx\code).
This means that your projects will always know where to find the Orx library. And should you ever clone and re-compile a new version of Orx, your game projects can make immediate use of the newer version.
Setting up a 2D UFO Project
Now the you have the Orx libraries cloned and compiled, you will need a blank project for your game. Supported options are: Visual Studio, CodeLite, Code::Blocks, XCode or gmake, depending on your operating system.
Once you have a game project, you can use it to work through the steps in this tutorial.
Orx provides a very nice system for auto creating game projects for you. In the root of the Orx repo, you will find either the init.bat (for Windows) or init.sh (Mac/Linux) command.
Create a project for our 2D game from the command line in the Orx folder and running:
init c:\temp\ufoor
init.sh ~/ufoOrx will create a project for each IDE supported by your OS at the specified location. You can copy this folder anywhere, and your project will always compile and link due to the $ORX environment variable. It knows where the libraries and includes are for Orx.
Open your project using your favourite IDE from within the ufo/build folder.
When the blank template loads, there are two main folders to note in your solution:
config
src
Firstly, the src folder contains a single source file, ufo.cpp. This is where we will add the c++ code for the game. The config folder contains data configuration files for our game.
What is config?
Orx is a data driven 2D game engine. Many of the elements in your game, like objects, spawners, music etc, do not need to be defined in code. They can be defined (or configured) using config files.
With data configuration, you can make a range of complex multi-part objects with special behaviours and effects in Orx, and bring them into your game with a single line of code. You'll see this in the following chapters of this guide.
There are three ufo config files in the config folder but for this guide, only one will actually be used in our game. This is:
ufo.iniAll our game configuration will be done there.
Included in your game project for convenience are two other config files:
CreationTemplate.ini
SettingsTemplate.ini
These are example configs and they list all the properties and values that are available to you. We will mainly concentrate on referring to the CreationTemplate.ini, which is for objects, sounds, etc.
Alternatively you can view these online at https://github.com/orx/orx/blob/master/code/bin/CreationTemplate.ini and here: https://github.com/orx/orx/blob/master/code/bin/SettingsTemplate.ini
The code template
Now to take a look at the basic ufo.cpp and see what is contained there.
The first function is the Init() function.
This function will execute when the game starts up. Here you can create objects have been defined in the config, or perform other set up tasks like handlers. We'll do both of these soon.
The Update() function has been set up in Init() to be executed every main clock cycle. This is a good place to continually perform a task. So far, the function is checking for the quit key.
The Exit() function is where memory is cleaned up when your game quits. Orx cleans up nicely after itself. We won't use this function as part of this guide.
The Bootstrap() function is an optional function to use. This is used to tell Orx where to find the first config file for use in our game (ufo.ini). There is another way to do this, but for now, we'll use this function to inform Orx which config file to start with.
Then of course, the main() function. We do not need to change this function in this guide.
Now that we have everything we need to get start, you should be able to compile successfully. Run the program and an Orx logo will appear slowly rotating.

Great. So now you have everything you need to start building the UFO game.
If you experience an issue compiling, check the troubleshooting article for Orx projects for help.
Setting up the game assets
Our game will have a background, a UFO which the player will control, and some pickups that the player can collect.
The UFO will be controlled by the player using the cursor keys.
First you'll need the assets to make the game. You can download the file assets-for-orx-ufo-game.zip which contains:
The background file (background.png)
The UFO and Pickup sprite images (ufo.png and pickup.png)


And a pickup sound effect (pickup.ogg)
Copy the .png files into your data/texture folder
Copy the .ogg file into your data/sound folder.
Now these files can be accessed by your project and included in the game.
Setting up the Playfield
We will start by setting up the background object. This is done using config.
Open the ufo.ini config file in your editor and add the following:
[BackgroundGraphic]
Texture = background.png
Pivot   = center
The BackgroundGraphic defined here is called a Graphic Section. It has two properties defined. The first is Texture which has been set as background.png.
The Orx library knows where to find this image, due to the properties set in the Resource section:
[Resource]
Texture = ../data/texture
So any texture files that are required (just like in our BackgroundGraphic section) will be located in the ../data/texture folder.
The second parameter is Pivot. A pivot is the handle (or sometimes “hotspot” in other frameworks). This is set to be center. The position is 0,0 by default, just like the camera. The effect is to ensure the background sits in the center of our game window.
There are other values available for Pivot. To see the list of values, open the CreationTemplate.ini file in your editor. Scroll to the GraphicTemplate section and find Pivot in the list. There you can see all the possible values that could be used.
top left is also a typical value.
We need to define an object that will make use of this graphic. This will be the actual entity that is used in the game:
[BackgroundObject]
Graphic = BackgroundGraphic
Position = (0, 0, 0)
The Graphic property is the section BackgroundGraphic that we defined earlier. Our object will use that graphic.
The second property is the Position. In our world, this object will be created at (0, 0, 0). In Orx, the coordinates are (x, y, z). It may seem strange that Orx, being a 2D game engine has a Z axis. Actually Orx is 2.5D. It respects the Z axis for objects, and can use this for layering above or below other objects in the game.
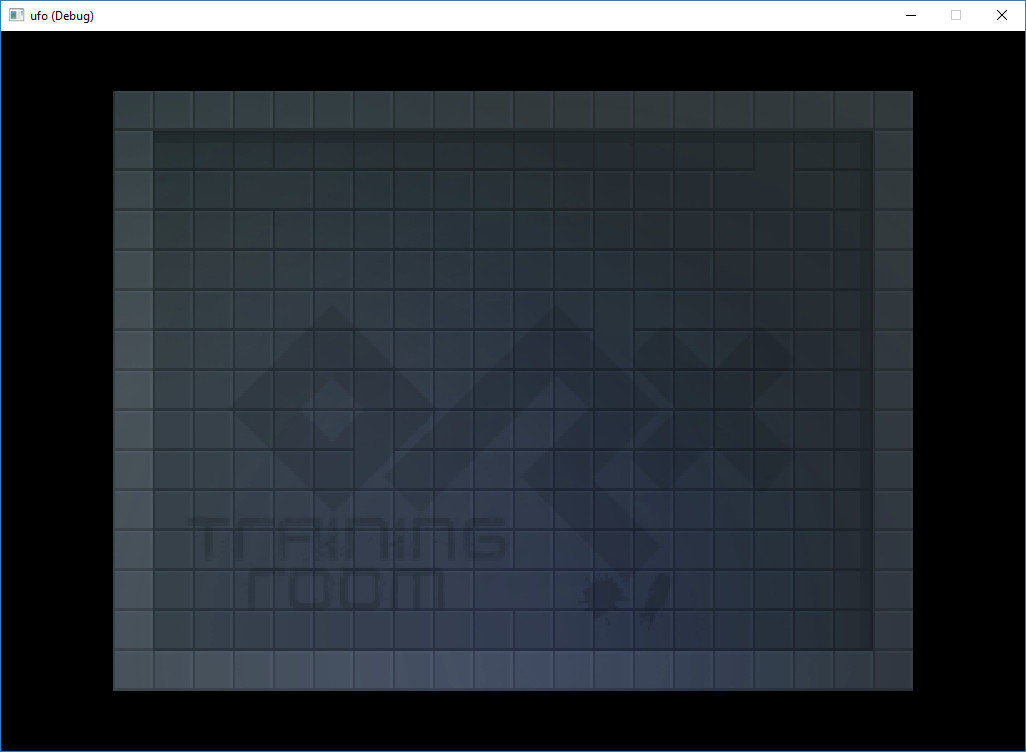
To make the object appear in our game, we will add a line of code in our source file to create it.
In the Init() function of ufo.cpp, remove the default scene lines:
// Create the scene
orxObject_CreateFromConfig("Scene");
and replace it with:
orxObject_CreateFromConfig("BackgroundObject");Compile and run.
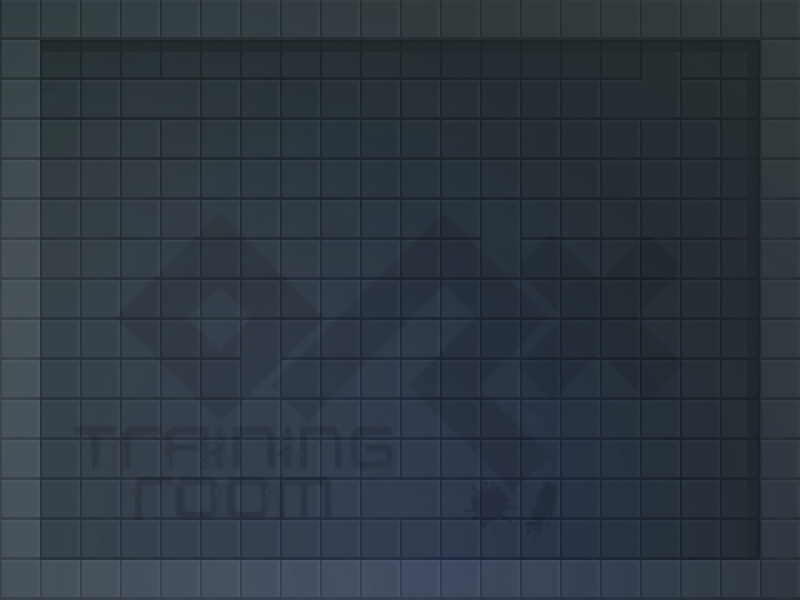
The old spinning logo is now replaced with a nice tiled background object.
Next, the ufo object is required. This is what the player will control. This will be covered in Part 2.


fatal error LNK1181: cannot open input file 'orxd.lib'