In 22 our lighting environment is dominated by sunlight, however there are many small emissive elements everywhere.
What we want is for all these bright sunlit metal panels and the many emissive surfaces to be reflected off the vehicles. Being a high speed racing game, we need a technique with minimal performance impacts, and at the same time, we would like to avoid large baked data sets in order to support easy track editing within the game.
This week we got around to trying a technique presented 10 years ago for generating large numbers of shadow maps extremely quickly: Imperfect Shadow maps. In 2008, this technique was a bit ahead of its time -- as indicated by the performance data being measured on 640 x 480 image resolutions at 15 frames per second! ![]()
It is also a technique for generating shadows, for use in conjunction with a different lighting technique -- Virtual Point Lights.
In 22, we aren't using Virtual Point Lights or Imperfect Shadow Maps! However, in the paper they mention that ISMs can be used to add shadows to environment map lighting... By staying up too late and misreading this section, you could get the idea that you could use the ISM point-cloud rendering ideas to actually generate large numbers of approximate environment maps at low cost... so that's what we implemented ![]()
Our gameplay code already had access to a point cloud of the track geometry. This data set was generated by simply extracting the vertex positions from the visual mesh of the track - a portion is visualized below: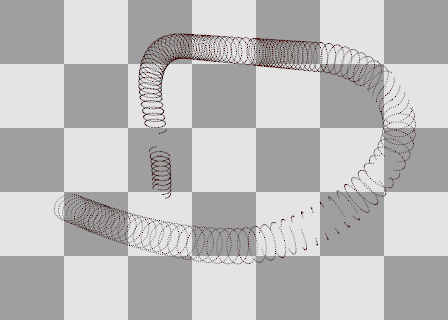
Next we somehow need to associate lighting values with each of these points... Typically for static environments, you would use a light baking system for this, which can spend a lot of time path-tracing the scene (or similar), before saving the results into the point cloud. To keep everything dynamic, we've instead taken inspiration from screen-space reflections. With SSR, the existing images that you're rendering anyway are re-used to provide data for reflection rays. We are reusing these images to compute lighting values for the points in our point cloud. After the HDR lighting is calculated, the point cloud is frustum culled and each point projected onto the screen (after a small random offset is applied to it). If the projected point is close in depth to the stored Z-buffer value at that screen pixel, then the lighting value at that pixel is transferred to the point cloud using a moving average. The random offsets and moving average allow many different pixels that are nearby the point to contribute to its color.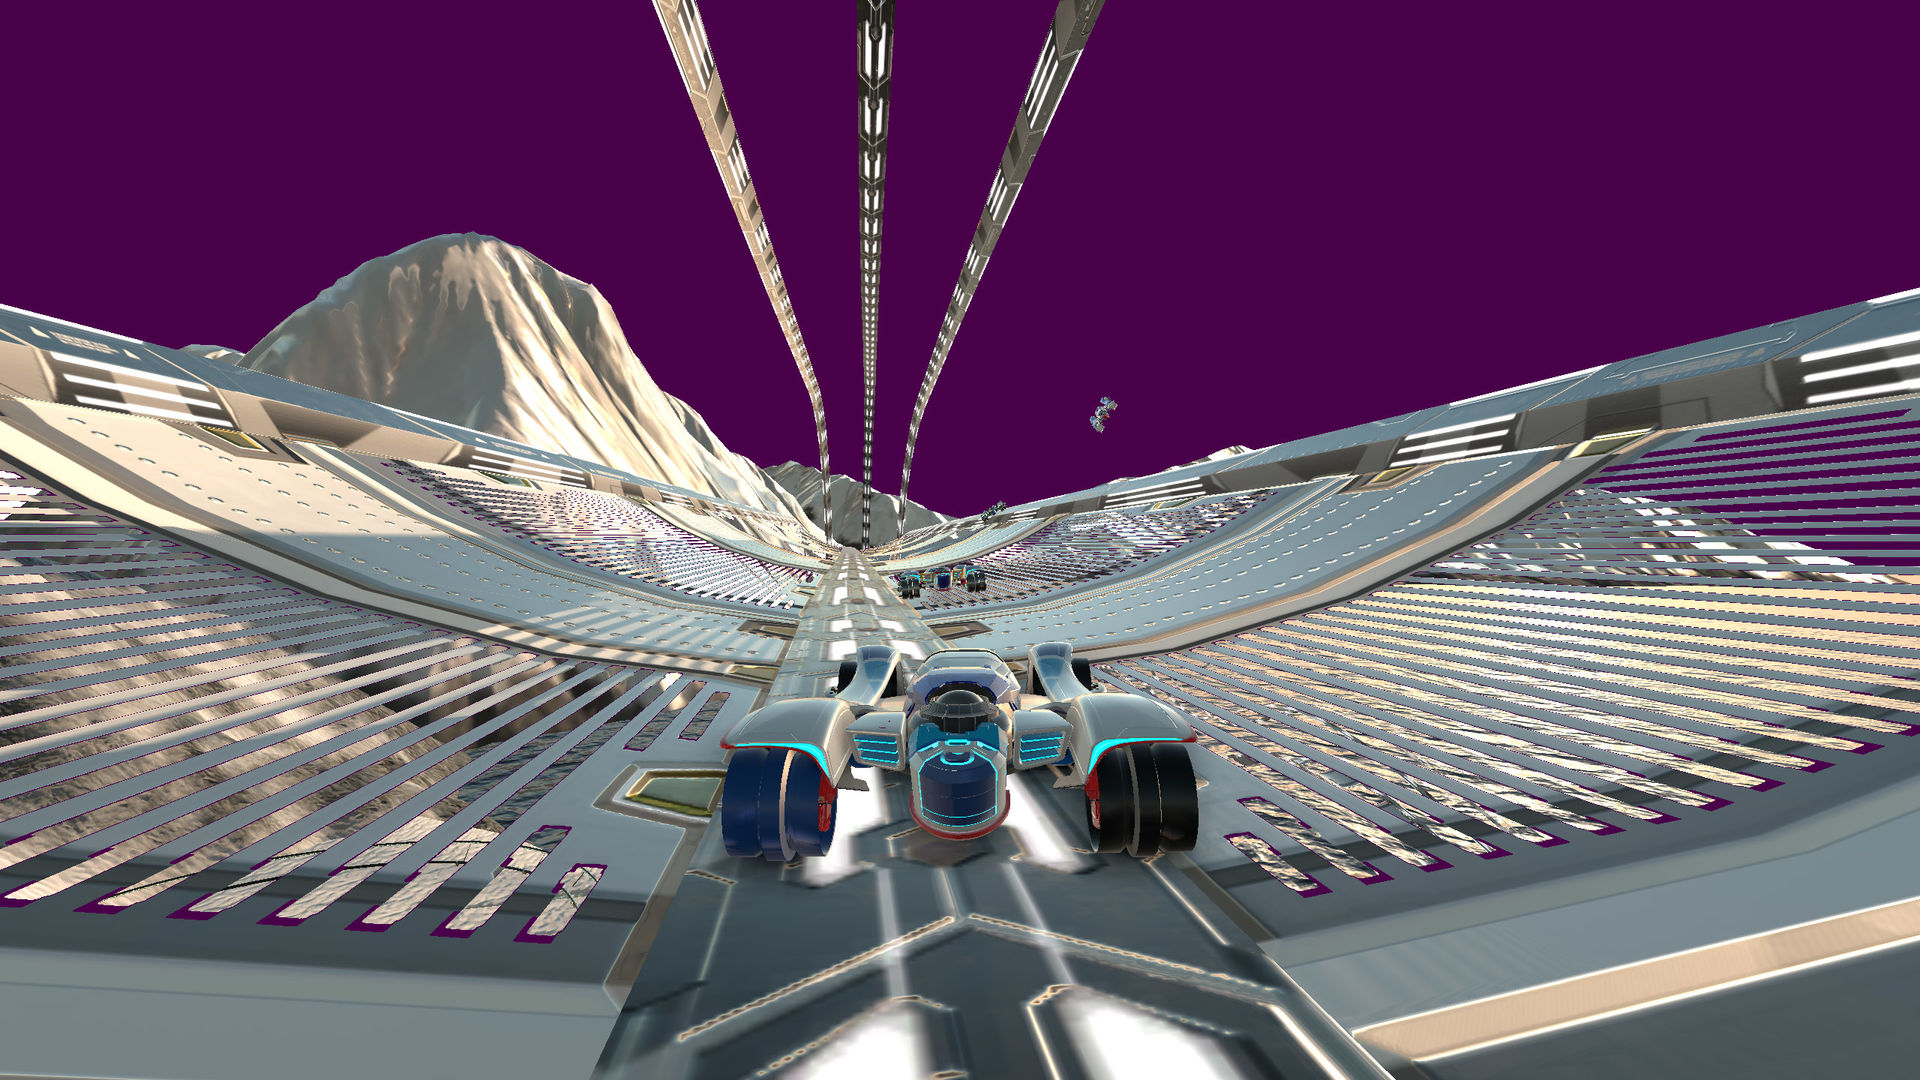
Over many frames, the point cloud will eventually be colored in now. If the lighting conditions change, then the point cloud will update as long as it appears on screen. This works well for a racing game, as the camera is typically looking ahead at sections of track that the car is about to drive into, allowing the point cloud for those sections to be updated with fresh data right before the car drives into those areas.
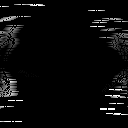
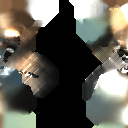
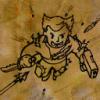
Now, if we take the points that are nearby a particular vehicle and project them onto a sphere, and then unwrap that sphere to 2D UV coordinates (at the moment, we are using a world-space octahedral unwrapping scheme, though spheremaps, hemispheres, etc are also applicable. Using view-space instead of world space could also help hide seams), then we get an image like below. Left is RGB components, right is Alpha, which encodes the solid angle that the point should've covered if we'd actually drawn them as discs/spheres, instead of as points.Nearby points have bright alpha, while distant points have darker alpha.

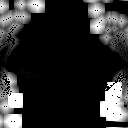
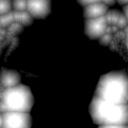
We can then feed this data through a blurring filter. In the ISM paper they do a push-pull technique using mipmaps which I've yet to implement. Currently, this is a separable blur weighted by the alpha channel. After blurring, I wanted to keep track of which pixels initially had valid alpha values, so a sign bit is used to keep track of this. Pixels that contain data only thanks to blurring, store negative alpha values in them. Below, left is RGB, middle is positive alpha, right is negative alpha: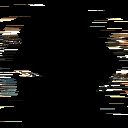

 Pass 1 - horizontal


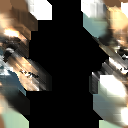
 Pass 2 - vertical

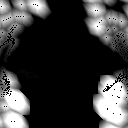 Pass three - diagonal
 Pass four - other diagonal, and alpha mask generation
In the final blurring pass, the alpha channel is converted to an actual/traditional alpha value (based on artist-tweakable parameters), which will be used to blend with the regular lighting probes.
A typical two-axis separable blur creates distinctive box shapes, but repeating the process with a 45º rotation produces hexagonal patterns instead, which are much closer to circular ![]()
The result of this is a very approximate, blobby, kind-of-correct environment map, which can be used for image based lighting. After this step we calculate a mip-chain using standard IBL practices for roughness based lookups.
The big question, is how much does it cost though? On my home PC with a NVidia GTX780 (not a very modern GPU now!), the in-game profiler showed ~45µs per vehicle to create a probe, and ~215µs to copy the screen-space lighting data to the point cloud.
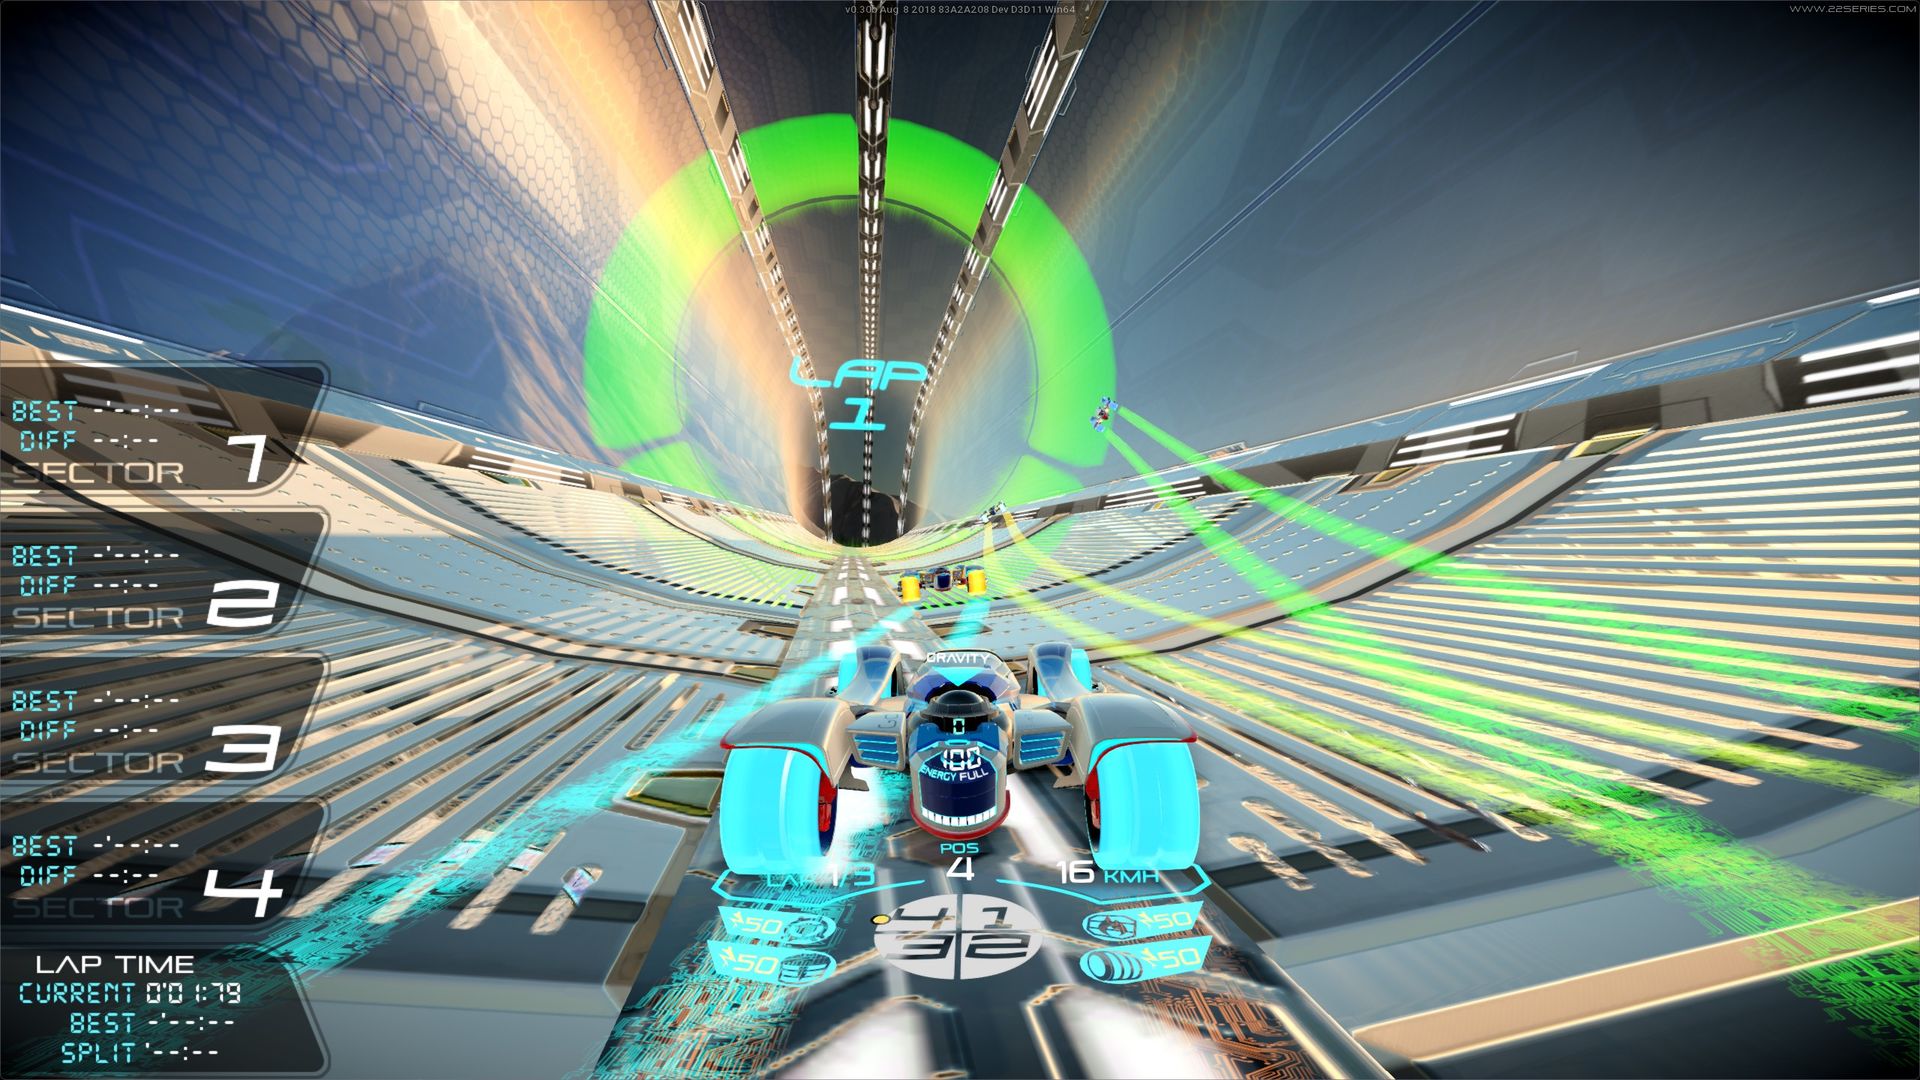
And how does it look? When teams capture sections of our tracks, emissive elements show that team's color. Below you can see a before/after comparison, where the green team color is now actually reflected on our vehicles ![]()
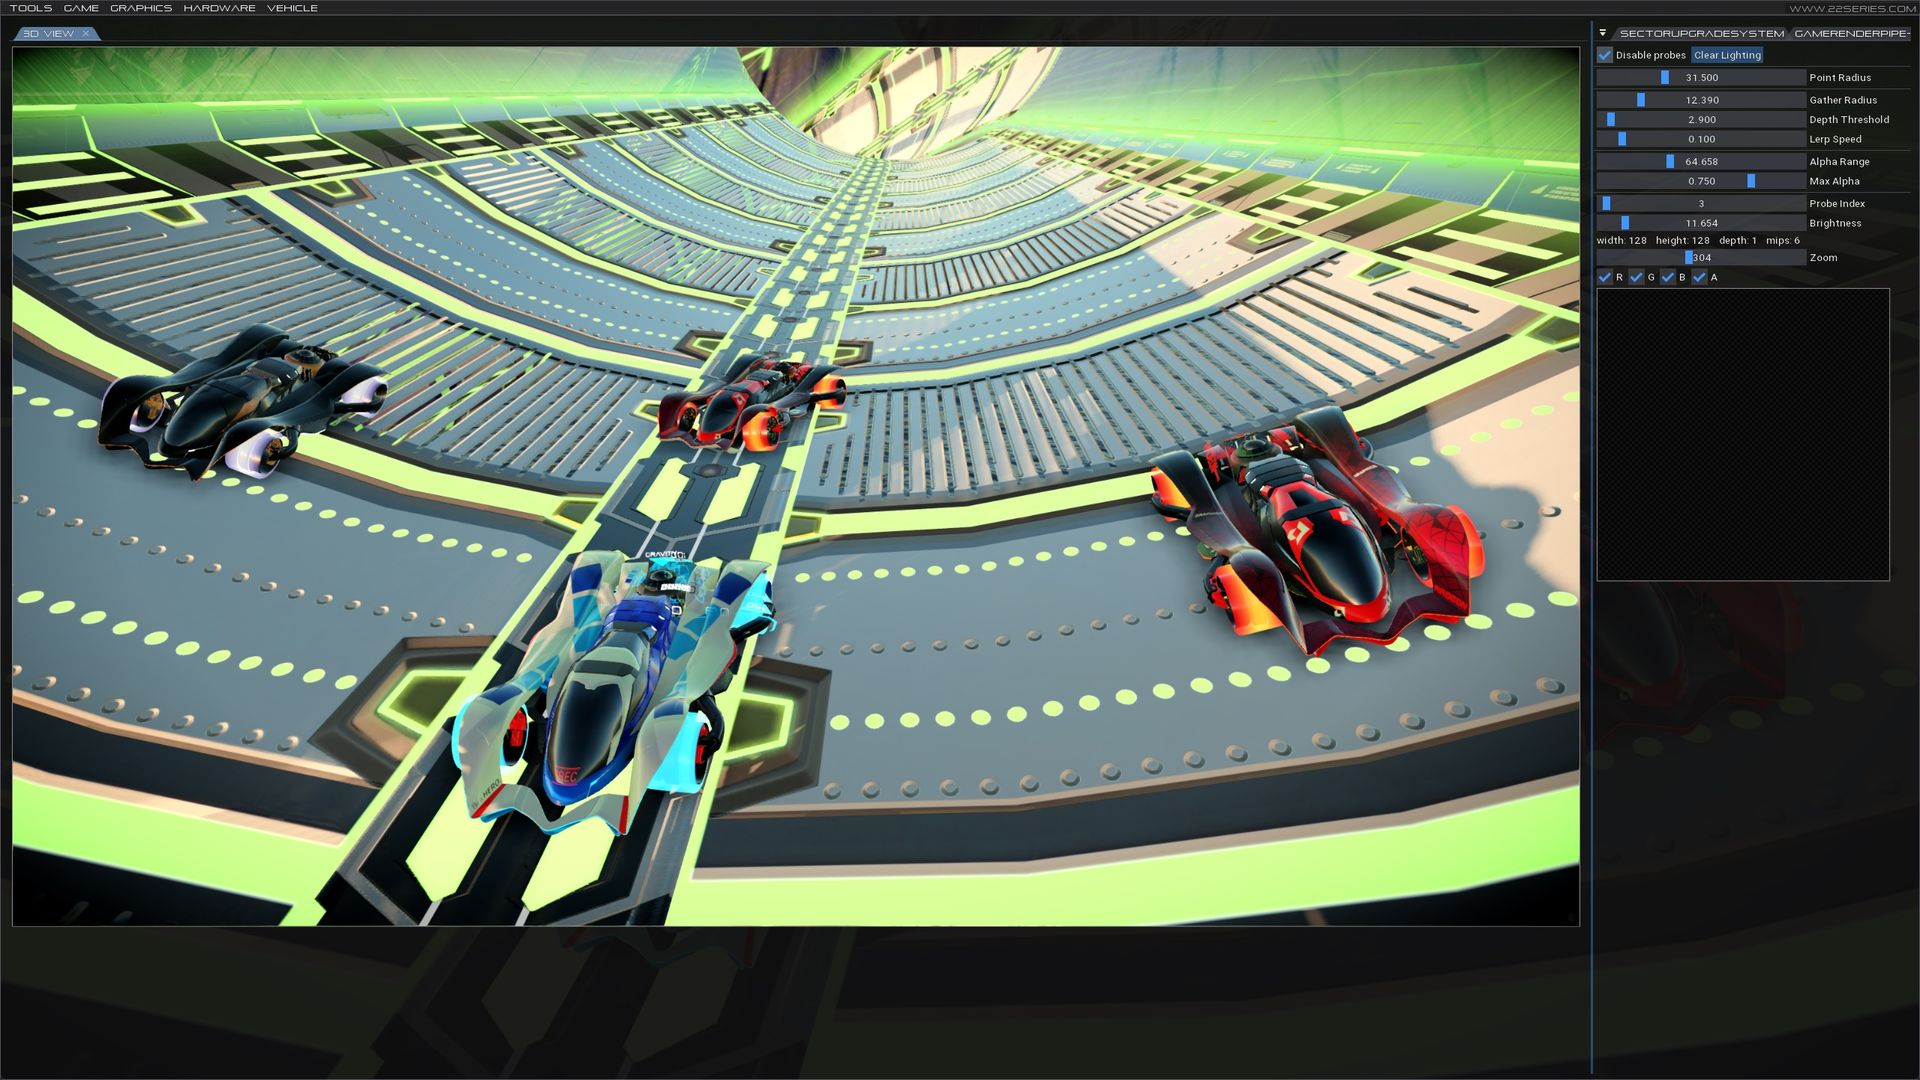
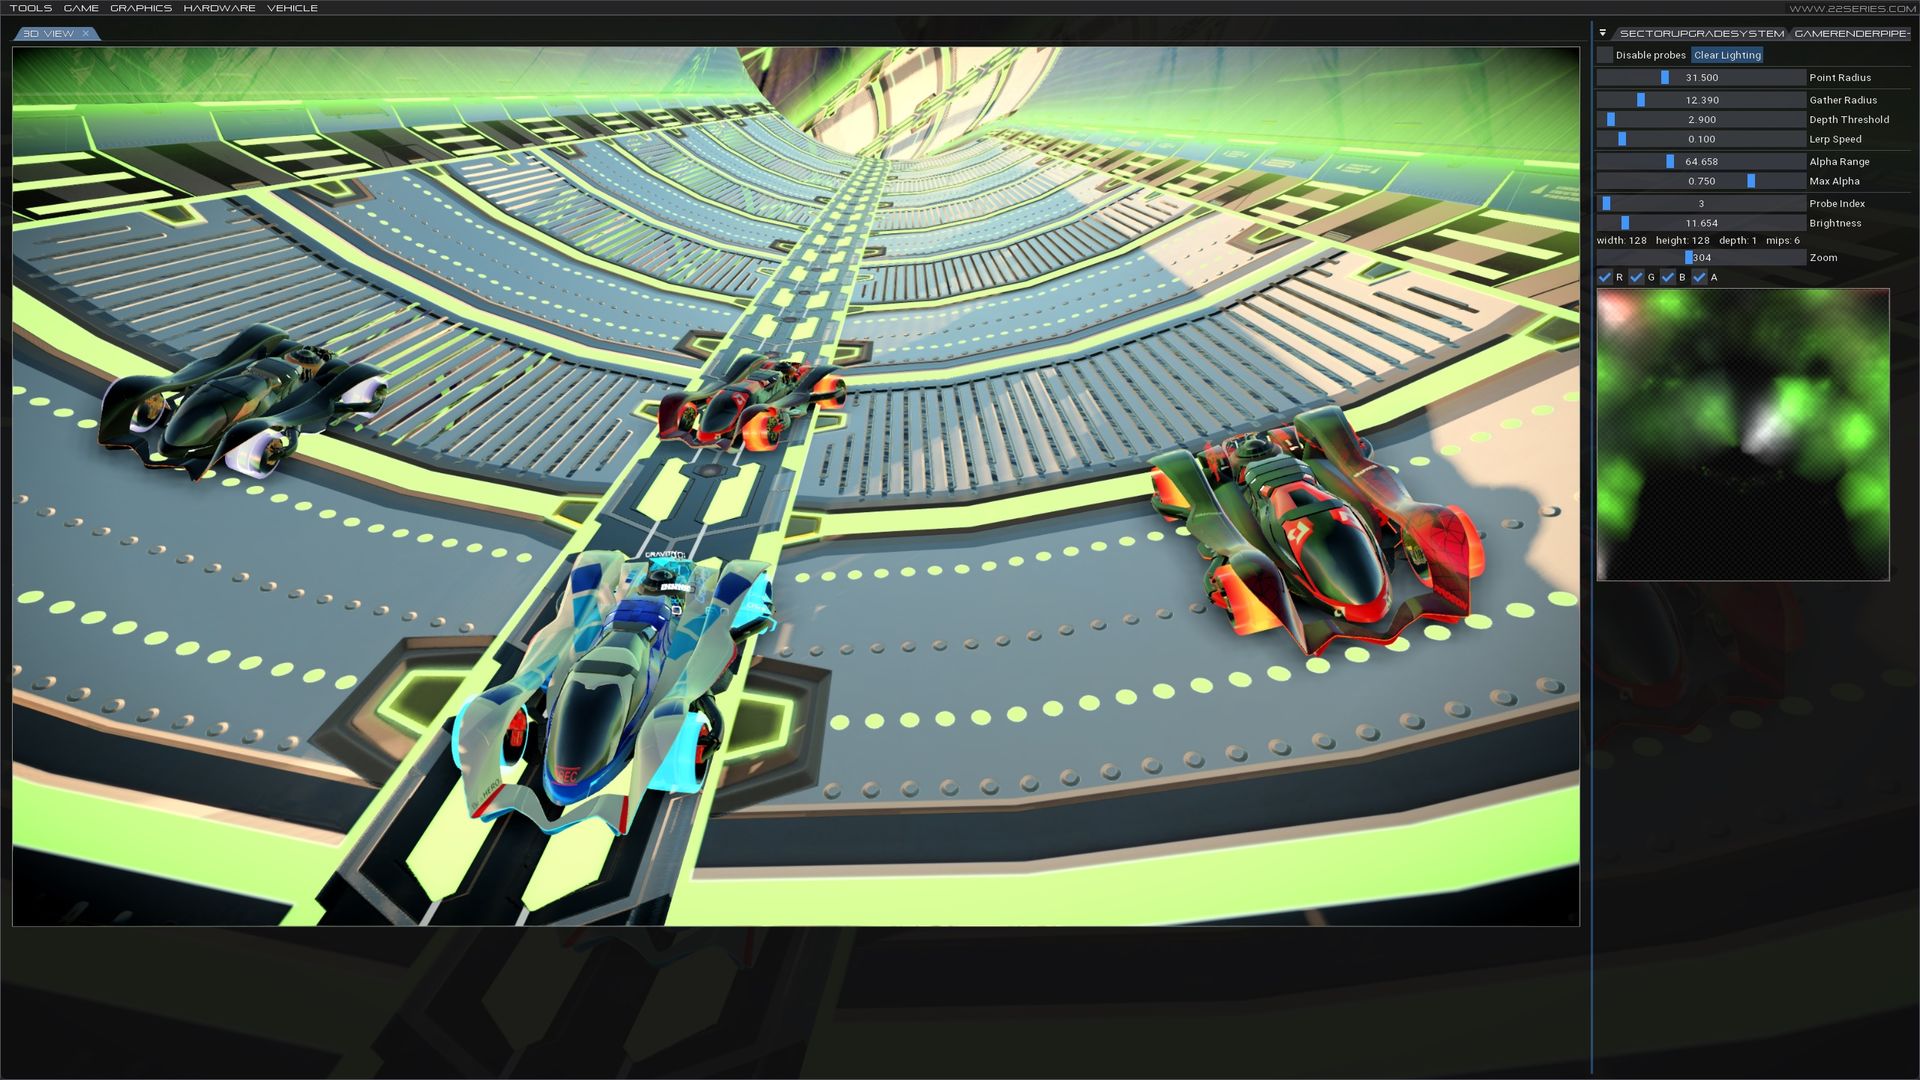
In those screens you can see the quick artist tweaking GUI on the right side. I have to give a shout out to Omar's Dear ImGui project, which we use to very quickly add these kinds of developer-GUIs.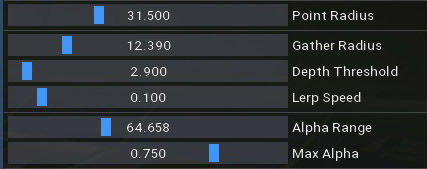
- Point Radius - the size of the virtual discs that the points are drawn as (used to compute the pre-blurring alpha value, dictating the blur radius).
- Gather Radius - the random offset added to each point (in meters) before it's projected to the screen to try and collect some lighting information.
- Depth Threshold - how close the projected point needs to be to the current Z-Buffer value in order to be able to collect lighting info from that piixel.
- Lerp Speed - a weight for the moving average.
- Alpha range - After blurring, scales how softly alpha falls off at the edge of the blurred region.
- Max Alpha - A global alpha multiplier for these dynamic probes - e.g. 0.75 means that 25% of the normal lighting probes will always be visible.


I love how much this technique fits your game! You can get so creative with non-general solutions :).