Collisions
Updated for 2021 and to support version 1.12 of Orx.
This is part 3 of a series on creating a game with the Orx Portable Game Engine. Part 1 is here, and Part 2 is here.
There is one last requirement for the collision to occur: we need to tell the physics system, who can collide with who.
This is done with flags and masks.
Make a change to the ufo's body part by adding SelfFlags and CheckMask:
[UfoBodyPart]
Type      = sphere
Solid     = true
SelfFlags = ufo
CheckMask = wall
SelfFlags is the label you assign to one object, and CheckMask is the list of labels that your object can collide with.
These labels don't have to match the names you give objects, however it will help you stay clean and organised.
So in the config above, we are saying: the UfoBodyPart is a “ufo” and it is expected to collide with any bodypart marked as a “wall”.
But we haven't done that yet, so let's do it now. We will only need to add it to the WallTopPart:
[WallTopPart]
Type        = box
Solid       = true
SelfFlags   = wall
CheckMask   = ufo
TopLeft     = (-400, -300, 0)
BottomRight = (400, -260, 0)
Remember, that the other three wall parts inherit the values from WallTopPart. So each now carries the label of “wall” and they will collide with any other body part that carries the label of “ufo”.
Re-run and press the left arrow key and drive the ufo into the left wall. It collides! And it stops.
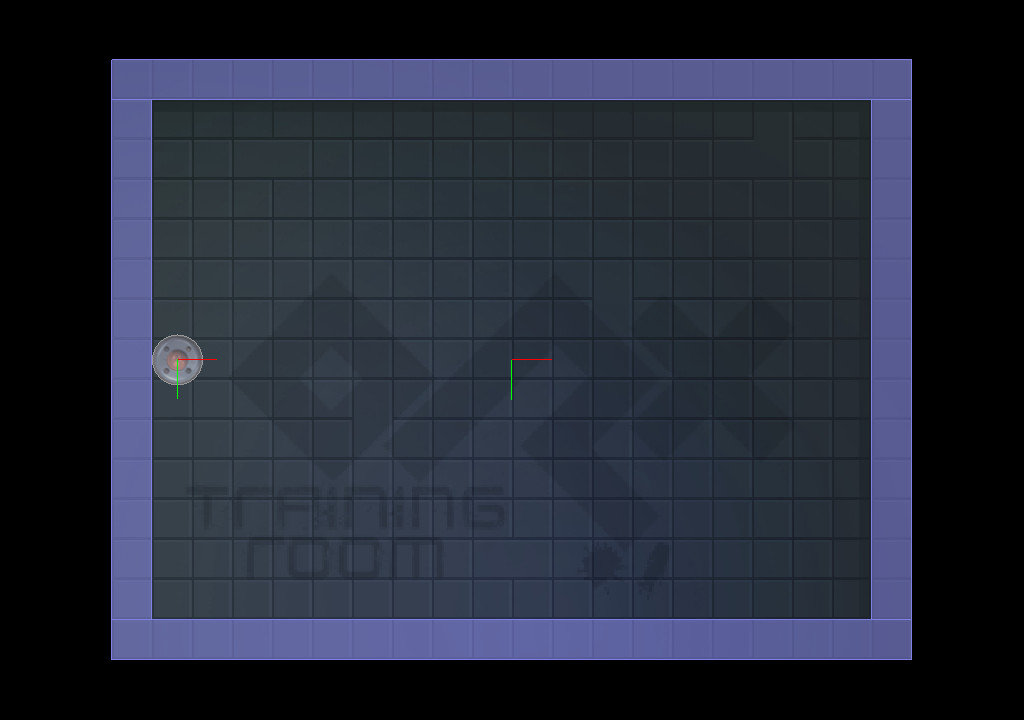
Now that the collision is working, we can flesh out the rest of the keyboard controls and test all four walls:
void orxFASTCALL Update(const orxCLOCK_INFO *_pstClockInfo, void *_pContext)
{
  if (ufo) {

	const orxFLOAT FORCE = 180;

	orxVECTOR rightForce = { FORCE, 0, 0 };
	orxVECTOR leftForce = { -FORCE, 0, 0 };
	orxVECTOR upForce = { 0, -FORCE, 0 };
	orxVECTOR downForce = { 0, FORCE, 0 };

	if (orxInput_IsActive("GoLeft")) {
		orxObject_ApplyForce(ufo, &leftForce, orxNULL);
	}
	if (orxInput_IsActive("GoRight")) {
		orxObject_ApplyForce(ufo, &rightForce, orxNULL);
	}
	if (orxInput_IsActive("GoUp")) {
		orxObject_ApplyForce(ufo, &upForce, orxNULL);
	}
	if (orxInput_IsActive("GoDown")) {
		orxObject_ApplyForce(ufo, &downForce, orxNULL);
	}
  }
}
Now is a good time to turn off the physics debug as we did earlier on.
Compile and run.
Try all four keys, and you should be able to move the ufo around the screen. The ufo can also collide with each wall.
The ufo is a little boring in the way that it doesn't spin when colliding with a wall.
We need to ensure the UfoBody is not using fixed rotation. While this value defaults to false when not supplied, it will make things more readable if we explicitly set it:
[UfoBody]
Dynamic       = true
PartList      = UfoBodyPart
FixedRotation = false
The active ingredient here is to ensure that both the wall bodypart and the ufo bodypart both have a little friction applied. This way when they collide, they will drag against each other and produce some spin:
[UfoBodyPart]
Type = sphere
Solid = true
SelfFlags = ufo
CheckMask = wall
Friction = 1.2

[WallTopPart]
Type = box
Solid = true
SelfFlags = wall
CheckMask = ufo
TopLeft = (-400, -300, 0)
BottomRight = (400, -260, 0)
Friction = 1.2
Re-run that and give it a try. Run against a wall on angle to get some spin on the ufo.
The next thing to notice is that both the movement of the ufo and the spin never slow down. There is no friction to slow those down.
We'll deal with the spin first. By adding some AngularDamping on the UfoBody, the spin will slow down over time:
[UfoBody]
Dynamic        = true
PartList       = UfoBodyPart
AngularDamping = 2
FixedRotation  = false
Re-run and check the spin. The ufo should be slowing down after leaving the wall.
Now for the damping on the movement. That can be done with LinearDamping on the UfoBody:
[UfoBody]
Dynamic        = true
PartList       = UfoBodyPart
AngularDamping = 2
FixedRotation  = false
LinearDamping  = 2
Re-run and the speed will slow down after releasing the arrow keys. But it's slower overall as well. You can increase the FORCE value in code (ufo.cpp), in the Update function to compensate if you wish.
It would be nice for the ufo to be already spinning a little when the game starts. For this, add a little AngularVelocity :
[UfoObject]
Graphic         = UfoGraphic
Position        = (0, 0, -0.1)
Body            = UfoBody
AngularVelocity = 200
Run this and the ship will have a small amount of spin at the start until the AngularDamping on the ufo body slows it down again.
Following the UFO with the camera
While we can simply move the ufo around with the keys on a fixed background, it will be a more pleasant experience to have the ufo fixed and have the screen scroll around instead.
This effect can be achieved by parenting the camera to the ufo so that wherever the ufo goes, the camera goes.
Currently, our project is set up so that the viewport has a camera configured to it. But the camera is not available to our code.
We will require the camera to be available in a variable so that it can be parented to the ufo object.
To fix this, in the Init() function, extract the camera from the viewport into a variable by first removing this line:
orxViewport_CreateFromConfig("MainViewport");to:
orxVIEWPORT *viewport = orxViewport_CreateFromConfig("MainViewport");
camera = orxViewport_GetCamera(viewport);
And because the camera variable isn't defined, do so at the top of the code:
#include "orx.h"
orxOBJECT *ufo;
orxCAMERA *camera;
Now it is time to parent the camera to the ufo in the init() function using the orxCamera_SetParent function:
ufo = orxObject_CreateFromConfig("UfoObject");
orxCamera_SetParent(camera, ufo);
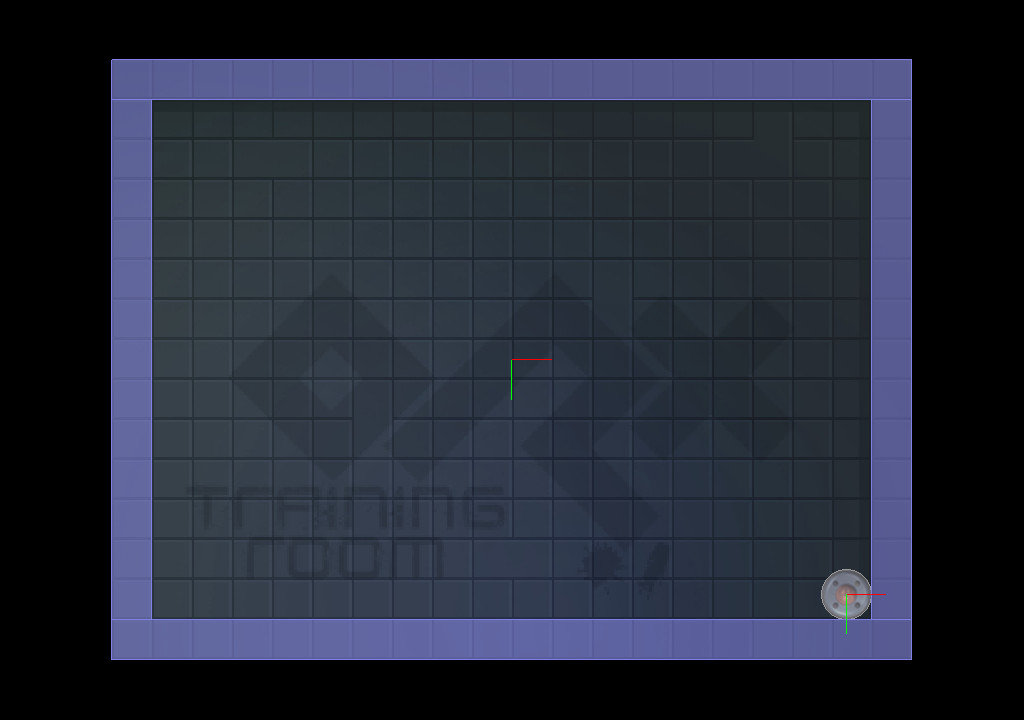
Compile and Run.
Woah, hang on. That's crazy, the whole screen just rotated around the ufo. And it continues to rotate when hitting the ufo against the walls. See how the camera is a child of the ufo now? Not only does the camera move with the ufo, it rotates with it as well.
We certainly want it to move with the ufo, but it would be nice ignore the rotation from the parent ufo. Add the IgnoreFromParent property to the MainCamera section:
[MainCamera]
...
...
IgnoreFromParent = rotation
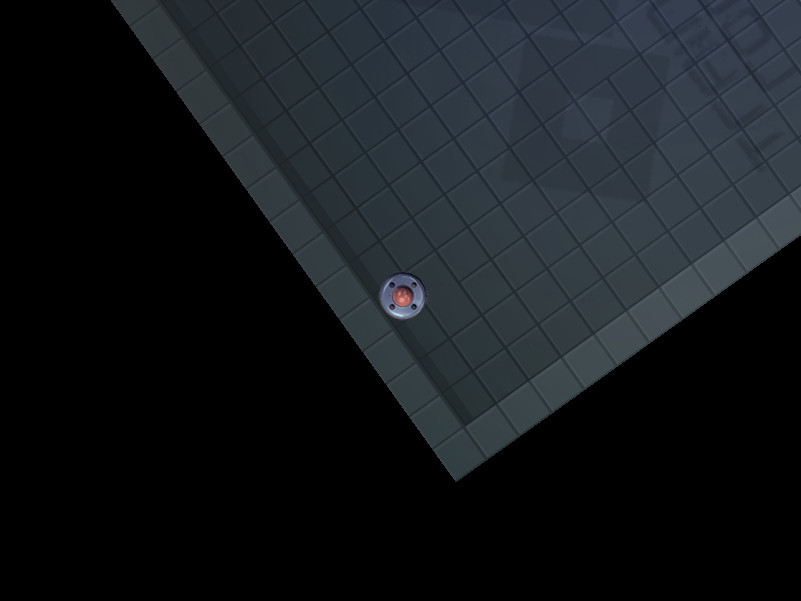
Re-run. That's got it fixed.
Now when you move around, the playfield will appear to scroll rather than it being the ufo that moves. This makes for a more dramatic and interesting effect.
In Part 4, we will give the ufo something to do. The goal is to collect several pickups.


Cool article. I think it might help in my learning coding. But coding is taking too long and my college grades are dropping. My friend says that on this site - https://wowgrade.net/ I can order student papers of varying complexity, and this will save my situation.